I still remember the first time I made meringue. I was twenty-two, living in a tiny apartment with a oven that ran hot enough to bake cookies on the top rack without even turning it on. I followed a recipe that called for a cup of sugar, three egg whites, and a pinch of cream of tartar. I whipped them until my arm fell off, poured the glossy peaks into ramekins, and put them in the oven. Twenty minutes later, I opened the door to find three sad, collapsed puddles of sugary slime. I ate them anyway. They tasted like burnt sugar water.
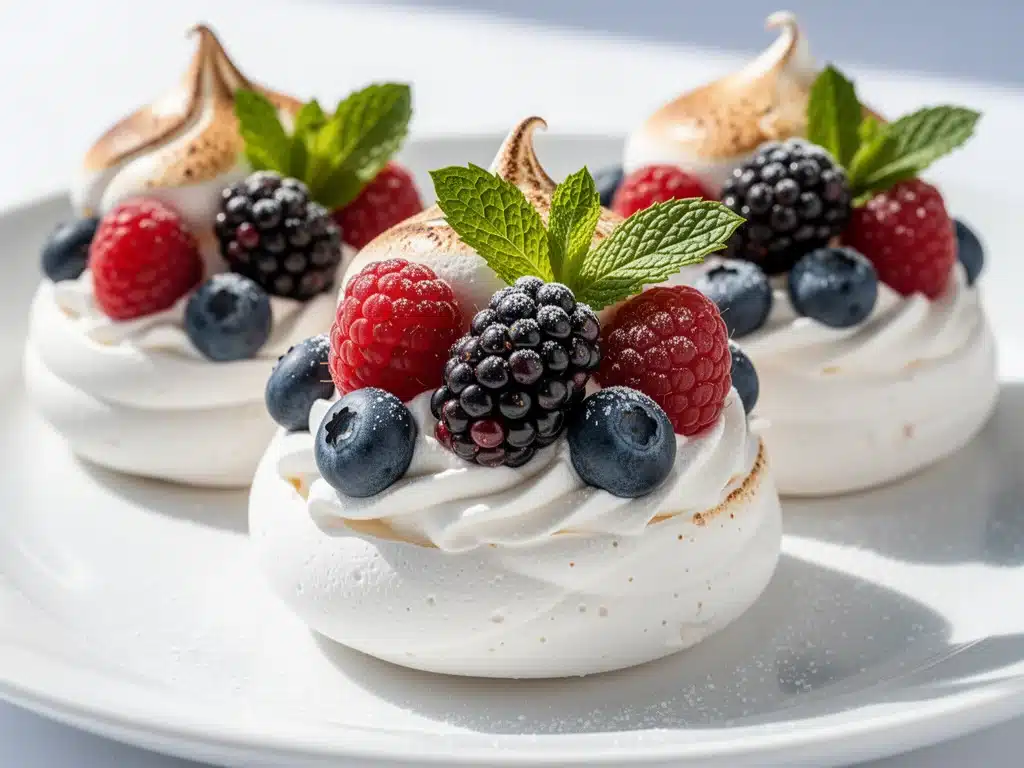
For years, I avoided meringue. I assumed it was one of those “baker’s tricks” that required a stand mixer, a candy thermometer, and a degree in chemistry. I stuck to cookies and brownies—things that were forgiving if I overmixed or underbaked them. But last month, scrolling through Pinterest while drinking my morning creamy iced matcha latte, I stumbled upon a picture of these delicate, cloud-like meringue cups. They were pale gold, crisp on the outside, and looked like they’d dissolve into sweet air the moment you touched them. They looked like spring itself.
I decided to give it another shot. Not because I wanted to be a pastry chef, but because I wanted a dessert that felt light, elegant, and totally unlike the heavy, chocolate-laden treats I usually reach for in the winter. I wanted something that paired perfectly with a warm afternoon or a light brunch.
What I found was not just a successful dessert, but a revelation. These Fluffy Egg White Meringue Cups are stupidly simple. Three ingredients. No fancy tools. No candy thermometer. And the result? A crisp, airy shell that shatters gently, revealing a soft, marshmallow-like center. They are the perfect vehicle for fresh berries, a dollop of whipped cream, or just a quiet moment of indulgence. I’ve made them about ten times in the last three weeks, tweaking the timing and temperature until they were perfect. And I’m here to tell you: you can make these too. Seriously. If I can do it without burning my apartment down, so can you.
Why You’ll Love This Recipe
There are a few reasons these meringue cups have taken over my kitchen (and my Instagram feed). But let’s be real—the main reason is that they are the ultimate cheat code for looking like you put in effort when you really didn’t.
Zero-Fail Simplicity — Most people think meringue is hard because they’ve seen videos of people struggling with stiff peaks or grainy textures. This method is foolproof. You just whip, you pipe (or spoon), and you bake. There’s no tempering chocolate, no custard base, no waiting for yeast to rise. It’s egg whites, sugar, and patience.
Light as Air — I’m not exaggerating. These things weigh almost nothing. If you’re looking to cut back on heavy, sugar-crash-inducing desserts after a big meal, these are your answer. They satisfy the sweet tooth without weighing you down. It’s the kind of dessert that leaves you feeling refreshed, not stuffed.
Make-Ahead Magic — This is my favorite part. You can make these cups days in advance. They actually get crispier as they sit. I often make a batch on Sunday to have for mid-week guests or afternoon snacks. They keep beautifully in an airtight container, which is a lifesaver when life gets busy. Unlike keto ultra-fudgy brownies that need to be eaten fresh to maintain their texture, these meringues are built for storage.
Gluten-Free and Naturally Fancy — Since they’re made entirely of egg whites and sugar, they’re naturally gluten-free. No need to swap flours or worry about cross-contamination. Plus, the delicate, lacy look of a meringue cup screams “elegant dessert.” You can serve these at a bridal shower, a spring brunch, or just on a Tuesday night when you want to feel fancy. They take five minutes to prep, but they look like you spent hours in the kitchen.
Versatile Canvas — Plain meringue is delicious, but it’s also a blank slate. You can fill them with lemon curd, berry compote, vanilla custard, or just top them with fresh strawberries and a mint leaf. They adapt to whatever season or flavor profile you’re craving.
Ingredients You’ll Need
Here’s the best part: you probably have every single ingredient for this recipe in your kitchen right now. Meringue is the ultimate “pantry staple” dessert because it relies on basic, shelf-stable items. You don’t need specialty flours, exotic spices, or expensive chocolates. Just three things.
The Essentials
Egg Whites (3 large / about 90g) — This is the foundation. You need fresh, large egg whites. I usually save the yolks to make high-protein cottage cheese egg bake or scrambled eggs for breakfast, so nothing goes to waste. The key here is that the whites must be at room temperature. Cold egg whites don’t whip up as high or as stable. I take them out of the fridge about 30 minutes before I start. Also, make sure there is absolutely NO yolk in the whites. Even a tiny drop of yellow will prevent them from whipping properly. If you’re nervous, crack each egg into a separate small bowl first to check before adding it to your main mixing bowl.
Granulated Sugar (½ cup / 100g) — Regular white sugar works best. Some recipes call for caster sugar (superfine sugar) because it dissolves faster, but I’ve found that regular granulated sugar works just fine as long as you whip long enough. Do not use brown sugar, powdered sugar, or honey. The moisture content in those will ruin the crispiness. You want pure, dry sucrose.
Cream of Tartar (¼ teaspoon) — This is the secret weapon. Cream of tartar is an acid that stabilizes the egg whites, helping them hold their shape and preventing them from collapsing. It’s cheap, it lasts forever in your pantry, and it makes a huge difference. If you don’t have it, you can use lemon juice or white vinegar (1 teaspoon each), but cream of tartar gives the most stable structure. I always keep a box in my baking drawer.
Optional Add-Ins
Vanilla Extract (½ teaspoon) — For a classic flavor. Use pure vanilla, not imitation. It adds a warm, aromatic note that pairs beautifully with the plain sweetness of the meringue.
Citrus Zest (1 teaspoon lemon or orange zest) — If you want a brighter, fresher taste, add the zest of one lemon or orange. The oils in the zest infuse the meringue with a subtle citrus aroma. This is especially good if you plan to fill the cups with berries.
Food Coloring (Gel paste, a few drops) — For a pop of color. I use gel paste because liquid food coloring adds too much water, which can make the meringue weep or not dry properly. A tiny swirl of pink or blue makes these look like Easter eggs or spring blossoms.
Equipment Needed
You don’t need a fancy kitchen to make these. In fact, some of my best meringues were made with basic tools. Here’s what I actually use.
Mixing Bowl — A large, clean bowl. Glass or metal is best. Avoid plastic if possible, as it can retain traces of oil that might interfere with whipping. I use a large stainless steel bowl that I keep specifically for baking.
Hand Mixer or Stand Mixer — You can use a hand mixer, which is what I usually use for small batches. A stand mixer with a whisk attachment is great if you’re making a larger quantity or have sensitive arms. Both work perfectly. Just make sure the beaters are clean and dry.
Piping Bag and Tip (Optional) — For those pretty, swirled peaks, a piping bag with a large star tip (like a Wilton 1M) is ideal. It gives you that professional, bakery look. But honestly? A spoon works too. If you’re feeling lazy, just drop spoonfuls onto the baking sheet. They’ll still be delicious, just less uniform.
Baking Sheets — Standard half-sheet pans. I line them with parchment paper or silicone baking mats. Never use aluminum foil directly; the meringue will stick, and you’ll lose your pretty shapes.
Spatula — A rubber spatula for scraping down the sides of the bowl. This ensures all the egg whites are incorporated evenly.
How to Make It: Step-by-Step
Alright, let’s make this! I’m walking you through exactly how I do it, including the little tricks I’ve picked up over my dozen or so attempts. The process is simple, but technique matters.
Step 1: Prep Your Oven and Pans (5 minutes)
Preheat your oven to 225°F (110°C). This low temperature is crucial. We want to dry out the meringue slowly, not bake it quickly. High heat will crack the tops and brown them too much. Line your baking sheets with parchment paper. If you’re using a piping bag, fit it with your star tip. If you’re using spoons, just have your bowls ready.
Step 2: Whip the Egg Whites (3-4 minutes)
Place your room-temperature egg whites in the clean mixing bowl. Add the cream of tartar. Start mixing on medium-low speed. You’ll see the whites turn foamy and bubbly, like wet foam. This takes about 30 seconds. Don’t rush this step. The foam needs to form a base before you add the sugar. Once it’s foamy, increase the speed to medium-high.
Step 3: Add the Sugar Gradually (2-3 minutes)
This is the most important part. With the mixer running on medium-high, slowly pour in the sugar. I do this in a thin, steady stream. Don’t dump it all in at once. If you add it too fast, the sugar won’t dissolve, and your meringue will be grainy. Keep whipping. The mixture will start to become glossy and thick. This takes about 2-3 minutes total. Stop and check the texture.
Step 4: Check for Stiff Peaks
Turn off the mixer and lift the beaters out of the bowl. The meringue should hold a stiff peak. That means when you lift the beater, the meringue stands up straight without drooping. If it droops, whip for another 30 seconds. Be careful not to overwhip, though. If you whip too long, the meringue can become dry and clumpy. You want smooth, glossy, stiff peaks. If you’re adding vanilla or zest, fold it in gently now with a spatula.
Step 5: Pipe or Spoon the Meringues (5 minutes)
Transfer the meringue to your piping bag. If you’re using spoons, just scoop large dollops onto the parchment-lined sheets. If you’re piping, hold the bag perpendicular to the pan and squeeze from the bottom up, then pull away quickly to create a peak. Make them about 2-3 inches wide. Space them about 2 inches apart, as they won’t spread much but might stick together if they’re too close.
Step 6: The Long Bake (1.5 – 2 hours)
Place the pans in the oven. Bake at 225°F (110°C) for 1.5 to 2 hours. The exact time depends on the size of your meringues and your oven’s accuracy. They are done when they are dry to the touch and can be lifted off the parchment paper easily. They should be pale ivory, not brown. If they’re browning too fast, lower the temperature to 200°F (95°C).
Step 7: Cool in the Oven (1 hour)
Here’s the pro tip: Turn off the oven and crack the door open slightly with a wooden spoon. Let the meringues cool completely inside the oven. This slow cooling process helps prevent cracking and ensures they are fully dry and crisp. If you take them out while they’re still warm, they might collapse or become chewy. Wait until the oven is completely cool. This can take another hour.
Expert Tips & Tricks
I’ve learned a lot from my early failures. Here’s everything I’ve discovered to ensure your meringue cups come out perfect every time.
Clean Bowl, Clean Beaters — This is non-negotiable. Any trace of oil, yolk, or soap residue will stop the egg whites from whipping. Wash your bowl and beaters with hot, soapy water, then wipe them down with a paper towel dipped in vinegar or lemon juice. This removes any invisible grease.
Room Temperature Whites — I know it’s tempting to grab cold eggs, but room-temperature whites whip to a greater volume. If you forgot to take them out, place the egg whites in a bowl of warm water for 5-10 minutes. They’ll warm up quickly.
Sugar Dissolves Completely — To check if your sugar is fully dissolved, rub a little bit of the meringue between your fingers. If it feels gritty, keep whipping. If it feels smooth like silk, you’re good to go. Gritty meringue leads to a grainy texture and can cause the meringue to “weep” (release liquid) over time.
Humidity is the Enemy — Meringue hates humidity. If it’s a rainy day or you live in a coastal area, your meringues might take longer to dry or might not get as crisp. On humid days, I sometimes leave them in the oven overnight with the door cracked. The overnight dry time is very effective.
Don’t Open the Oven Door — Resist the urge to peek! Every time you open the door, you let out heat, which can cause the meringues to crack or collapse. Trust the process. Set a timer and walk away.
Variations & Substitutions
Once you’ve mastered the basic recipe, here’s how you can mix it up. I’ve tried all of these, and they’re all winners.
Lemon Meringue Cups — Add the zest of one lemon to the egg whites before whipping. Fill the cooled cups with lemon curd and top with a mini meringue peak. This is a deconstructed lemon tart.
Berry Swirl — Add a few drops of gel food coloring to a portion of the meringue (pink or purple). Pipe the plain and colored meringues together for a marbled effect. Or, swirl in a teaspoon of berry jam before baking for a fruity center.
Chocolate Meringue — Sift 2 tablespoons of unsweetened cocoa powder into the egg whites before whipping. This creates a dark, crisp chocolate meringue. Fill with chocolate pudding or Nutella for a rich treat.
Macarons-Style — Use smaller dollops (1.5 inches) and bake for a shorter time (45-60 minutes). These can be sandwiched together with ganache or buttercream to make simple macaron-like cookies.
Dairy-Free & Vegan Option — Traditional meringue uses egg whites, so it’s not vegan. However, you can use aquafaba (the liquid from a can of chickpeas) instead of egg whites. Whip 3 tablespoons of aquafaba with cream of tartar and sugar just like regular egg whites. The results are similar, though slightly less stable. I’ve used this method for friends with allergies, and they loved it.
Serving & Storage
These meringue cups are incredibly versatile. Here’s how I serve them and keep them fresh.
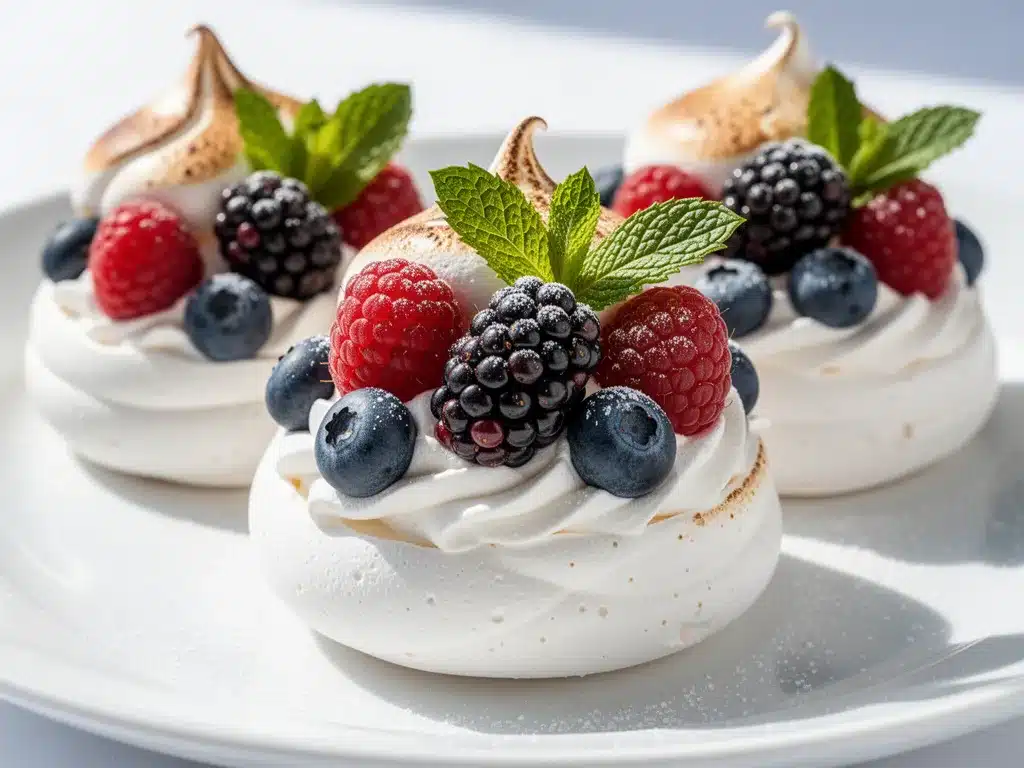
How to Serve — I love serving these plain with a dusting of powdered sugar and a few fresh raspberries. The contrast of the crisp meringue, the tart berries, and the sweet air is perfect. You can also fill them with whipped cream, yogurt, or custard just before serving. If you’re making them for a party, set up a “meringue bar” with different fillings and toppings.
Storage — Store the cooled meringues in an airtight container at room temperature. They will keep for up to 2 weeks. If it’s humid, add a packet of silica gel (the kind that comes in shoe boxes) to the container to absorb moisture. Do not refrigerate, as the humidity in the fridge will make them soft and chewy.
Freezing — You can freeze meringues for up to 3 months. Place them in a single layer in a freezer-safe container, separated by parchment paper. Thaw at room temperature before serving. They’ll retain their crispness if stored properly.
Nutrition Information
I’m not a nutritionist, but here’s the breakdown if you’re tracking. Keep in mind that these are mostly sugar and air, so they’re light in calories but high in simple carbs.
Per Serving (1 meringue cup, makes ~12 cups):
- Calories: 45
- Protein: 0.5g
- Carbs: 11g
- Fiber: 0g
- Sugar: 11g
- Fat: 0g
- Sodium: 5mg
What’s Good: — They’re naturally fat-free and gluten-free. They’re a light way to satisfy a sweet craving without a heavy dessert.
What to Know: — They are high in sugar. If you’re watching your sugar intake, enjoy these in moderation. They’re a treat, not a health food. But honestly, compared to a slice of cake or a bowl of ice cream, they’re pretty light.
Final Thoughts
So that’s my go-to fluffy egg white meringue cups! I know it seems like a simple recipe, but there’s a real art to getting them right. The first time I made them, I was nervous. But after that first batch came out of the oven—crisp, golden, and smelling sweet—I was hooked. These cups have become my go-to for spring entertaining, for gift-giving (they look so pretty in a jar with a ribbon), and for quiet afternoons with a cup of tea.
They remind me that sometimes the best things in life come from the simplest ingredients. You don’t need flour, butter, or chocolate to make something special. Sometimes, you just need egg whites, sugar, and a little bit of patience. I hope you give them a try. I promise, once you bite into that crisp, airy shell, you’ll understand why I’m obsessed.
If you make this recipe, drop a comment and let me know how they turned out! Did you try a variation? Did you fill them with something unexpected? I love hearing how my readers adapt these recipes to their own kitchens. And if something doesn’t work, tell me that too—I’m here to help troubleshoot. Happy baking!
Frequently Asked Questions
Can I use brown sugar instead of white sugar?
I wouldn’t recommend it. Brown sugar contains molasses, which adds moisture. Meringue relies on dry sugar to create that crisp, airy structure. If you use brown sugar, your meringues will likely be chewy, sticky, and may not hold their shape. Stick to granulated white sugar for the best results.
Why did my meringues crack?
Cracking is usually caused by two things: opening the oven door too early, or baking at too high a temperature. The rapid expansion of air inside the meringue can cause the surface to split. Make sure your oven is fully preheated and don’t open the door during the first hour of baking. Also, ensure your meringue is whipped to stiff peaks before baking, as under-whipped meringue is more prone to cracking.
Can I make these ahead of time?
Yes! This is one of the best things about meringue. You can make them up to two weeks in advance. Just store them in an airtight container at room temperature. They actually get crispier as they sit, so making them a day or two before you need them is ideal.
My meringues are sticky inside. What happened?
This usually means they weren’t baked long enough or didn’t cool slowly enough. The center is still moist. Try baking them for a longer time (up to 2.5 hours) and always let them cool in the turned-off oven with the door cracked. If it’s a humid day, consider leaving them in the oven overnight.
Can I pipe these without a piping bag?
Absolutely. You can use two spoons to drop dollops of meringue onto the baking sheet. Or, you can put the meringue in a zip-top bag and cut off a small corner of the bag to pipe. It won’t be as pretty as a star tip, but it will still taste delicious.
How do I fix grainy meringue?
If your meringue feels gritty, it means the sugar hasn’t fully dissolved. Keep whipping on medium-high speed for another 1-2 minutes. Check by rubbing a bit between your fingers. If it’s still gritty, you may need to whip longer. Next time, try adding the sugar more slowly and using superfine sugar if you have it.
Can I use egg whites from a carton?
Yes, you can use liquid egg whites from a carton. They are already separated and pasteurized, which is convenient. Just make sure they are at room temperature before whipping. The results should be similar to fresh egg whites, though sometimes slightly less stable. You might need to whip a bit longer to get stiff peaks.
Pin This Recipe!
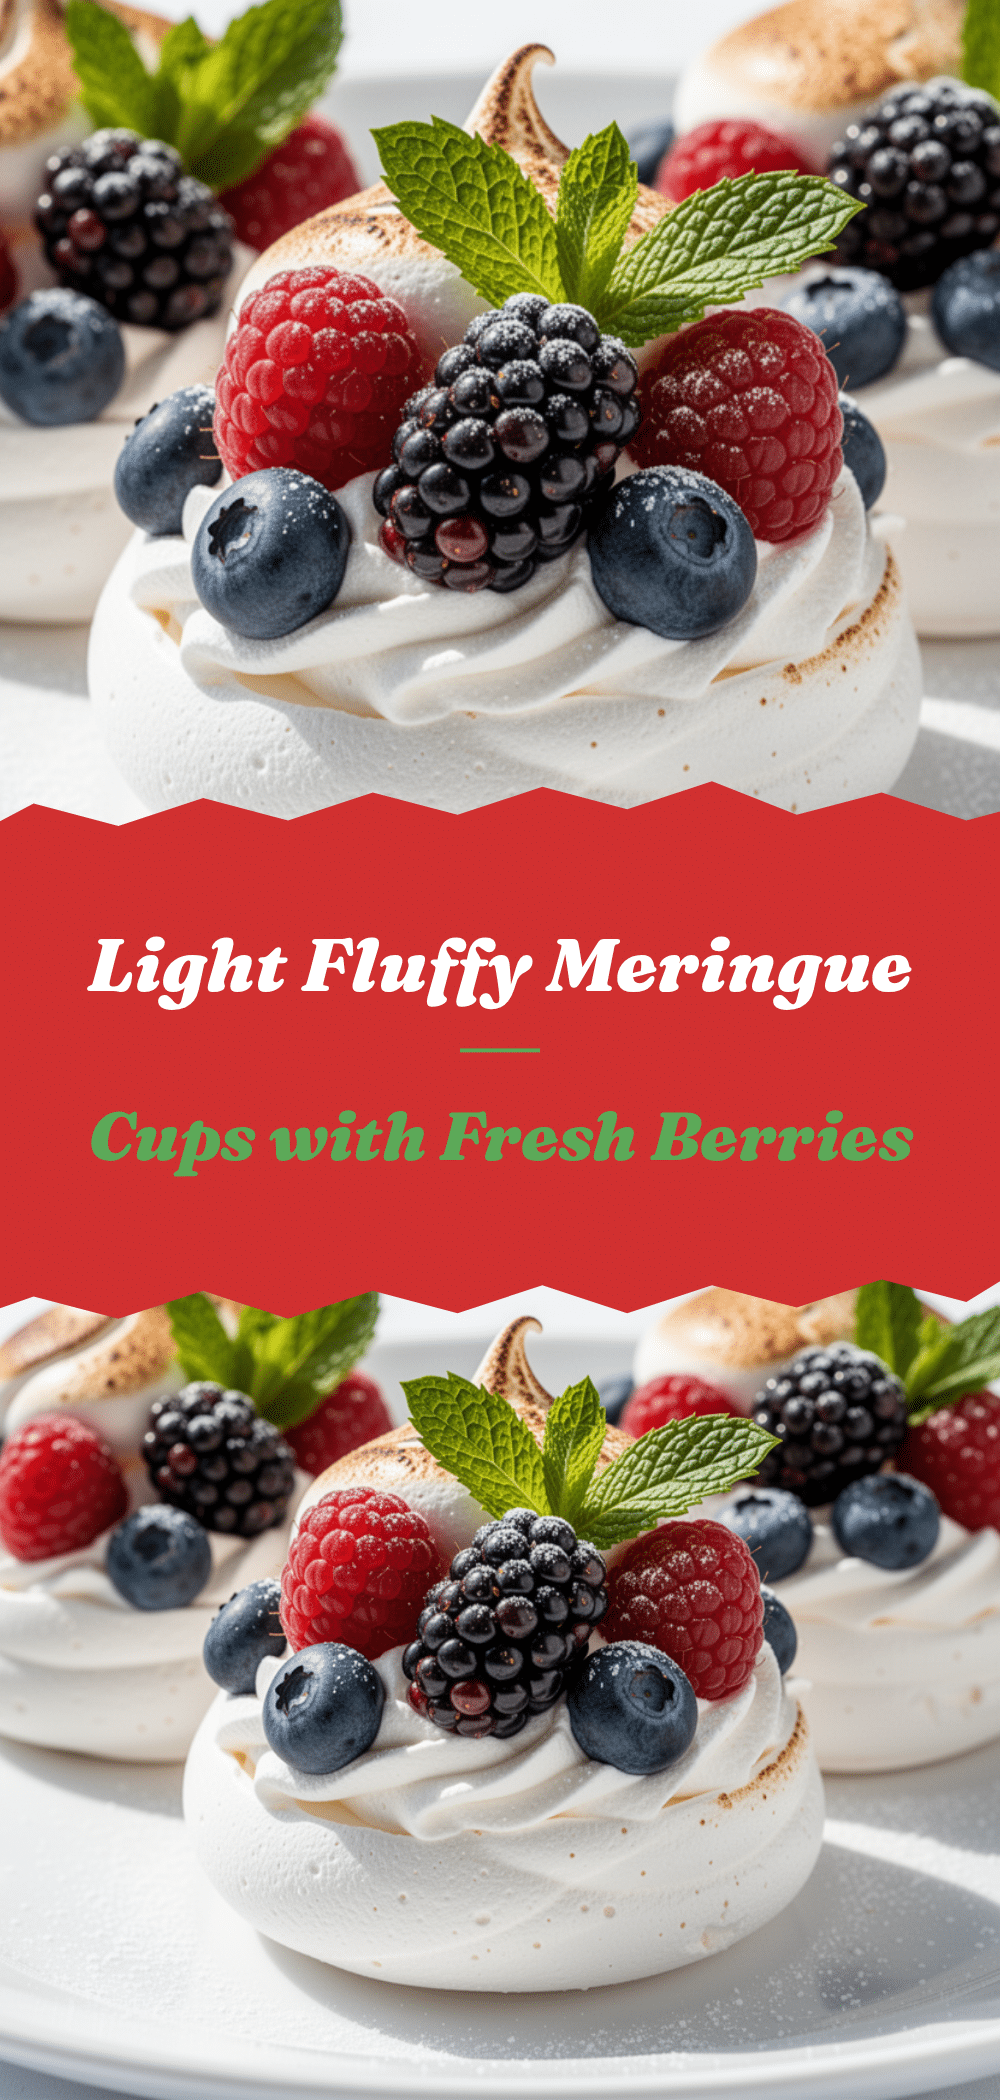
Fluffy Egg White Meringue Cups: 3-Ingredient Spring Dessert
- Total Time: 2 hours 15 minutes
- Yield: 12 servings 1x
Description
These delicate, cloud-like meringue cups are a simple, gluten-free spring dessert made with just three ingredients: egg whites, sugar, and cream of tartar. They are crisp on the outside, soft inside, and perfect for filling with berries or cream.
Ingredients
- 3 large egg whites (room temperature)
- 1/2 cup granulated sugar (100g)
- 1/4 teaspoon cream of tartar
- 1/2 teaspoon vanilla extract (optional)
- 1 teaspoon citrus zest (optional)
Instructions
- Preheat oven to 225°F (110°C) and line baking sheets with parchment paper.
- Place room-temperature egg whites and cream of tartar in a clean, dry mixing bowl.
- Whip on medium-low speed until foamy, then increase to medium-high.
- Slowly pour in granulated sugar in a thin stream while whipping until stiff, glossy peaks form.
- Fold in vanilla or zest if using.
- Pipe or spoon dollops onto prepared baking sheets, spacing them 2 inches apart.
- Bake for 1.5 to 2 hours until dry to the touch and pale ivory.
- Turn off the oven and let meringues cool completely inside with the door cracked (about 1 hour).
Notes
Ensure all equipment is completely clean and free of oil or yolk residue. Egg whites must be at room temperature for best volume. Do not open the oven door during baking to prevent cracking. Store in an airtight container at room temperature for up to 2 weeks. Avoid refrigeration as humidity will make them soft.
- Prep Time: 15 minutes
- Cook Time: 1.5 - 2 hours
- Category: Dessert
- Cuisine: American
Nutrition
- Serving Size: 1 meringue cup
- Calories: 45
- Sugar: 11
- Sodium: 5
- Carbohydrates: 11
- Protein: 0.5
Keywords: meringue, egg white dessert, gluten-free dessert, spring dessert, 3-ingredient recipe, easy baking, no-bake filling


