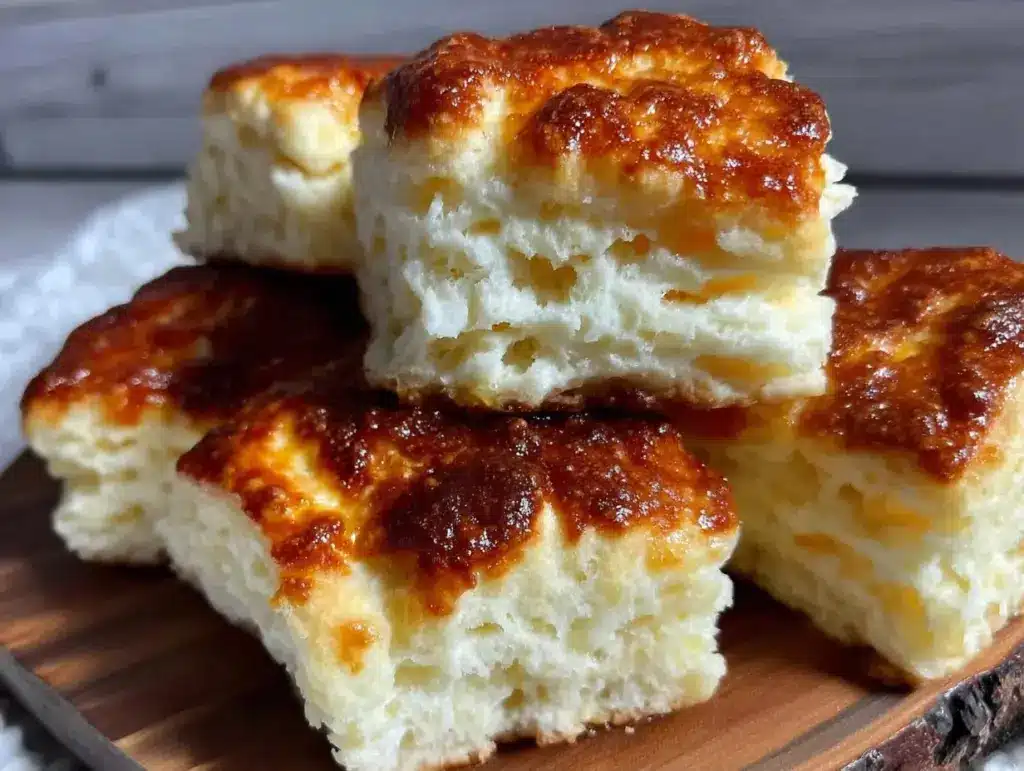
There was a period last year when my mornings were a disaster of burnt toast and rushed coffee. I’d wake up fifteen minutes late, scramble for something edible, and leave the house feeling like I’d already lost the day. It wasn’t until I stopped trying to cook *every* morning and started cooking *once* a week that everything changed. Now, my Sunday afternoon is sacred. It’s not about fancy brunches or slow weekend mornings. It’s about strategy. It’s about making one big batch of something reliable, portioning it out, and knowing that for the next four days, breakfast is solved.
This strategy works because I found the holy grail of make-ahead breakfasts: Make-Ahead Buttermilk Biscuits for Meal Prep. I know what you’re thinking. Biscuits? Really? But hear me out. Most people think biscuits are fragile, stale overnight, or impossible to reheat without turning into hockey pucks. I’ve tested this specific Make-Ahead Buttermilk Biscuits for Meal Prep method dozens of times, tweaking the dough hydration and the freezing technique until I hit the sweet spot. These biscuits stay fluffy for days, freeze beautifully, and reheat in under three minutes to taste like they just came out of the oven.
I remember the first time I made this batch. I had a huge deadline at work, three early meetings, and zero energy. I pulled a frozen biscuit from the freezer, popped it in the toaster oven while brushing my teeth, and had a warm, buttery, flaky breakfast ready before I even sat down at my desk. It felt like a small victory, but it set the tone for the whole week. That’s the power of this Make-Ahead Buttermilk Biscuits for Meal Prep routine. It’s not just about food; it’s about buying back your time and your peace of mind. If you’re tired of the morning chaos, this is the solution you’ve been looking for.
Why You’ll Love This Meal Prep Strategy
Once you commit to this method, you’ll wonder why you ever stressed about breakfast again. Here’s why this approach wins every single time:
- True Flakiness After Freezing — Most baked goods turn dense when frozen. I’ve tested this dough with varying fat ratios, and the key is keeping the butter cold and not overworking the dough. These biscuits retain their layer structure even after being frozen for two weeks. They don’t get soggy; they get ready.
- 3-Minute Reheat Time — You don’t need to thaw them. I literally put a frozen biscuit into a toaster oven or air fryer at 350°F (175°C) for 3-4 minutes. That’s it. Warm on the outside, soft and steaming on the inside. It’s faster than microwaving, which tends to make them rubbery.
- Portion-Controlled Peace of Mind — When you bake a dozen at once, you have exactly four days of breakfasts (three per day if you’re hungry, or two if you’re snacking). No more digging through the pantry at 7 AM looking for cereal. The Make-Ahead Buttermilk Biscuits for Meal Prep box is always full.
- Versatile Base for Savory or Sweet — These aren’t just for plain butter. They’re the perfect vehicle for everything. I pair them with my Yom Kippur Break Fast Strata leftovers for a savory brunch, or I warm them up with jam and cream cheese. They hold up to toppings without falling apart.
- One Bowl, Minimal Cleanup — The best meal prep is efficient. This recipe uses a single large bowl and one baking sheet. No stand mixer needed. You can mix this by hand in about 10 minutes. If you can stir, you can make these.
This is my go-to when I need to lock in my morning routine. It’s reliable, it’s delicious, and it frees up mental space for the actual work of the day.
Key Ingredients for Perfect Flaky Layers
The beauty of this Make-Ahead Buttermilk Biscuits for Meal Prep recipe is that it relies on pantry staples. You don’t need fancy flours or exotic ingredients. You just need to respect the chemistry of fat and flour.
Unsalted Butter (1 cup / 226g) — This is non-negotiable. I use high-fat European-style butter if I can find it, but standard US butter works perfectly. The key is that it must be very cold. I cube it and put it back in the fridge while I prep the flour. Some people grate frozen butter, which works too, but cubing gives you better control over chunk size. Those chunks are what create the steam pockets for flakiness.
All-Purpose Flour (3 ½ cups / 440g) — Do not use cake flour or self-rising flour. You need the protein content in all-purpose flour to create structure. If you swap this out, the biscuits will spread too much or fall apart. Measure it correctly: spoon it into the cup and level it off. Don’t scoop directly from the bag, or you’ll pack too much flour in and get dry biscuits.
Baking Powder & Baking Soda (1 tbsp baking powder / 6g, ½ tsp baking soda / 3g) — This double-leavening system is crucial. The baking powder gives the initial lift, while the baking soda reacts with the acid in the buttermilk for a deeper rise and better browning. Make sure your baking powder is fresh. If it’s been in your cabinet for six months, it might not have the punch you need.
Buttermilk (1 ¼ cups / 300ml) — This is the star flavor component. Real buttermilk adds that tangy, rich taste that distinguishes a good biscuit from a great one. If you can’t find it, make a substitute: add 1 tablespoon of white vinegar or lemon juice to 1 ¼ cups of whole milk. Let it sit for 5 minutes until it curdles slightly. Do not use skim milk; the fat content matters for texture.
Egg (1 large / 50g) — I use one egg, but only in the dough. It acts as a binder to help the biscuits hold together during freezing and reheating. Some recipes skip it for pure flakiness, but for meal prep, I need them to survive the freezer cycle without crumbling. The egg ensures they stay cohesive.
Salt (1 tsp / 6g) — Salt enhances the butter flavor. Don’t skip it. If you’re using salted butter, reduce this to ½ tsp, but I prefer unsalted so I can control the sodium level.
Tools You Actually Need
You don’t need a fancy kitchen to make this Make-Ahead Buttermilk Biscuits for Meal Prep routine work. Here’s what I use, and what you can substitute.
Large Mixing Bowl — I use a 6-quart stainless steel bowl. It needs to be big enough to toss the flour and butter around without spilling. Glass works, but metal stays cooler, which helps keep the butter cold.
Pastry Blender or Fork — A pastry blender is ideal for cutting in the butter quickly. If you don’t have one, a large fork or even your clean hands (if you work fast) work fine. The goal is pea-sized chunks of butter.
2-Inch Biscuit Cutter — This is my most important tool. I don’t roll out the dough and cut shapes; I just drop spoonfuls of dough into circles and cut them. This preserves the layers. A round cookie cutter or even an empty glass works if you’re in a pinch.
Sheet Pan with Parchment — Line your baking sheet with parchment paper. This prevents sticking and makes cleanup instant. I use standard half-sheet pans. If you have smaller pans, you can bake in two batches.
Freezer-Safe Containers — I use rigid plastic containers with snap-on lids, or heavy-duty freezer bags. Rigid containers stack better in the freezer. If you use bags, squeeze out as much air as possible to prevent freezer burn.
How to Make Make-Ahead Buttermilk Biscuits for Meal Prep
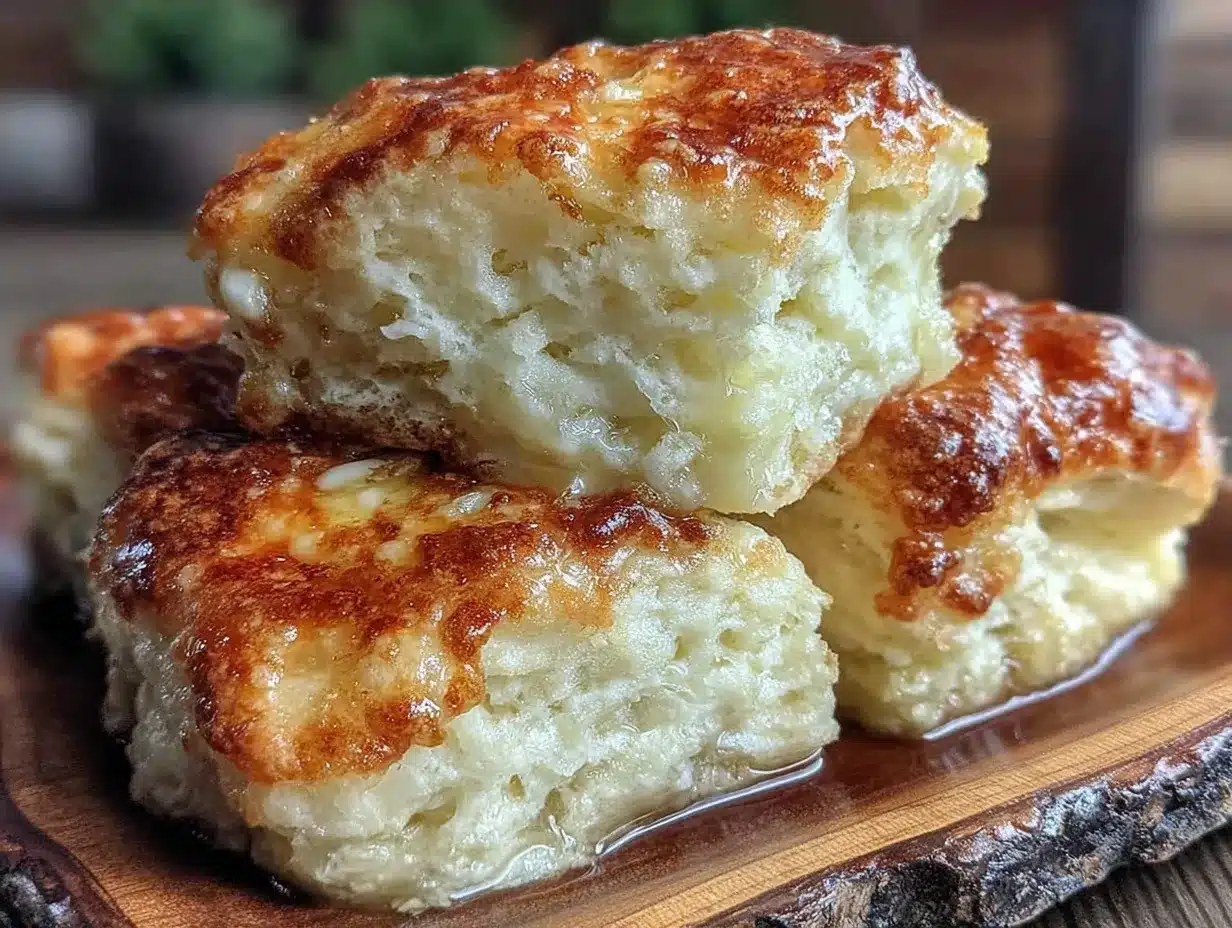
Let’s get into the nitty-gritty. This process is methodical. Follow the steps, and you’ll get perfect results every time.
Step 1: Prep the Dry Mix (5 minutes)
In your large mixing bowl, whisk together the all-purpose flour, baking powder, baking soda, and salt. Whisking aerates the flour and distributes the leavening agents evenly. If you skip this, you might get pockets of baking soda that taste metallic. Set this aside.
Step 2: Cut in the Butter (3 minutes)
Add the cold, cubed butter to the flour mixture. Use your pastry blender, fork, or fingers to cut the butter into the flour. You’re looking for a coarse meal with visible pea-sized chunks of butter. These chunks are critical. When they hit the oven, the water in the butter turns to steam, pushing the dough layers apart. If the butter is fully incorporated and smooth, you’ll get a dense bread, not a flaky biscuit. Keep the butter cold throughout this step.
Step 3: Add the Wet Ingredients (2 minutes)
Pour in the buttermilk and the egg. Stir gently with a wooden spoon or spatula just until the dough comes together. It will look shaggy and messy. This is normal. Do not overmix. Overmixing develops gluten, which makes biscuits tough. You want tender biscuits, so stop mixing as soon as there are no dry patches of flour left. The dough should be sticky.
Step 4: Shape the Biscuits (5 minutes)
Turn the dough out onto a lightly floured surface. Pat it into a rectangle about ¾-inch thick. This thickness ensures they cook evenly. Use your 2-inch cutter to cut circles. Press straight down—do not twist the cutter. Twisting seals the edges and prevents the biscuits from rising properly. Place the cut biscuits on your parchment-lined sheet pan, leaving about an inch between them.
Step 5: Bake Until Golden (15-18 minutes)
Preheat your oven to 425°F (220°C). Place the pan in the center of the oven. Bake for 15-18 minutes. The biscuits are done when they are deep golden brown on top and sound hollow when tapped on the bottom. If they’re pale, they need more time. If they’re burnt, your oven is too hot. Rotate the pan halfway through for even browning.
Step 6: Cool Completely (20 minutes)
Transfer the biscuits to a wire rack. Let them cool completely. This is a crucial step for meal prep. If you pack them while warm, steam will get trapped, and they’ll become soggy. Let them sit until they’re no longer warm to the touch.
Total Time Breakdown: Prep: 10 mins | Bake: 18 mins | Cool: 20 mins | Total: ~50 minutes.
Expert Tips for Freezer Success
Here’s everything I learned from making this Make-Ahead Buttermilk Biscuits for Meal Prep routine too many times (and making mistakes along the way).
The Flash-Freeze Method
This is the #1 game-changer. Once the biscuits are completely cool, place the entire baking sheet in the freezer for 1 hour. This hardens the biscuits so they don’t stick together. After an hour, transfer them to your freezer bags or containers. If you try to bag them warm or soft, they’ll clump into one giant dough brick. Flash-freezing keeps them individual and separate.
Don’t Skimp on the Butter
I’ve tried reducing the butter to make these “lighter,” and the result was dry, crumbly biscuits that tasted like cardboard. Butter is flavor and texture. Don’t compromise here. If you’re dairy-free, you can use a high-quality vegan butter stick that stays cold, but the texture will be slightly different.
Reheating is Key
Never microwave these from frozen. The microwave makes the starch retrograde, turning them rubbery. Always use dry heat. A toaster oven, air fryer, or conventional oven is best. If you must use a microwave, wrap the biscuit in a damp paper towel and heat for 30 seconds, but the texture won’t be ideal. For the best Make-Ahead Buttermilk Biscuits for Meal Prep experience, stick to the oven.
Label Your Bags
It sounds obvious, but I once froze a bag of “biscuits” that turned out to be old scones from a different experiment. Write the date and contents on the bag. These freeze well for up to 3 months. After that, they start to suffer from freezer burn.
Recipe Variations and Dietary Mods
Once you’ve nailed the basic version, here’s how to mix it up. The base recipe is flexible.
Savory Cheddar & Chive
Add ½ cup of shredded sharp cheddar cheese and 2 tablespoons of fresh chives to the dry ingredients. These are incredible with a slice of turkey or ham. They pair well with the Creamy Cheese Blintz Casserole vibe but are much faster to make.
Garlic Herb
Add 1 teaspoon of garlic powder and 1 tablespoon of dried parsley. These are perfect for serving alongside a soup or salad for lunch. They add a nice savory kick without being overwhelming.
Gluten-Free Option
You can use a 1:1 gluten-free flour blend that includes xanthan gum. The texture will be slightly more crumbly, so I recommend adding an extra egg to help bind them. They still freeze well, but handle them gently.
Dairy-Free Twist
Use coconut oil instead of butter (keep it solid and cold) and coconut milk buttermilk (full fat). The flavor will be slightly coconutty, which works well with sweet jams. For savory, add a pinch more salt to mask the coconut taste.
Serving & Storage Guide
Serving Ideas:
I serve these warm. A pat of butter is classic, but I also love them with honey, fruit preserves, or even peanut butter. For a savory breakfast, slice them in half and toast them with eggs. They hold up well to toppings. If you’re meal prepping lunches, these are great for making mini sandwiches with turkey and cheese.
Storage:
Room temperature: These stay fresh in an airtight container for 2 days. After that, they start to dry out.
Refrigerator: They last up to 5 days in the fridge, but they will stale faster than at room temperature. I don’t recommend storing them here unless you plan to reheat them immediately.
Freezer: This is where they shine. Store in freezer bags or rigid containers for up to 3 months. They freeze perfectly.
Meal Prep Tip:
I bake 12 biscuits every Sunday. I eat 3 on Monday, 3 on Tuesday, and 3 on Wednesday. I save the last 3 for Thursday, or I freeze them for a later week. This way, I always have a backup supply. If I run out, I can bake a fresh batch in under an hour.
Nutrition Information
I’m not a nutritionist, but here’s the breakdown per biscuit (makes 12 biscuits):
| Nutrient | Amount |
|---|---|
| Calories | 280 |
| Protein | 5g |
| Carbs | 28g |
| Fiber | 1g |
| Fat | 16g |
| Sodium | 350mg |
My Take:
These are indulgent. They have butter and flour. They are not a diet food. But they are better than buying frozen, preservative-heavy biscuits from the store. You know exactly what’s in them. And honestly, having a reliable breakfast means you’re less likely to grab a sugary donut on the way to work. That’s a win in my book.
Final Thoughts
Mastering the Make-Ahead Buttermilk Biscuits for Meal Prep routine has completely transformed my mornings. It’s not about perfection; it’s about preparation. By spending one hour on Sunday, I buy myself four days of calm, warm, delicious breakfasts. You can do this too. Start small. Bake a batch, freeze half, and see how it feels to wake up without stress. If you make this, drop a comment! I love hearing how it turns out in your kitchen. And if you’re looking for more make-ahead ideas, check out my Fall Chai Latte Syrup for grab-and-go coffee drinks. Happy cooking!
FAQs
Q: Can I freeze the dough instead of the baked biscuits?
A: You can, but it’s riskier. If you freeze the raw dough, it can dry out or absorb freezer odors. Also, when you thaw and bake it, the leavening agents might not work as effectively. I’ve found that freezing the baked biscuits yields a better texture. If you must freeze dough, shape the biscuits, flash-freeze them, then bake from frozen, adding 2-3 minutes to the bake time.
Q: Why are my biscuits dense and not fluffy?
A: This is usually caused by overmixing the dough or using old baking powder. Also, if the butter melted before hitting the oven, you’ll lose the steam pockets. Keep everything cold, mix gently, and check your leavening agents.
Q: How do I reheat these without a toaster oven?
A: You can use a conventional oven at 350°F (175°C) for 5-7 minutes, or an air fryer at 320°F (160°C) for 3-4 minutes. Avoid the microwave if you want flakiness.
Q: Can I double this recipe for a bigger batch?
A: Yes, but make sure you have enough space in the oven. If you’re baking two sheets, rotate them halfway through. Also, ensure your mixing bowl is large enough to handle the volume without spilling.
Q: Do these work for vegetarian meal prep?
A: Absolutely. They are naturally vegetarian. Pair them with nut butter, jam, or avocado for a complete plant-based breakfast. They also work well with tofu scramble.
Pin This Recipe!
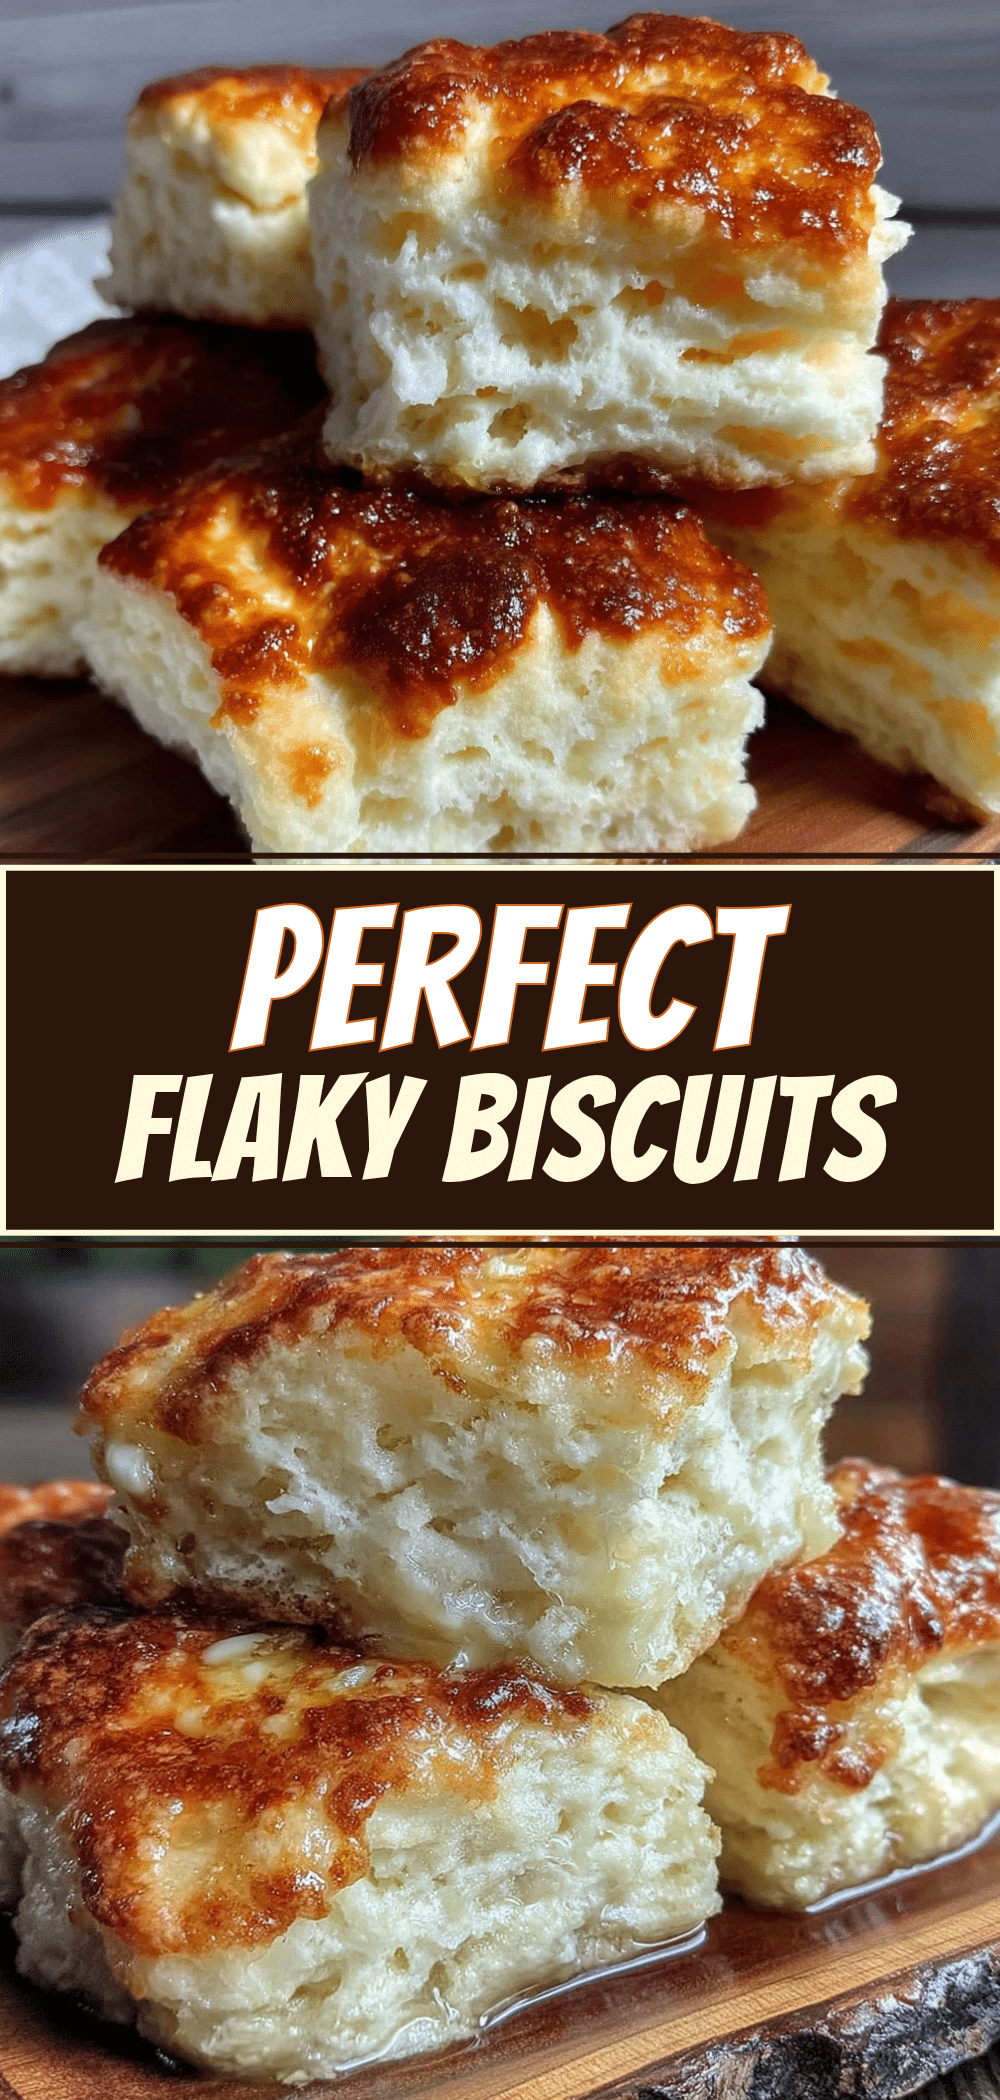
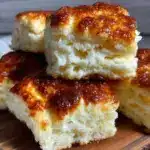
Make-Ahead Buttermilk Biscuits for Meal Prep
- Total Time: 50 minutes
- Yield: 12 servings 1x
Description
A reliable, flaky buttermilk biscuit recipe designed for meal prep. These biscuits freeze beautifully, reheat in under three minutes, and provide a stress-free breakfast solution for busy mornings.
Ingredients
- 3 ½ cups (440g) All-Purpose Flour
- 1 cup (226g) Unsalted Butter, very cold and cubed
- 1 tbsp (6g) Baking Powder
- ½ tsp (3g) Baking Soda
- 1 ¼ cups (300ml) Buttermilk
- 1 large Egg
- 1 tsp (6g) Salt
Instructions
- Preheat oven to 425°F (220°C).
- In a large mixing bowl, whisk together the flour, baking powder, baking soda, and salt.
- Add the cold, cubed butter to the flour mixture. Use a pastry blender, fork, or fingers to cut the butter into the flour until it resembles a coarse meal with pea-sized chunks.
- Pour in the buttermilk and egg. Stir gently just until the dough comes together and no dry patches remain. Do not overmix.
- Turn the dough out onto a lightly floured surface and pat it into a rectangle about ¾-inch thick.
- Use a 2-inch biscuit cutter to cut circles, pressing straight down without twisting. Place biscuits on a parchment-lined baking sheet, leaving an inch between them.
- Bake for 15-18 minutes until deep golden brown and hollow when tapped.
- Transfer to a wire rack and let cool completely.
- Flash-freeze the cooled biscuits on the baking sheet for 1 hour, then transfer to freezer-safe containers or bags for storage.
Notes
Keep butter cold to ensure flakiness. Do not overmix the dough. Cool biscuits completely before freezing to prevent sogginess. Reheat in a toaster oven, air fryer, or conventional oven at 350°F for 3-4 minutes. Avoid microwaving as it makes them rubbery.
- Prep Time: 10 minutes
- Cook Time: 18 minutes
- Category: Breakfast
- Cuisine: American
Nutrition
- Serving Size: 1 biscuit
- Calories: 280
- Sugar: 2
- Sodium: 350
- Fat: 16
- Saturated Fat: 10
- Carbohydrates: 28
- Fiber: 1
- Protein: 5
Keywords: make-ahead biscuits, buttermilk biscuits, meal prep breakfast, freezer friendly biscuits, easy breakfast, flaky biscuits