I have to confess something: for the longest time, I thought “comfort food” was just a marketing term. You know, the kind of thing people say to sound cozy while actually eating something that makes them feel sluggish. Then I moved into my first apartment in Atlanta, broke, tired, and completely overwhelmed by the humidity. I was surviving on cereal and takeout, and my soul was starting to wither.
My neighbor, Mrs. Gable, smelled my misery before I even knocked on her door. She showed up with a Tupperware container and a stern look. “You’re eating cereal?” she asked, looking at the empty carton in my trash can. “Child, you need protein. And you need flavor. Come over for dinner.”
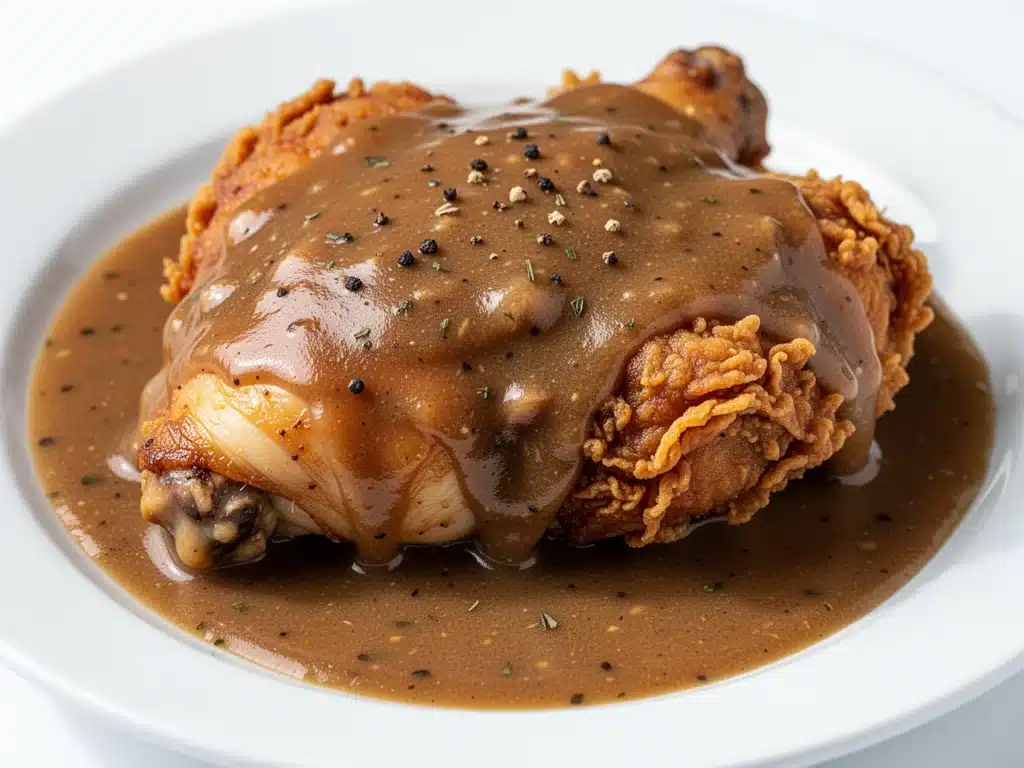
That dinner was Southern Smothered Chicken with Gravy. I sat at her Formica table, watching her pour that dark, rich, peppery gravy over a piece of chicken that was crispy on the outside and tender on the inside. I took one bite, and I literally teared up. It wasn’t just food; it was a hug. It was warmth. It was the feeling that someone actually cared if I was fed.
That night, I realized that cooking isn’t about following instructions perfectly. It’s about making something that feeds the heart as much as the body. I’ve spent the last five years refining this recipe, testing it with my picky-eater kids, my meat-loving husband, and even my vegetarian friend (who loved the gravy so much she asked for the recipe). This Southern Smothered Chicken with Gravy is hands-down the best way to bring that kind of soul-warming comfort to your own kitchen.
It’s not complicated. You don’t need fancy techniques or rare ingredients. You just need a cast-iron skillet, some patience, and the willingness to let the chicken cook slowly so it gets tender. This chicken recipe has become my go-to for Sunday dinners, rainy weeknights, and whenever I just need to feel like everything is going to be okay. And the best part? It takes about 30 minutes of active time, but the flavor tastes like you spent all day in the kitchen.
Why You’ll Love This Recipe
There are about ten reasons I keep coming back to this Southern Smothered Chicken with Gravy, but here are the big ones that will make you fall in love with it too.
Crispy Skin, Juicy Meat — This is the holy grail of chicken cooking. Most recipes give you dry chicken or soggy skin. Not this one. By patting the chicken dry and letting it rest in the flour (a trick I learned from Mrs. Gable), you get a crust that stays crisp even under the gravy. The meat inside stays juicy because you’re not rushing the cook. I’ve made this for dinner parties, and people always ask for the “secret” to the texture. There is no secret, just technique.
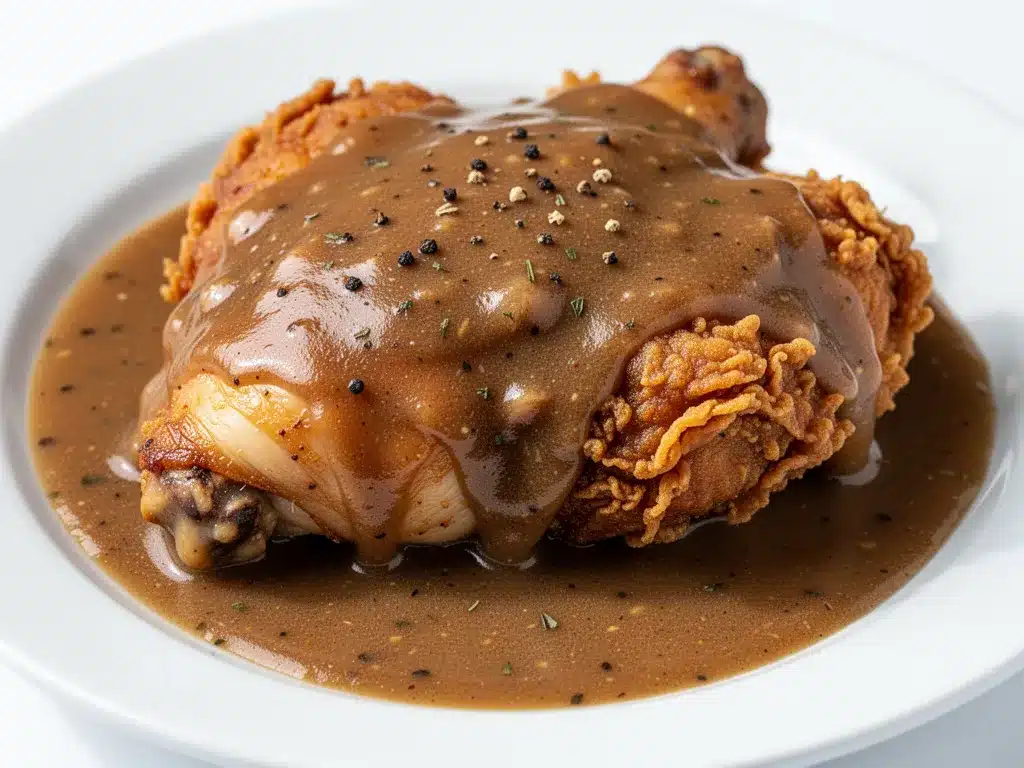
Gravy That Actually Clings — I’ve seen so many recipes where the gravy is watery or lumpy. This method uses the fond (those brown bits stuck to the bottom of the pan) as the base. It’s flavor gold. The gravy is thick, peppery, and rich enough to coat a spoon but light enough to not weigh you down. My kids dip their biscuits in it like it’s chocolate sauce.
One-Pan Wonders — Seriously, if you can brown chicken and make a roux, you can make this. I love one-pan meals because cleanup is minimal. You sear the chicken, remove it, make the gravy in the same pan, and pour it back over. Less dishes means more time with your family. I make this on weeknights when I get home at 6:30 pm and still want a “real” dinner.
Make-Ahead Friendly — This tastes even better the next day. The flavors meld together overnight. I often make a double batch on Sunday and eat it all week. The leftovers reheat beautifully in the microwave or on the stove. Just add a splash of water or broth when reheating to loosen the gravy.
Budget-Smart — Chicken thighs are affordable, and this recipe uses pantry staples like flour, butter, and broth. It feeds 4-6 people for under $20. That’s less than what we’d spend on two pizzas, but this is a real meal with protein and veggies.
This is my answer to “what’s for dinner” when I’m tired, don’t want takeout, and still want something that tastes really good. My family is happy, my husband’s happy, and I’m happy because I’m not stressed about cooking.
Ingredients You’ll Need
Here’s the best part: you probably have most of this already in your pantry. This Southern Smothered Chicken with Gravy relies on simple, high-quality ingredients. I’m particular about three things here, and I’ll tell you exactly why.
For the Chicken
Chicken Thighs (4-6 pieces, bone-in, skin-on / about 1.5 kg) — Boneless, skinless thighs work in a pinch, but I insist on bone-in, skin-on for this recipe. The bone adds flavor to the gravy, and the skin gets crispy and delicious. Boneless chicken dries out too fast when you’re trying to get that nice sear. Look for fresh, not frozen, if possible.
All-Purpose Flour (1 cup / 120g) — This is for dredging. It creates that crispy coating. Don’t use self-rising flour; the baking powder will make it puff up too much. Just plain old all-purpose is perfect.
Seasoning Salt (2 teaspoons) — I use Lawry’s or a similar brand. It has garlic, onion, and paprika in it. If you don’t have it, mix 1 teaspoon salt, 1 teaspoon paprika, and ½ teaspoon garlic powder. This is the backbone of the flavor.
Black Pepper (1 teaspoon, freshly cracked) — Don’t use the dust in the shaker. Get a peppercorn grinder. Freshly cracked pepper adds a real bite that cuts through the richness of the gravy.
Vegetable Oil (3 tablespoons) — I use vegetable or canola oil because it has a high smoke point. Olive oil burns too easily at the high heat needed for searing. You want that chicken to brown, not smoke.
For the Gravy
Butter (3 tablespoons / 45g) — Unsalted butter is best so you can control the salt. If you only have salted, reduce the seasoning salt in the dredge. Butter adds that nutty, rich flavor to the roux.
All-Purpose Flour (3 tablespoons / 25g) — This makes the roux. Equal parts fat and flour is the rule. Don’t skimp on this, or your gravy will be thin.
Chicken Broth (2 cups / 480ml) — I use low-sodium broth because the chicken and seasoning salt are already salty. If you use regular broth, taste the gravy before adding extra salt. Homemade broth is amazing if you have it, but carton works fine.
Water (½ cup / 120ml) — Sometimes the broth isn’t enough to get the right consistency. Water helps loosen the gravy without making it too salty.
Worcestershire Sauce (1 teaspoon) — This is my secret weapon. It adds umami and depth. You won’t taste it directly, but the gravy will taste “meatier” and more complex. Mrs. Gable swears by it.
Hot Sauce (1-2 teaspoons, optional) — I add a dash of Crystal or Frank’s RedHot. It doesn’t make it spicy; it just adds a little tang and heat that wakes up the palate. Skip it if you’re serving little kids who are sensitive to spice.
Equipment Needed
You don’t need fancy equipment for this. Here’s what I actually use.
Cast-Iron Skillet — I use a 12-inch cast iron skillet. It holds heat beautifully, which is crucial for getting a good sear on the chicken. If you don’t have cast iron, a heavy-bottomed stainless steel skillet works too. Avoid non-stick if you can; you want those brown bits (fond) for the gravy.
Large Pot — For boiling water if you’re serving with mashed potatoes or biscuits. I use a 6-quart pot. It needs to fit the amount of liquid you’ll be boiling.
Whisk — Essential for making the roux. A balloon whisk is best because it incorporates air and breaks up lumps easily. I learned this the hard way with a spoon—my gravy was lumpy for days.
Tongs — For turning the chicken. Knives can pierce the skin and let juices out. Tongs keep the chicken intact. I use metal tongs; they’re durable and easy to clean.
Wooden Spoon — For scraping the fond from the bottom of the pan. This is where the flavor is. Don’t skip this step. I use a wooden spoon because it doesn’t scratch my cast iron.
Measuring Cups and Spoons — Pretty standard stuff. Dollar store versions work fine. Accuracy matters more here than in some other recipes, especially for the roux.
Slotted Spoon — For removing the chicken from the pan. It lets the excess oil drain back into the pan. I keep a slotted spoon on the stove for this exact reason.
How to Make It: Step-by-Step
Alright, let’s make this! I’m walking you through exactly how I do it, including the little tricks I’ve picked up over the years.
Step 1: Prep the Chicken (10 minutes)
Pat the chicken thighs completely dry with paper towels. This is non-negotiable. Wet chicken steams instead of sears. If it’s wet, the skin won’t get crispy. Once dry, season both sides generously with the seasoning salt and black pepper. Then, dredge each piece in the flour, shaking off any excess. Press the flour into the chicken so it sticks. It should look like a light, even coat, not a thick batter.
Step 2: Sear the Chicken (8-10 minutes)
Heat the vegetable oil in your cast-iron skillet over medium-high heat. You want the oil to shimmer but not smoke. Carefully place the chicken pieces in the pan, skin-side down. Don’t crowd the pan! If you have a small skillet, do this in batches. Crowding steams the chicken and prevents browning. Sear for 5-6 minutes without moving it. Let it get a deep golden brown crust. Flip and cook for another 3-4 minutes on the other side. The chicken doesn’t need to be cooked through yet; we’ll finish it in the gravy. Remove the chicken to a plate and set aside. Leave the oil in the pan.
Step 3: Make the Roux (3 minutes)
Reduce the heat to medium. Add the butter to the skillet. Let it melt and foam. Once it stops foaming, sprinkle the 3 tablespoons of flour over the butter. Whisk constantly. You want to cook the flour for about 2-3 minutes until it turns a light golden brown color. This is called a roux. It smells nutty and amazing. If you burn it, it’ll taste bitter, so keep an eye on it. Stir constantly.
Step 4: Build the Gravy (5 minutes)
Slowly pour in the chicken broth while whisking vigorously. This is where lumps happen if you rush. Add the broth a little at a time, whisking until smooth before adding more. Add the water and Worcestershire sauce. Keep whisking as the gravy thickens. It should coat the back of a spoon. If it’s too thick, add a splash more water. If it’s too thin, let it simmer a bit longer.
Step 5: Simmer the Chicken (15-20 minutes)
Place the seared chicken pieces back into the skillet, nestling them into the gravy. The gravy should come about halfway up the chicken. Bring the gravy to a gentle simmer, then reduce the heat to low. Cover the skillet with a lid. Let it cook for 15-20 minutes, or until the chicken is tender and cooked through (internal temperature of 165°F / 74°C). Every 5 minutes, baste the chicken by spooning the hot gravy over the top. This keeps the meat moist and flavorful.
Step 6: Final Touches (2 minutes)
Remove the lid. If the gravy is still too thin, let it simmer uncovered for a few more minutes. Taste and adjust salt and pepper if needed. Add the hot sauce if you’re using it. Remove the chicken to a serving platter. If you want a smoother gravy, you can strain it, but I like the rustic look with bits of chicken and herbs. Pour the remaining gravy over the chicken.
Total Time: About 45 minutes (10 minutes active, 35 minutes mostly hands-off)
Expert Tips & Tricks
Here’s everything I’ve learned from making this dozens of times. These tips will save you from my mistakes.
Don’t Move the Chicken — When you first put the chicken in the pan, let it sit. If you try to flip it too early, the skin will stick and tear. Wait until you see a nice brown crust forming around the edges. It’ll release from the pan naturally when it’s ready.
Scrape the Fond — Those brown bits stuck to the bottom of the pan after searing the chicken? That’s flavor. Don’t wash it away. When you make the roux, those bits dissolve into the butter and flour, adding a deep, roasted flavor to the gravy. This is what separates good gravy from great gravy.
Low and Slow for Tenderness — After searing, the chicken needs to simmer gently. High heat will make the meat tough and chewy. Covering the pan traps steam, which helps break down the connective tissue in the thighs, making them fall-off-the-bone tender. Patience is key here.
Gravy Consistency — The gravy will thicken as it cools. If you’re serving it later, you might need to thin it out with a little extra broth or water. I always keep a cup of hot water on the stove just in case.
Common Mistakes (and how to avoid them):
- Mistake: Soggy Skin — Fix: Make sure the chicken is completely dry before dredging. Also, don’t crowd the pan. Give each piece room to breathe.
- Mistake: Lumpy Gravy — Fix: Whisk constantly when adding the broth. Add the broth slowly. If you still get lumps, use a whisk vigorously or strain the gravy.
- Mistake: Dry Chicken — Fix: Don’t overcook the chicken during the searing stage. It finishes cooking in the gravy. Use a meat thermometer to check for 165°F.
Variations & Substitutions
Once you’ve nailed the basic version, here’s how you can mix it up. I’ve tried all of these.
Chicken Breast Version — You can use chicken breasts, but they cook faster and dry out easier. Sear them for 3-4 minutes per side, then simmer for only 10-12 minutes. Check the temperature often. I prefer thighs for their juiciness, but breasts work if you’re careful.
Spicy Smothered Chicken — Add 1 teaspoon of cayenne pepper to the flour dredge, and use 2-3 teaspoons of hot sauce in the gravy. This is for those who like a kick. My brother-in-law requests this version every time he visits.
Mushroom Lover’s — Sauté 1 cup of sliced mushrooms in the butter before making the roux. They add an earthy depth that pairs beautifully with the chicken. I do this when I want to add some vegetables.
Gluten-Free — Use gluten-free all-purpose flour for the dredge and the roux. Most major brands work fine. I’ve used Bob’s Red Mill and it’s indistinguishable from regular flour in this recipe.
Dairy-Free — Replace the butter with olive oil or dairy-free butter. The roux will be slightly different, but still delicious. I make this for my lactose-intolerant friend, and she loves it.
Side Dish Pairings — This chicken is best served with:
- Mashed potatoes (obviously, for extra gravy)
- Buttermilk biscuits
- Steamed white rice
- Green beans with bacon
Serving & Storage
I usually serve this straight from the skillet at the dinner table—it looks rustic and stays warm. But here are other ways I’ve enjoyed it.
How to Serve: Ladle the chicken and a generous amount of gravy over mashed potatoes or biscuits. Garnish with fresh parsley if you have it. It adds a pop of color and freshness.
Storage Instructions:
Refrigerator: Store in an airtight container for up to 4 days. The gravy will thicken in the fridge—totally normal. The chicken stays moist.
Reheating: Best method: Add to a skillet with a splash of broth or water over low heat. Stir gently until heated through. The extra liquid brings back the creamy texture. Microwave method: Heat in 30-second intervals, stirring between. Add a splash of liquid if it’s too thick. Never works: Trying to reheat in the pot you cooked it in without adding liquid. It always burns on the bottom. Ask me how I know.
Freezing: This doesn’t freeze well because of the dairy in the gravy. The sauce can separate when thawed. Make it fresh or store in the fridge for up to 4 days.
Meal Prep: Make the chicken and gravy on Sunday, store separately. Reheat and serve with fresh sides. Takes 10 minutes and tastes way better than takeout.
Nutrition Information
I’m not a nutritionist, but here’s the breakdown if you’re tracking. This is per serving (based on 4 servings).
| Nutrient | Amount |
|---|---|
| Calories | 580 |
| Protein | 42g |
| Carbs | 18g |
| Fiber | 1g |
| Sugar | 1g |
| Fat | 38g |
| Sodium | 650mg |
Look, this is comfort food with butter and flour. It’s not a diet recipe. But it’s way better than takeout, costs less, and I know exactly what’s in it. When I want to make it lighter, I use chicken breast and reduce the butter in the roux. But usually? I just eat a reasonable portion and enjoy it.
Final Thoughts
So that’s my Southern Smothered Chicken with Gravy! I’ve probably talked your ear off at this point, but when you make a recipe this often, you have a lot to say about it. This has saved weeknight dinners more times than I can count. It’s my answer to “what’s for dinner” when I’m tired, don’t want takeout, and still want something that tastes really good. My kids are happy, my husband’s happy, and I’m happy because I’m not stressed about cooking.
Make it yours! Try different add-ins, swap in your favorite vegetables, adjust the spice level. The best recipes are the ones you adapt to your family’s tastes. If you make this, drop a comment and let me know what you think! I love hearing how recipes turn out in your kitchen. And if something doesn’t work, tell me that too—I’m here to help troubleshoot.
Happy cooking! And I hope your kitchen smells half as good as mine does right now.
Frequently Asked Questions
Can I use chicken breasts instead of thighs?
You can, but thighs are much more forgiving. They have more fat and connective tissue, which keeps them juicy during the long simmer. If you use breasts, reduce the simmering time to 10-12 minutes and check the temperature frequently to avoid drying them out. I’ve tried both, and I always come back to thighs.
Why is my gravy too thin?
If your gravy is too thin, it means you didn’t cook the roux long enough or you added too much liquid. Let it simmer uncovered for a few more minutes to reduce. If it’s still too thin, you can make a slurry with 1 teaspoon of cornstarch and 1 tablespoon of cold water, then whisk it into the simmering gravy. It will thicken in about a minute.
Can I make this ahead for a dinner party?
Yes! You can sear the chicken and make the gravy up to 2 days ahead. Store them separately in the fridge. When you’re ready to serve, reheat the gravy, add the chicken, and simmer for 15-20 minutes until the chicken is heated through and tender. It saves you stress during the party.
Can I freeze this recipe?
Honestly, this doesn’t freeze well because of the dairy in the gravy. The sauce can separate and become grainy when thawed. It’s best enjoyed fresh or stored in the fridge for up to 4 days. If you must freeze, freeze the chicken without the gravy, and make fresh gravy when you reheat.
What sides go best with this?
Classic Southern sides are the way to go. Mashed potatoes are perfect for soaking up the gravy. Buttermilk biscuits are a must. Steamed white rice, collard greens, or creamed corn also work beautifully. I often serve this with crispy baked chicken tenders for a fun twist, though this recipe is the real deal for comfort.
Is this recipe spicy?
The base recipe is not spicy. It’s savory and peppery. If you want heat, add hot sauce or cayenne pepper. I add a dash of hot sauce for depth, but it’s not noticeable. If you’re serving kids, skip the hot sauce and just use the black pepper.
Can I use boneless chicken?
Yes, but you’ll need to adjust the cooking time. Boneless chicken cooks much faster. Sear it for 3-4 minutes per side, then simmer for only 10 minutes. Check the temperature often. I prefer bone-in for the flavor it adds to the gravy, but boneless works in a pinch.
Pin This Recipe!
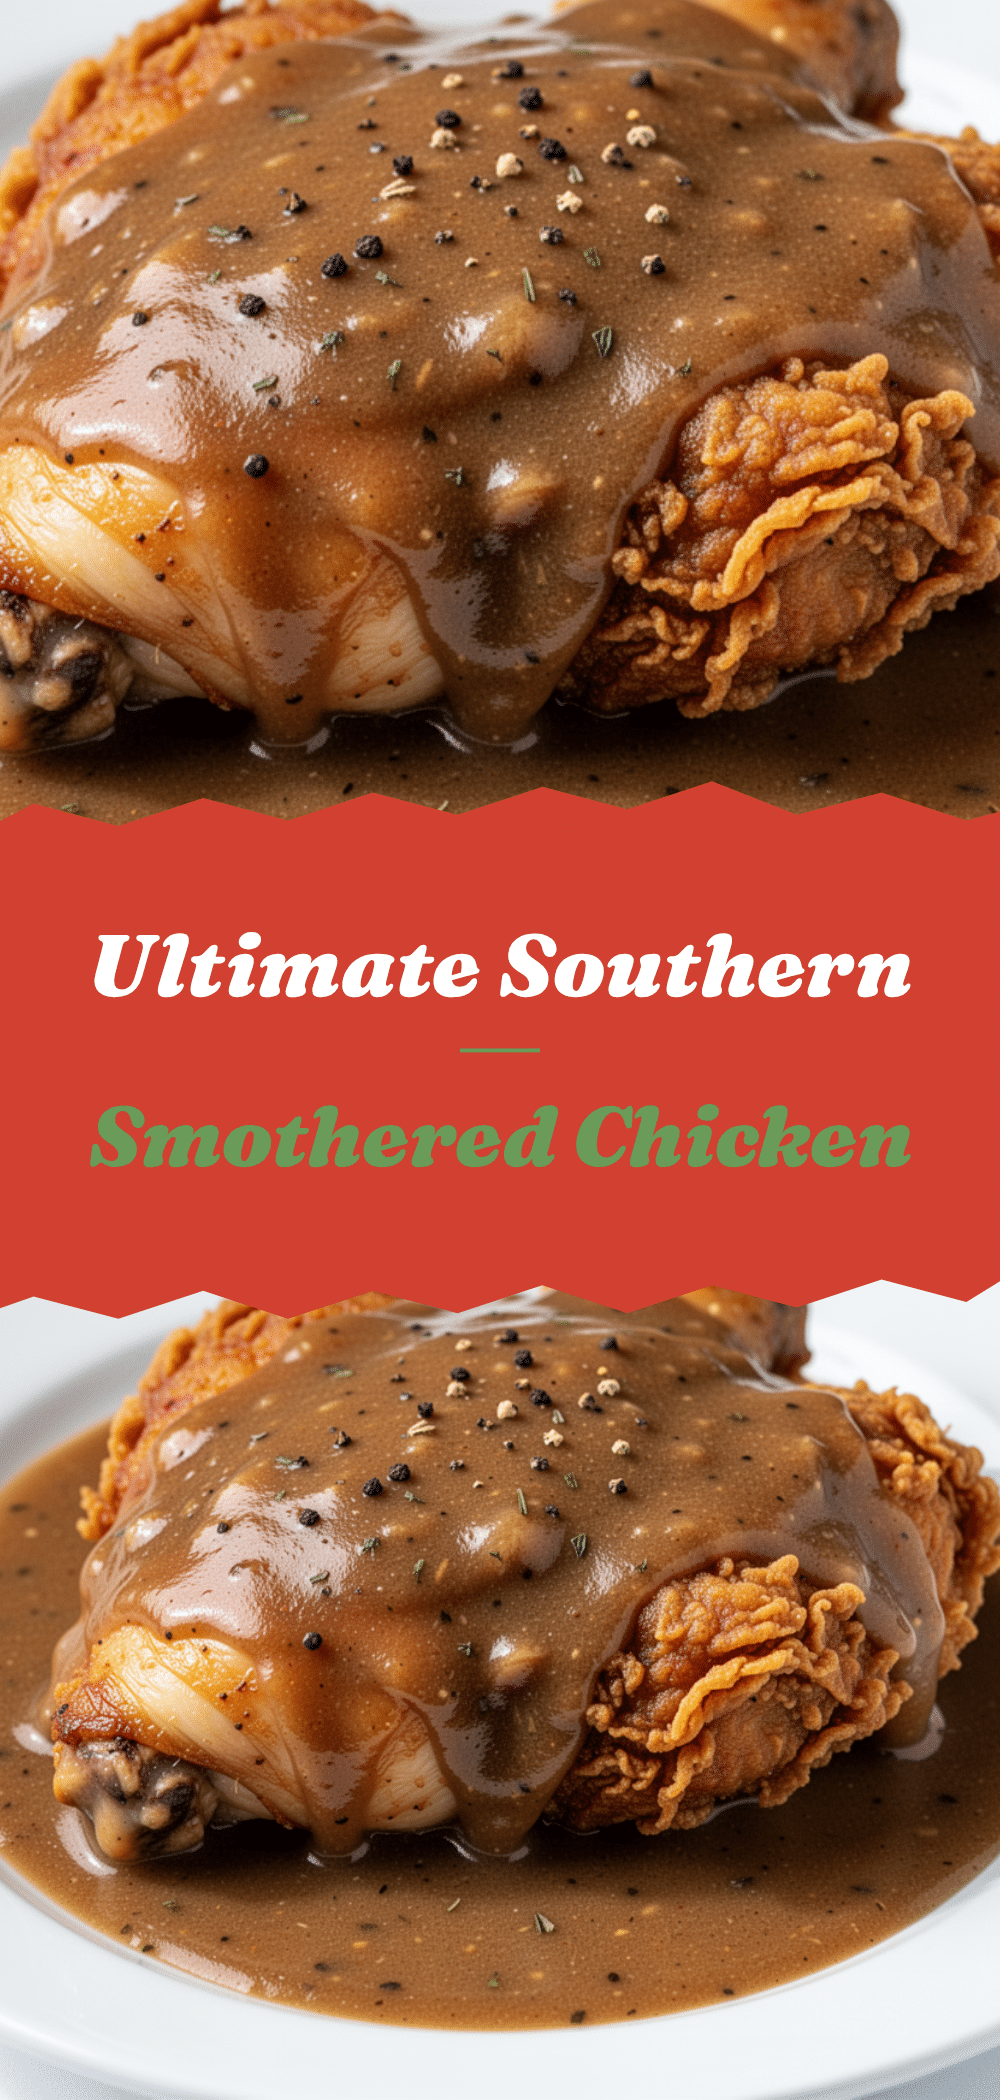
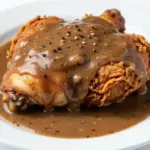
Southern Smothered Chicken with Gravy
- Total Time: 45 minutes
- Yield: 4 servings 1x
Description
A comforting Southern classic featuring crispy, bone-in chicken thighs simmered in a rich, peppery gravy made from pan fond. This one-pan meal is tender, flavorful, and perfect for weeknight dinners.
Ingredients
- 4–6 chicken thighs, bone-in, skin-on (about 1.5 kg)
- 1 cup all-purpose flour (for dredging)
- 2 teaspoons seasoning salt
- 1 teaspoon freshly cracked black pepper
- 3 tablespoons vegetable oil
- 3 tablespoons unsalted butter
- 3 tablespoons all-purpose flour (for roux)
- 2 cups low-sodium chicken broth
- 1/2 cup water
- 1 teaspoon Worcestershire sauce
- 1–2 teaspoons hot sauce (optional)
Instructions
- Pat chicken thighs completely dry with paper towels. Season both sides with seasoning salt and black pepper, then dredge in flour, pressing to adhere.
- Heat vegetable oil in a 12-inch cast-iron skillet over medium-high heat. Sear chicken skin-side down for 5-6 minutes until golden brown. Flip and cook 3-4 minutes more. Remove chicken to a plate, leaving oil in pan.
- Reduce heat to medium. Melt butter in the skillet. Whisk in 3 tablespoons flour to make a roux, cooking for 2-3 minutes until light golden brown.
- Slowly whisk in chicken broth, water, and Worcestershire sauce. Simmer until gravy thickens enough to coat the back of a spoon.
- Return chicken to the skillet, nestling into the gravy. Cover and simmer on low for 15-20 minutes until chicken reaches 165°F, basting occasionally.
- Remove lid. Adjust seasoning with hot sauce, salt, or pepper if needed. Serve chicken with gravy poured over.
Notes
Ensure chicken is completely dry before dredging to ensure crispy skin. Do not crowd the pan when searing. The gravy will thicken as it cools; add liquid when reheating. This recipe does not freeze well due to the dairy in the gravy.
- Prep Time: 10 minutes
- Cook Time: 35 minutes
- Category: Main Course
- Cuisine: Southern
Nutrition
- Serving Size: 1 chicken thigh with
- Calories: 580
- Sugar: 1
- Sodium: 650
- Fat: 38
- Saturated Fat: 10
- Carbohydrates: 18
- Fiber: 1
- Protein: 42
Keywords: Southern cooking, smothered chicken, chicken gravy, comfort food, one-pan meal, cast iron chicken, weeknight dinner