It was 6:45 PM on a Saturday. The sun was going down, the living room was a disaster zone of inflated balloons and plastic dinosaur toys, and my seven-year-old was staring at the kitchen counter like I’d just told him we were moving to Mars.
“Mom,” he said, voice trembling slightly, “where are the treats?”
I froze. I had been so focused on the main course—grilled burgers that needed to stay juicy and cool—that I had completely, utterly forgotten to buy or make dessert. The grocery store was forty minutes away. In this neighborhood, that’s basically a cross-country expedition during rush hour. And even if I made it back in twenty, I’d be stuck in line while a room full of six-year-olds lost their minds.
So I did what any desperate, slightly panicked parent does. I looked at the pantry. I looked at the fridge. And I found a bag of marshmallows, a box of Rice Krispies, and a stick of butter.
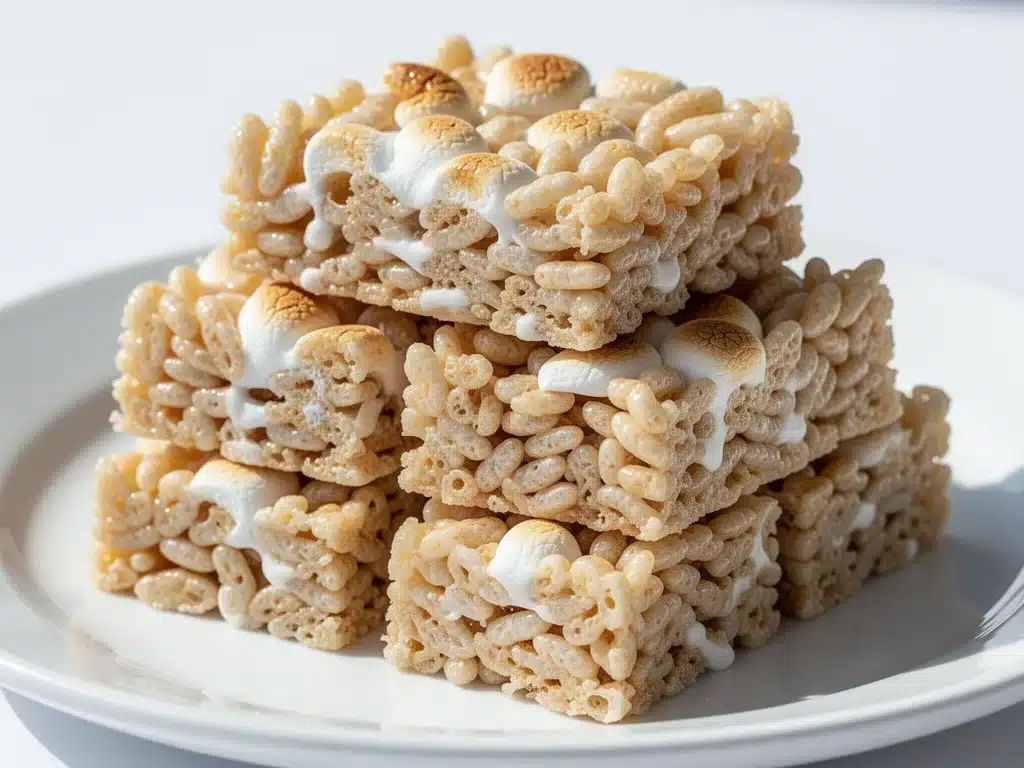
I didn’t have time for fancy frosting. I didn’t have time to bake (and honestly, turning on the oven in August heat when the party was starting in an hour felt like a crime). So I made No-Bake Marshmallow Rice Krispie Bars. Just three ingredients. No eggs. No flour. No oven. Just melted sweetness pressed into a pan.
When I pulled that pan out of the fridge, cut it into squares, and handed it to my son, the tension in the room vanished. Kids don’t care about complexity. They care about sugar, texture, and the fact that it’s shaped like a square. Within ten minutes, the counter was clean, the kids were full, and I had successfully avoided a meltdown that would have been remembered for years.
That was three years ago. Since then, I’ve made these bars for every birthday, end-of-year party, bake sale, and random Tuesday snack. They’ve become my secret weapon. Not because they’re gourmet (though they’re pretty good), but because they work. Every. Single. Time.
People always ask me for the recipe when they see me pulling them out of the fridge. “How do you make them so chewy?” “How do you keep them from getting hard?” “Can you make them without the pink food coloring?”
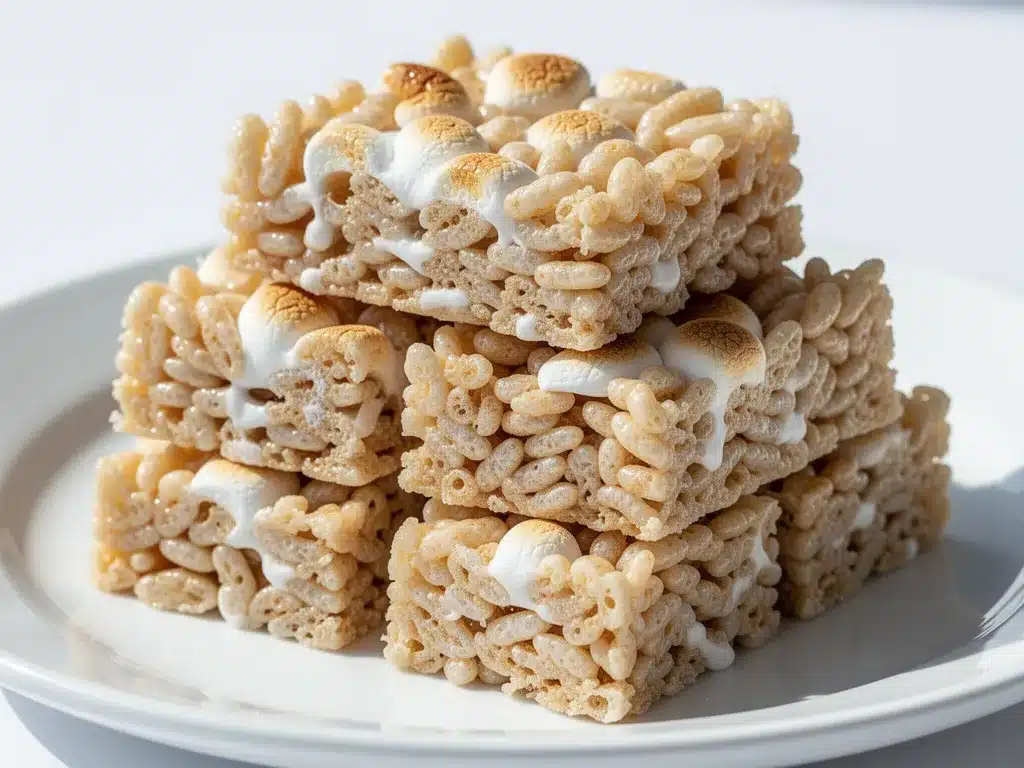
Here’s the thing: most people get these wrong. They burn the marshmallows. They use too much butter and get grease puddles. They let them sit out too long and turn into bricks. I’ve tested this method dozens of times—sometimes while holding a baby, sometimes while answering emails, sometimes at 11 PM because I forgot again. And I’ve finally nailed the technique that gives you that perfect balance: crispy on the outside, chewy and gooey on the inside, with just enough buttery flavor to keep it from being purely sugary.
If you’re looking for a treat that’s easy, cheap, and universally loved by kids (and adults, let’s be honest), this is it. Let’s get into it.
Why You’ll Love This Recipe
There are about ten reasons I keep making these marshmallow rice krispie bars, but here are the big ones that keep them in my regular rotation.
Stupid Simple — Seriously, if you can boil water and stir, you can make this. There’s no measuring cups required if you’re feeling lazy, but for consistency, I use simple ratios. I’ve walked my teenage daughter through it over FaceTime while I was at work. She nailed it.
Lightning Fast — 15 minutes from start to finish. Fifteen. That’s less time than it takes to order Uber Eats and wait for the driver to arrive. I make these on weeknights when I need a quick fix or on weekends when I’m prepping for a party.
Pantry-Friendly — You probably have all of these ingredients already. Marshmallows, rice cereal, butter. It’s the holy trinity of easy desserts. I keep marshmallows stocked specifically for emergencies like the one I mentioned above.
Kid-Approved — This is the one treat that gets zero complaints. Even my picky eater, who usually refuses anything with “sugar” in the name, eats these like they’re candy. It’s the texture—the crunch of the cereal mixed with the chew of the marshmallow—that wins them over.
Versatile — Plain is classic, but you can add sprinkles, food coloring, M&Ms, or even mix in some fudgy brownie crumbs for a twist. They’re a blank canvas for creativity.
Makes Amazing Leftovers — Actually, they keep well. Store them in the fridge, and they stay chewy for days. I deliberately make a double batch because they disappear so fast.
This is my go-to when I need a treat that just works. No complicated techniques, no weird ingredients, just reliable, delicious food that makes everyone happy.
Ingredients You’ll Need
Here’s the best part: the ingredient list is shorter than my grocery list for a single vegetable. You need three things. That’s it. But, because I’m particular about quality, here’s what I recommend and why.
Butter (6 tablespoons / 85g) — I use unsalted butter. This gives you control over the flavor and prevents the bars from getting too salty. If you only have salted, reduce any added salt (though there isn’t any in this recipe). I always use real butter, not margarine. Margarine changes the texture and makes it greasy. Don’t risk it.
Marshmallows (10 ounces / 280g) — This is one standard 10-ounce bag. Do not use the giant 20-ounce bag unless you want to double the recipe. Regular white marshmallows are best. Some people try to use “toasted” marshmallows, but they don’t melt as smoothly. You want that gooey, stretchy melt. If you can find “Jumbo” marshmallows, chop them up or just use more time to melt—they work too.
Rice Krispies Cereal (6 cups / about 150g) — Yes, six full cups. This seems like a lot, but the marshmallow mixture expands when you stir it in. Use the classic Kellogg’s Rice Krispies. Other “crispy rice” cereals might be too large or too dense. I’ve tried generic brands, and they work, but the classic brand has the perfect crunch-to-chew ratio. Do not use puffed rice or puffed wheat—they’re too soft and will make your bars mushy.
Optional Add-ins:
- Powdered sugar (2 tablespoons) — For rolling the bars after cutting. Prevents sticking and adds a nice finish.
- Food coloring (Gel preferred) — A few drops into the marshmallow mix for birthday parties. Gel doesn’t add extra liquid, so the texture stays right.
- Vanilla extract (1 teaspoon) — I add this sometimes for a deeper flavor, but it’s optional. The marshmallows are sweet enough on their own.
Equipment Needed
You don’t need fancy equipment for this. Here’s what I actually use.
Large Saucepan or Dutch Oven — I use a 3-quart saucepan. It needs to be big enough to hold the marshmallows and the cereal when you add it. If you use a small pan, you’ll overflow. My ancient stainless steel pan from college still works fine for this.
Large Mixing Bowl — A 6-quart bowl is ideal. You need room to fold the cereal into the marshmallow mixture without making a mess. I use a glass bowl because I can see how well it’s mixing.
9×13 Inch Baking Pan — Standard size. Grease it well. I use a silicone spatula to press the mixture down, so a metal pan is easier to clean than glass if you press hard.
Silicone Spatula — This is crucial. You need a heat-resistant spatula to stir the melting marshmallows and a flexible one to press the bars into the pan. I have two—one for cooking, one for pressing.
Sharp Knife — For cutting the bars. A serrated knife works best to cut through the chewy texture without squishing them.
Parchment Paper — I line the pan with parchment paper, leaving an overhang on the sides. This makes it easy to lift the entire block out of the pan to cut it, and cleanup is a breeze. Just peel off the paper and throw it away.
How to Make It: Step-by-Step
Alright, let’s make this! I’m walking you through exactly how I do it, including the little tricks I’ve picked up over the years.
Step 1: Prep Your Pan (2 minutes)
Lightly grease your 9×13 inch pan with butter or non-stick spray. Line it with parchment paper if you have it. This is the step most people skip, but I promise, it saves you from scrubbing a sticky pan later. Set it aside.
Step 2: Melt the Butter (1 minute)
Melt the butter in your large saucepan over medium-low heat. I use medium-low because high heat burns marshmallows faster than you can blink. Once the butter is foamy and fully melted, it’s ready.
Step 3: Add the Marshmallows (3-4 minutes)
Pour in the marshmallows. Stir constantly. This is the most important step. If you walk away, they will burn. If you stir too hard, you’ll deflate them. Just gentle, constant stirring. Once they’re mostly melted but still have a few lumps, remove the pan from the heat. The residual heat will finish melting them. This prevents that burnt, bitter taste.
Step 4: Fold in the Cereal (2 minutes)
Add all six cups of Rice Krispies to the marshmallow mixture. Use your spatula to fold it in. You want every single piece coated. It might look like there’s not enough marshmallow at first, but keep folding. It will come together. If you’re adding food coloring or vanilla, do it now. Stir until evenly distributed.
Step 5: Press into the Pan (2 minutes)
Transfer the mixture to your prepared pan. Here’s the trick: wet your hands or coat your spatula with a little butter. The mixture is sticky. Wet hands prevent sticking. Press the mixture down evenly. Don’t pack it too tight, or it will be hard. Just flatten it out. Aim for an even layer.
Step 6: Cool and Set (30 minutes)
Let the bars cool at room temperature for at least 30 minutes. You can speed this up by putting them in the fridge for 15 minutes, but room temp is fine. Once they’re firm to the touch, they’re ready to cut.
Step 7: Cut and Serve
Lift the block out of the pan using the parchment overhang. Place on a cutting board. Cut into squares. I like 2-inch squares, which gives about 24 bars. Dust with powdered sugar if you want. Serve immediately or store.
Total Time: About 15 minutes active, 30 minutes cooling.
Expert Tips & Tricks
Here’s everything I’ve learned from making this dozens of times. These tips will save you from my mistakes.
Low Heat is Key
I cannot stress this enough. Marshmallows burn at a very high temperature, but they start to scorch if you leave them on high heat for even 30 seconds. Keep your burner on medium-low. If you see the bottom browning, you’re too hot. Take it off the heat immediately.
Don’t Over-Stir
Once you add the cereal, stop stirring like you’re making bread. Fold gently. Over-mixing breaks down the cereal and makes the bars dense. You want air pockets. You want crunch.
Wet Your Hands
When pressing into the pan, wet your hands with water. The marshmallow sticks to dry skin. Water creates a barrier. It sounds weird, but it works perfectly. Or use buttered hands if you want a richer finish.
Use Gel Food Coloring
If you’re making these for a party, liquid food coloring adds too much water. This can throw off the ratio and make the bars sticky. Gel coloring is concentrated and doesn’t change the texture. A little goes a long way.
Common Mistakes (and how to avoid them):
- Mistake: Bars are too hard. Fix: You pressed too hard, or you used old cereal. Make sure your cereal is fresh and crisp. Press gently.
- Mistake: Bars are too sticky. Fix: Not enough marshmallow, or you didn’t let them set. Ensure you’re using the full 10-ounce bag. Let them cool completely.
- Mistake: Burnt taste. Fix: Heat was too high. Next time, lower the heat and remove from heat while there are still lumps.
Variations & Substitutions
Once you’ve nailed the basic version, here’s how you can mix it up. I’ve tried all of these.
Confetti Bars
Add ½ cup of rainbow sprinkles to the marshmallow mix before adding cereal. Perfect for birthdays. The sprinkles add extra crunch and color.
Chocolate Drizzle
Melt ½ cup of chocolate chips with 1 teaspoon of coconut oil. Drizzle over the cooled bars. Let it set in the fridge. This makes them feel fancier and adds a nice bitter contrast to the sweet marshmallow.
Peanut Butter Swirl
Mix 2 tablespoons of peanut butter into the melted marshmallows before adding cereal. Adds a salty, rich flavor. Great for kids who love PB&J.
Gluten-Free
Use gluten-free crispy rice cereal. Most major brands make a GF version. The technique is the same. I’ve used Kinnikinnick brand and it works great.
Dairy-Free
Use dairy-free butter and dairy-free marshmallows (some brands use gelatin, so check labels if you’re vegan). The texture is slightly different but still tasty.
Serving & Storage
How to Serve:
I usually serve these straight from the pan at parties. They’re finger food, so no plates needed. But here are other ways I’ve enjoyed them:
- With a cold glass of milk — Classic combo.
- With a cup of hot tea — Surprisingly good. The warmth softens the marshmallow.
- As a snack — Pack them in lunchboxes. They don’t melt as easily as chocolate.
Storage Instructions:
Room Temperature: Store in an airtight container for up to 3 days. They stay chewy. If your house is hot, they might get sticky, so fridge is better.
Refrigerator: Store in an airtight container for up to 1 week. They get firmer in the fridge, but still chewy. Bring to room temp before eating for best texture.
Freezing: Yes, you can freeze them! Wrap individual bars in plastic wrap, then put in a freezer bag. Freeze for up to 2 months. Thaw at room temp. They don’t freeze as well as baked goods, but they’re still good.
Pro tip: If they get sticky, dust with a little powdered sugar. It absorbs the moisture.
Nutrition Information
I’m not a nutritionist, but here’s the breakdown if you’re tracking.
Per Serving (based on 24 bars):
- Calories: 90
- Protein: 1g
- Carbs: 15g
- Fiber: 0g
- Sugar: 10g
- Fat: 3g
- Saturated Fat: 2g
- Cholesterol: 5mg
- Sodium: 45mg
What’s Good:
- Low in fat compared to other desserts
- Quick energy source for active kids
- Simple ingredients
What to Know:
- High in sugar
- Low in protein and fiber
- Contains dairy (unless substituted)
My Take:
Look, these are a treat. They’re not a health food. But they’re better than store-bought candy bars, and you control the ingredients. When I make them, I use them as a special occasion treat, not a daily snack. Moderation is key.
Final Thoughts
So that’s my go-to No-Bake Marshmallow Rice Krispie Bars! I’ve probably talked your ear off at this point, but when you make a recipe this often, you have a lot to say about it.
This has saved dinner parties more times than I can count. It’s my answer to “what’s for dessert” when I’m tired, don’t want to bake, and still want something that tastes really good. My kids are happy, my husband’s happy, and I’m happy because I’m not stressed about cooking.
Make it yours! Try different add-ins, swap in your favorite colors, adjust the butter. The best recipes are the ones you adapt to your family’s tastes.
If you make this, drop a comment and let me know what you think! I love hearing how recipes turn out in your kitchen. And if something doesn’t work, tell me that too—I’m here to help troubleshoot.
Happy cooking! And I hope your kitchen smells half as good as mine does right now.
Frequently Asked Questions
Can I use mini marshmallows?
Yes, but you’ll need more. Use about 12-14 ounces of mini marshmallows instead of the 10-ounce bag of large ones. They melt faster, so watch the heat closely. I prefer large marshmallows because they’re easier to handle, but mini works in a pinch.
Why did my bars turn out hard?
This usually happens if you press the mixture too tightly into the pan, or if you used old, stale cereal. Make sure your cereal is fresh and crisp. When pressing, just flatten it evenly. Don’t pack it down like a brick.
Can I make this ahead of time?
Absolutely! Make them 1-2 days ahead. Store in the fridge in an airtight container. They actually taste better after a day because the flavors meld. Just let them come to room temperature before serving for the best texture.
Why did my marshmallows burn?
The heat was too high. Marshmallows burn easily. Always use medium-low heat. If you see the bottom browning, take the pan off the heat immediately. Also, don’t walk away. Stir constantly.
Can I use a different cereal?
You can try Chex cereal or puffed wheat, but the texture will be different. Rice Krispies have a specific crunch that holds up well to the marshmallow. Other cereals might get soggy or too dense. I recommend sticking with Rice Krispies for the classic result.
How do I store leftovers?
Store in an airtight container at room temperature for up to 3 days. If your house is warm, store in the fridge. They’ll stay chewy. Avoid freezing if possible, as the texture can change slightly, but it’s still edible.
Can I make these gluten-free?
Yes! Use a gluten-free crispy rice cereal. Check the label to ensure it’s certified GF. The rest of the ingredients (marshmallows and butter) are naturally gluten-free, but always check labels for cross-contamination warnings if you have celiac disease.
Pin This Recipe!
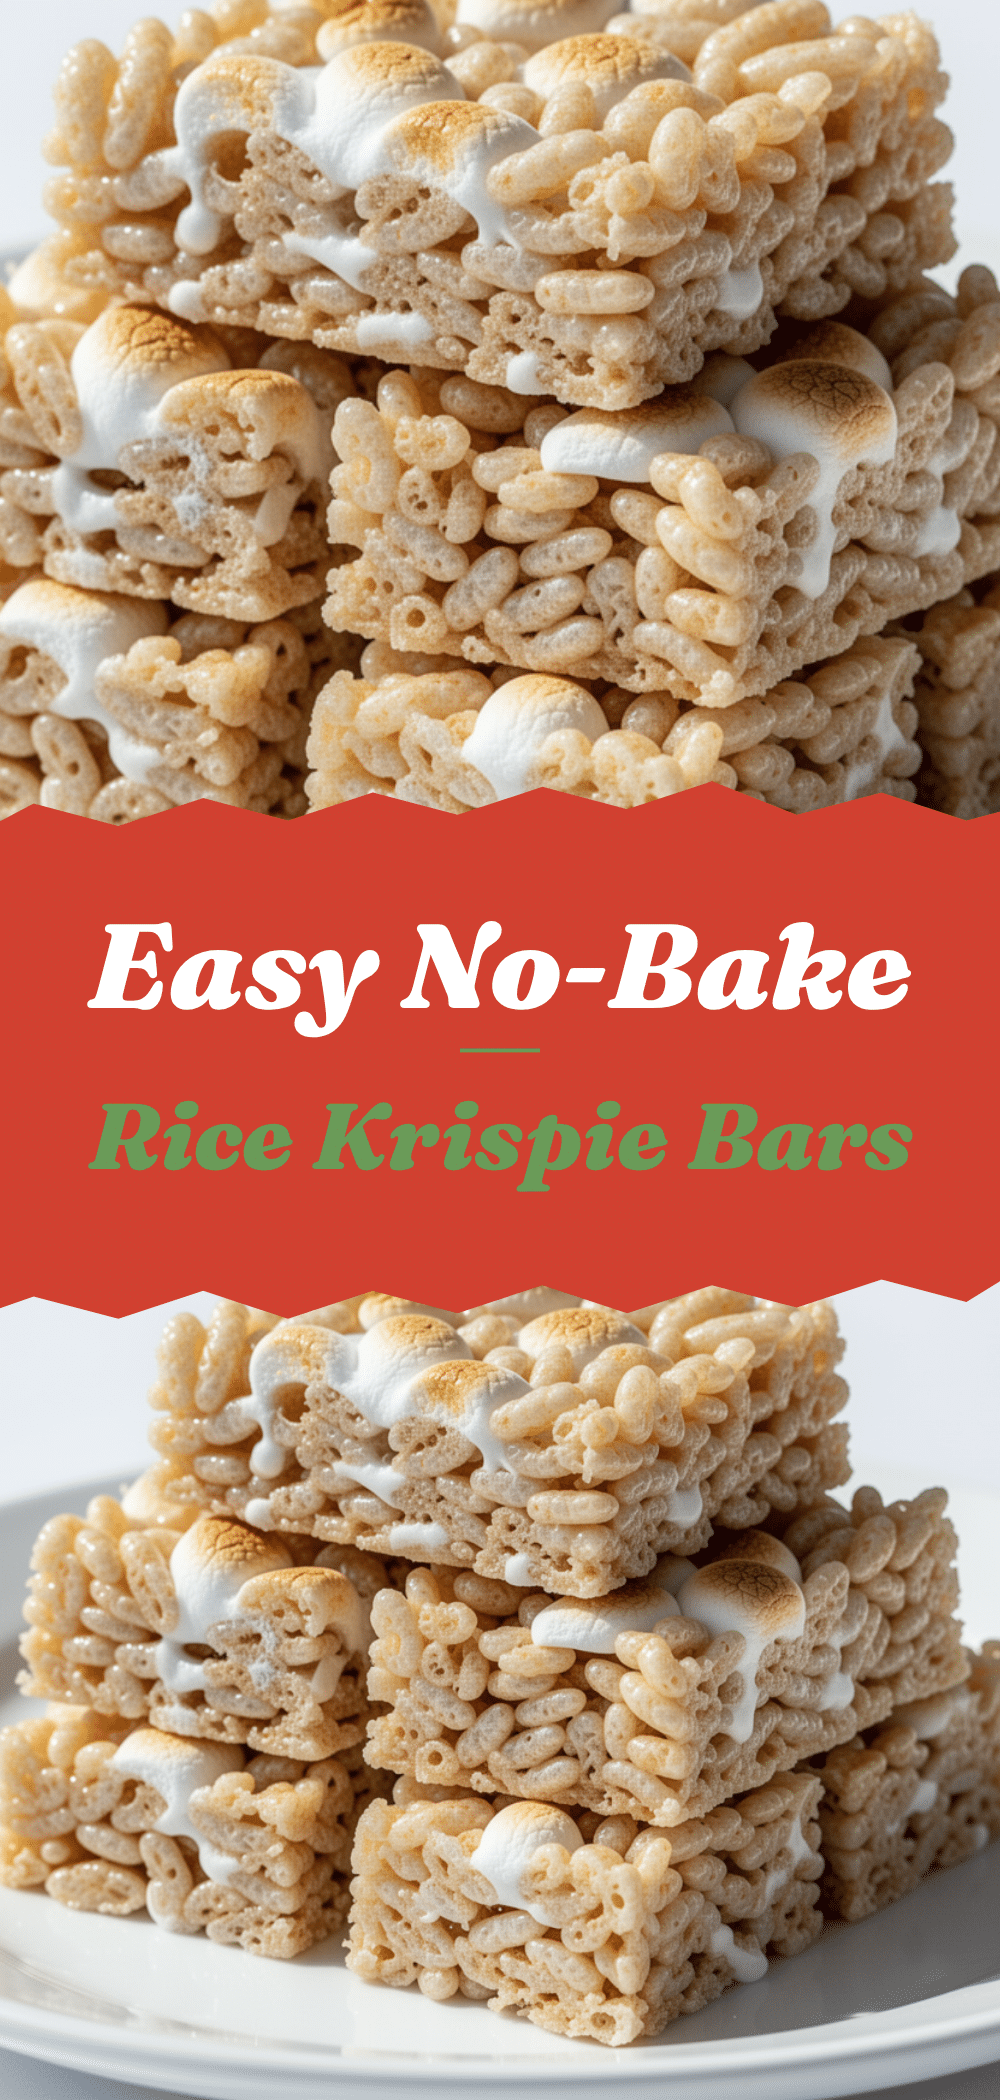
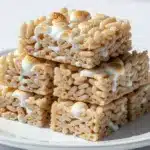
No-Bake Marshmallow Rice Krispie Bars: 3-Ingredient Party Treat
- Total Time: 45 minutes
- Yield: 24 servings 1x
Description
A quick, no-bake dessert made with just three main ingredients: butter, marshmallows, and Rice Krispies cereal. These bars are chewy, kid-approved, and perfect for parties or last-minute snacks.
Ingredients
- 6 tablespoons (85g) unsalted butter
- 10 ounces (280g) regular white marshmallows
- 6 cups (about 150g) Kellogg’s Rice Krispies cereal
- 2 tablespoons powdered sugar (optional, for rolling)
- Gel food coloring (optional)
- 1 teaspoon vanilla extract (optional)
Instructions
- Lightly grease a 9×13 inch pan with butter or non-stick spray. Line with parchment paper, leaving an overhang on the sides, and set aside.
- Melt the butter in a large saucepan over medium-low heat until foamy and fully melted.
- Add the marshmallows to the melted butter. Stir constantly over medium-low heat until mostly melted but still having a few lumps. Remove from heat immediately to prevent burning; residual heat will finish melting them.
- Add all six cups of Rice Krispies cereal to the marshmallow mixture. Fold gently with a silicone spatula until every piece is coated. Add food coloring or vanilla extract now if using.
- Transfer the mixture to the prepared pan. Wet your hands or coat a spatula with butter to prevent sticking. Press the mixture down evenly into the pan, but do not pack it tightly.
- Let the bars cool at room temperature for at least 30 minutes, or refrigerate for 15 minutes to speed up the process.
- Lift the block out of the pan using the parchment overhang. Cut into 2-inch squares. Dust with powdered sugar if desired and serve.
Notes
Keep heat on medium-low to prevent burning marshmallows. Do not over-stir once cereal is added to maintain crunch. Wet hands or butter hands when pressing mixture into pan to prevent sticking. Bars can be stored in an airtight container at room temperature for 3 days or in the fridge for 1 week. For gluten-free version, use gluten-free crispy rice cereal.
- Prep Time: 15 minutes
- Cook Time: 0 minutes
- Category: Dessert
- Cuisine: American
Nutrition
- Serving Size: 1 bar (approx. 2-inc
- Calories: 90
- Sugar: 10
- Sodium: 45
- Fat: 3
- Saturated Fat: 2
- Carbohydrates: 15
- Protein: 1
Keywords: no-bake, rice krispie treats, marshmallow bars, kid-friendly dessert, party snack, 3-ingredient recipe, quick dessert