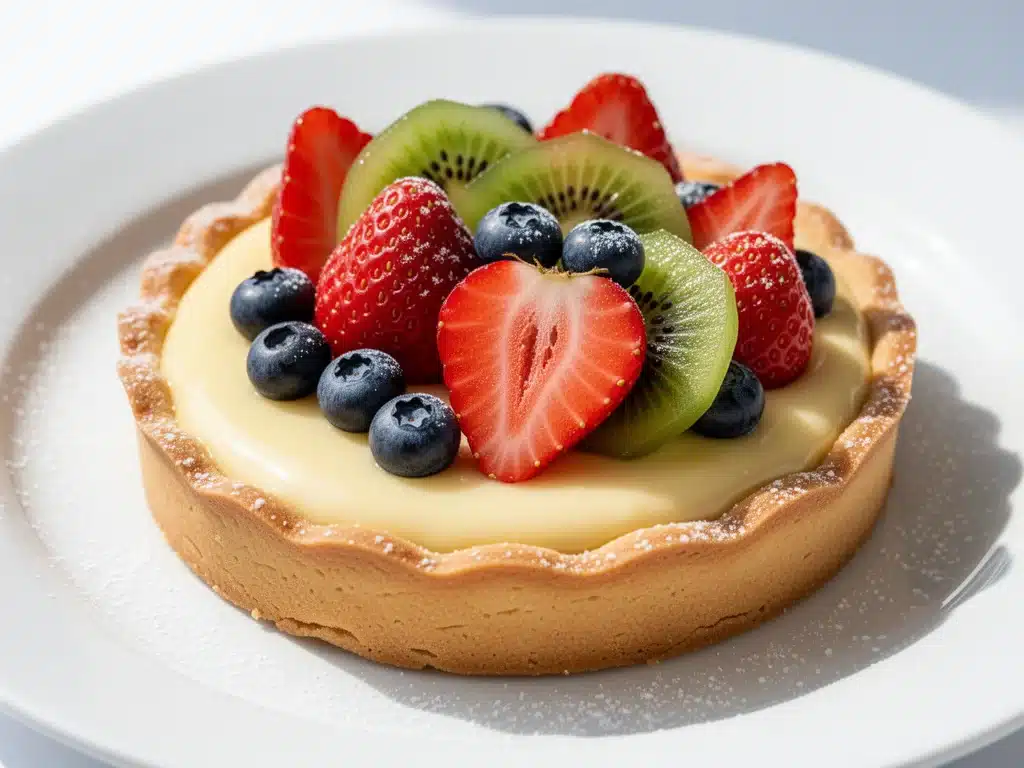
Last spring, I was supposed to be hosting a garden party for about twelve people. I’m not a natural entertainer—I get more nervous about serving appetizers than I do about giving a TED Talk—so I decided to play it safe. I’d make something elegant, something that looked like it came from a high-end patisserie, but was actually foolproof. Enter the classic fruit dessert tart with vanilla custard. Or at least, that’s what I thought I was making.
Here’s the thing about professional-looking desserts: they’re usually just good technique and a little bit of patience. I spent that entire afternoon in my kitchen, sweating over a double boiler, trying to get the custard thick enough to hold its own but creamy enough to melt in your mouth. I burned my wrist once. Twice. Yes, I’m still telling you this because it’s true, and it’s why I’m so careful about the temperature now.
But the real disaster happened with the crust. I bought a pre-made one because I was running late. It got soggy within twenty minutes of filling it. Soggy. I stared at that tart, surrounded by beautiful berries that were starting to weep into the wet dough, and I realized I had to scrap it and start over. I made the crust from scratch that night. I made the custard from scratch. And when I finally pulled that tart out of the oven—golden, crisp, filled with a silky vanilla bean custard, and topped with fresh strawberries and blueberries—it was perfect. Not just good. Perfect.
That was three years ago. Since then, I’ve made this classic fruit dessert tart probably fifty times. It’s become my go-to for everything from Sunday brunches to last-minute dinner parties. It’s elegant enough to serve to your in-laws but simple enough that you can throw it together while the kids are watching TV. And the best part? It tastes better the next day. The crust stays crisp, the custard sets up even more, and the fruit gets just a little bit jammy. If you’ve ever been intimidated by making custard from scratch, or if you think fruit tarts are only for fancy restaurants, this recipe is going to change your mind. It’s easier than you think, and it’s absolutely worth the effort.
Why You’ll Love This Vanilla Custard Tart
There are a million ways to make dessert, but this one has stolen my heart—and apparently, the hearts of everyone who tries it. I’ve made this tart for picky eaters, health-conscious friends, and people who claim they “don’t like sweet things.” Everyone comes back for seconds. Here’s why this recipe works so well, and why it’s going to become your new favorite showstopper.
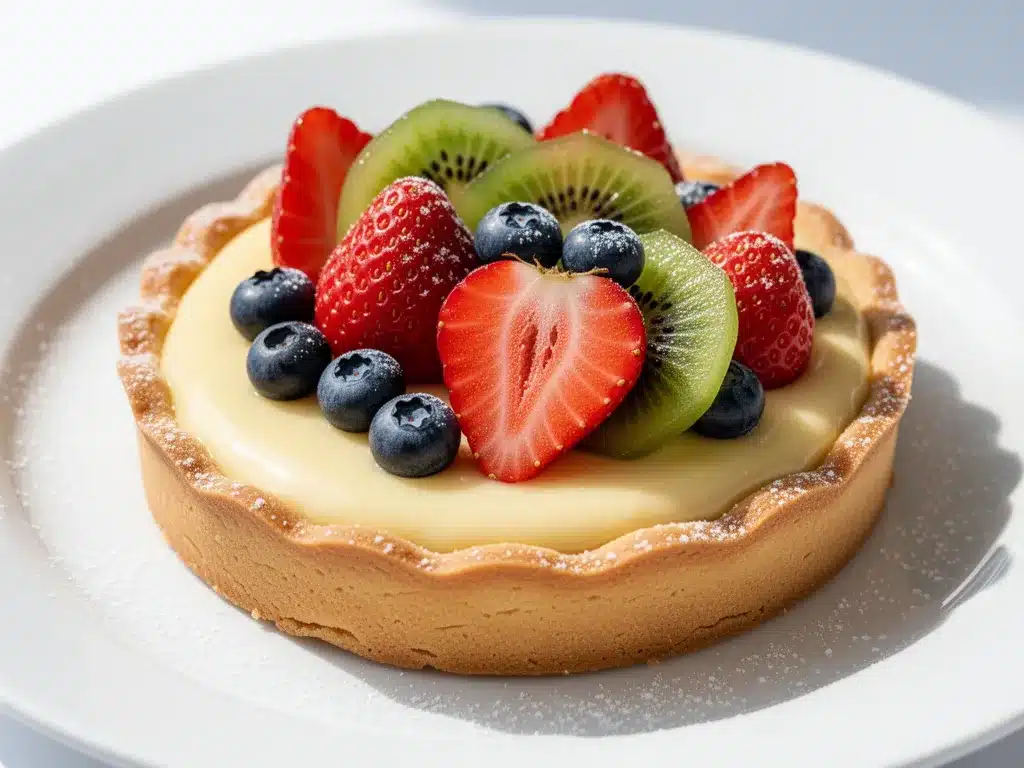
- It’s Visually Stunning — Seriously, you don’t need any special skills to make this look like it came from a Parisian bakery. The contrast of the golden crust, the pale yellow custard, and the bright red and blue fruits is just irresistible. I’ve had people ask me if I hired a decorator. (I haven’t. I just have good lighting and fresh berries.)
- The Custard is Foolproof — I know, I know, custard sounds scary. But I’ve cracked this code. By using a simple double-boiler method and keeping the heat low, you get a silky, smooth filling that never curdles. It’s rich without being heavy, and it has that deep, authentic vanilla flavor that store-bought versions just can’t match.
- It’s Make-Ahead Friendly — This is the biggest secret for stress-free entertaining. You can make the crust and the custard a day in advance. Store them separately in the fridge. Then, just assemble it an hour before you need it. The tart actually improves overnight as the flavors meld together. I love this because it means I’m not stuck in the kitchen while my guests are chatting.
- It’s Versatile — Love strawberries? Use strawberries. Hate kiwi? Skip the kiwi. This tart is a canvas. I’ve made it with peaches in the summer, mixed berries in the spring, and even roasted apples in the fall. It adapts to whatever is in season and in your fridge.
- It Feels Fancy But Isn’t — You don’t need expensive ingredients for this. Flour, butter, sugar, eggs, milk, vanilla, and fruit. That’s it. But the result tastes luxurious. It’s the kind of dessert that makes people think you’re a professional baker, even if you’re just a home cook like me.
So basically, this is the dessert you want when you want to impress without losing your mind. It’s reliable, beautiful, and absolutely delicious. Once you make it once, you’ll understand why I keep coming back to it.
Ingredients You’ll Need for the Tart
Before we dive into the steps, let’s talk about what you need. I’m particular about a few of these ingredients, and I’ll tell you exactly why. This isn’t just a shopping list; it’s a guide to making sure your tart turns out perfectly every time.
For the Crust
All-purpose flour (1 ¼ cups / 150g) — This is your base. Don’t try to swap it for almond flour unless you want a completely different texture. All-purpose gives that classic, tender, crumbly shortbread feel. Sift it if you’re being fancy, but measuring it gently works too.
Unsalted butter (½ cup / 115g, cold and cubed) — Cold butter is non-negotiable. If your butter is warm, it will melt into the flour too quickly, and you’ll lose those flaky layers. Keep it in the fridge until the last second. I like to cube it and put it back in the fridge for 10 minutes while I measure the flour.
Granulated sugar (2 tablespoons / 25g) — Just a little bit to sweeten the crust. You don’t want it to taste like a cookie, just a sweet, buttery base. If you prefer a slightly more caramel flavor, you can use half brown sugar, but white sugar is classic.
Salt (¼ teaspoon) — This is crucial. Salt balances the sweetness and enhances the butter flavor. Don’t skip it. I use kosher salt, but table salt works fine too.
One large egg yolk — This acts as the binder. It adds richness and helps the dough come together. Some recipes use a whole egg, but the yolk makes the crust more tender and less cake-like.
Ice water (1-2 tablespoons) — Just enough to bring the dough together. The colder, the better. If your kitchen is warm, keep your water in the freezer for a few minutes before using it.
For the Vanilla Custard
Whole milk (2 cups / 480ml) — Don’t skim it. You need the fat for that rich, creamy texture. If you’re feeling extra indulgent, you can use half-and-half, but whole milk is the standard for a reason.
Heavy cream (½ cup / 120ml) — This adds extra luxury and helps stabilize the custard. It’s what makes the filling so silky. I always keep a carton of heavy cream in the fridge just for desserts like this.
Granulated sugar (½ cup / 100g) — This sweetens the custard. If you’re not a huge sweet tooth, you can reduce it to ⅓ cup, but I recommend sticking with ½ cup for that classic balance against the tart fruit.
Cornstarch (3 tablespoons / 24g) — This is the thickener. It’s lighter than flour and gives that glossy, smooth finish. Make sure you whisk it with a little cold milk first to make a slurry, or you’ll get lumps.
Two large egg yolks — More yolks mean a richer, more custard-like texture. The yolks provide the structure and the color. Don’t use whole eggs here; you want that deep yellow hue.
Vanilla extract (1 teaspoon) — Or better yet, scrape the seeds from one vanilla bean. If you have a vanilla bean, use it. It’s worth the extra effort for the speckled beauty and intense flavor. If you don’t have one, a high-quality vanilla extract is the next best thing.
Unsalted butter (2 tablespoons, cold) — This is the secret ingredient for shine. Whisking in cold butter at the very end gives the custard a glossy, professional finish. It also adds a little extra richness.
For the Topping
Fresh berries (2 cups total) — Strawberries, blueberries, raspberries, blackberries. Whatever is fresh and in season. I like a mix of colors for visual appeal. Wash them and pat them completely dry—wet fruit makes the custard slippery.
Apricot jam (2 tablespoons) — This is the glaze. It gives the fruit a shiny, appetizing look and adds a subtle sweetness. Heat it with a teaspoon of water until it’s runny, then brush it over the fruit. It’s a small step that makes a huge difference.
Equipment You’ll Need
You don’t need a fancy kitchen to make this tart. Here’s what I actually use, and what you can substitute if you don’t have it.
9-inch tart pan with a removable bottom — This is essential. A regular pie plate won’t give you those clean, professional edges. The removable bottom makes it easy to slide the tart out onto a serving plate. I use a metal one because it conducts heat well and gives a crispier crust.
Rolling pin — Any standard rolling pin works. I like a wooden one because it has good grip.
Fork or pastry blender — For cutting the butter into the flour. I use a pastry blender because it’s faster, but a fork works fine if you’re patient.
Medium saucepan — For heating the milk and cream. I use a heavy-bottomed saucepan to prevent scorching.
Whisk — You’ll need a good whisk for the custard. A silicone whisk is nice because it doesn’t scratch the pan, but a wire whisk works too.
Double boiler (or a heatproof bowl over a pot) — For gentle, even heating of the custard. This prevents curdling. If you don’t have a double boiler, just use a glass bowl over a pot of simmering water. Make sure the bowl doesn’t touch the water.
Pastern brush — For applying the apricot glaze. A small, clean pastry brush works perfectly.
Plastic wrap — To cover the crust while it chills, and to cover the custard directly on the surface to prevent a skin from forming.
How to Make It: Step-by-Step
Alright, let’s make this! I’m walking you through exactly how I do it, including the little tricks I’ve picked up over the years. It’s not as hard as it looks, I promise.
Step 1: Make the Crust Dough (10 minutes)
In a medium bowl, whisk together the flour, sugar, and salt. Add the cold, cubed butter. Use a pastry blender or two forks to cut the butter into the flour until the mixture looks like coarse crumbs with some pea-sized pieces of butter remaining. These butter pieces are what create the flaky layers. Don’t over-mix; you want to see little bits of butter.
Add the egg yolk and 1 tablespoon of ice water. Mix gently with a fork until the dough just starts to come together. If it’s too dry, add another teaspoon of water. Don’t knead it! Kneading develops gluten, and you want a tender crust. Just press it together.
Form the dough into a disk, wrap it in plastic wrap, and refrigerate for at least 30 minutes. This step is crucial—it firms up the butter and makes the dough easier to roll.
Step 2: Blind Bake the Crust (20 minutes)
Preheat your oven to 375°F (190°C). On a floured surface, roll out the dough into a 12-inch circle. Carefully transfer it to your tart pan, pressing it into the corners and up the sides. Trim the excess dough hanging over the edge. Prick the bottom all over with a fork.
Line the crust with parchment paper and fill it with pie weights or dried beans. This is called blind baking, and it prevents the crust from puffing up or sliding down the sides. Bake for 15 minutes, then remove the weights and parchment. Bake for another 5-7 minutes until the crust is lightly golden. Let it cool completely on a wire rack. If the crust is warm, the custard will melt and slide right out.
Step 3: Make the Vanilla Custard (20 minutes)
In a medium saucepan, combine the milk, heavy cream, and half of the sugar. Heat over medium heat until it just begins to simmer. Do not boil. Remove from heat.
In a separate bowl, whisk the egg yolks and the remaining sugar until pale and thick. Whisk in the cornstarch until smooth. Slowly pour about 1 cup of the hot milk mixture into the egg yolks, whisking constantly. This tempers the eggs so they don’t scramble. Then, pour the egg mixture back into the saucepan with the rest of the milk.
Return the saucepan to medium-low heat. Whisk constantly. The custard will start to thicken after about 3-4 minutes. Keep whisking until it’s thick enough to coat the back of a spoon (about 170-175°F on a thermometer). Do not stop whisking, or it will burn.
Remove from heat. Whisk in the vanilla and the 2 tablespoons of cold butter until smooth and glossy. Place plastic wrap directly on the surface of the custard to prevent a skin from forming. Let it cool to room temperature, then refrigerate for at least 1 hour until completely cold.
Step 4: Assemble the Tart (15 minutes)
Once the crust is cool and the custard is cold, it’s time to assemble. Spoon the custard into the cooled crust and spread it evenly with a spatula. It should be smooth and flat.
Arrange your fresh fruit on top of the custard. I like to start with the larger items, like strawberries, and fill in the gaps with blueberries and raspberries. Be creative! You can make a pattern, or just pile it on like a mountain. It’s your tart.
Step 5: Glaze and Chill (10 minutes)
In a small saucepan, heat the apricot jam with 1 teaspoon of water until it’s runny. Strain it through a fine-mesh sieve to remove any seeds. Use a pastry brush to lightly brush the glaze over the fruit. This gives it a shiny, professional look and keeps the fruit from drying out.
Refrigerate the tart for at least 30 minutes before serving. This helps the custard set up and makes it easier to slice. Serve chilled.
Expert Tips & Tricks for Success
Here’s everything I’ve learned from making this tart dozens of times. These tips will save you from my mistakes.
Keep Everything Cold
For the crust, cold butter is key. If your butter starts to soften while you’re working, put the bowl in the fridge for 10 minutes. Same with the water. If your dough is warm, it will stick and shrink in the oven. Cold dough is happy dough.
Don’t Rush the Custard
When cooking the custard, low and slow is the way to go. If you crank up the heat, the eggs will scramble. Keep the heat medium-low and whisk constantly. It’s meditative, really. And it pays off with a silky smooth filling.
Temper the Eggs
Never pour hot milk directly into eggs. Always add a little hot milk to the eggs first, whisking fast, to raise their temperature gradually. Then add the egg mixture to the pan. This is the #1 reason custards curdle.
Use a Thermometer
If you’re nervous about the custard thickness, use an instant-read thermometer. You want it to reach 170-175°F. It’s the sweet spot for a thick, stable custard that isn’t overcooked.
Pat Dry the Fruit
Wet fruit makes a soggy tart. Wash your berries and let them air dry completely, or pat them with paper towels. You want them crisp and dry before they go on the custard.
Chill Before Slicing
I know it’s tempting to cut into it right away, but let it chill for at least 30 minutes. The custard needs to firm up so it holds its shape when you slice it. A warm tart is a messy tart.
Variations & Substitutions
Once you’ve nailed the basic version, here’s how you can mix it up. I’ve tried all of these, and they’re all delicious.
Chocolate Custard
Add 4 ounces of chopped dark chocolate to the hot custard at the end. Stir until melted. It’s rich, decadent, and perfect with strawberries.
Lemon Custard
Add the zest of one lemon to the milk before heating. Add 2 tablespoons of lemon juice to the custard at the end. It’s bright and refreshing, especially with blueberries.
Coconut Custard
Replace the whole milk with full-fat coconut milk. Add 1 teaspoon of coconut extract. It’s dairy-free and tropical.
Seasonal Fruit
In the fall, use sliced peaches or nectarines. In the winter, use roasted pears or apples. In the spring, use rhubarb (cook it first with sugar) or early strawberries. The tart adapts to whatever is fresh.
Gluten-Free Crust
Use a 1:1 gluten-free flour blend for the crust. The technique is the same. I’ve used Bob’s Red Mill and it works great.
Dairy-Free Custard
Use coconut milk instead of dairy milk and cream. Use maple syrup instead of sugar. Use vegan butter at the end. It’s not exactly the same, but it’s still creamy and delicious.
Serving & Storage
How to Serve
I usually serve this straight from the fridge, sliced into wedges. It looks beautiful on a white plate. Pair it with a cup of coffee or tea. It’s also great with a dollop of whipped cream if you want to go all out.
Storage
Store the tart in the fridge, covered with plastic wrap or in a cake carrier, for up to 3 days. The crust may soften slightly after day 2, but the custard stays good. Don’t freeze it; the custard will separate when thawed.
Reheating
Do not reheat this tart. It’s meant to be served cold. If you leave it out for too long, the custard will get runny and the fruit will sweat.
Nutrition Information
I’m not a nutritionist, but here’s the breakdown if you’re tracking. This is a rich dessert, so a little goes a long way.
Per Serving (based on 8 slices):
- Calories: 320
- Protein: 6g
- Carbs: 42g
- Fiber: 2g
- Sugar: 28g
- Fat: 15g
- Saturated Fat: 8g
- Cholesterol: 95mg
- Sodium: 120mg
It’s not a diet food, obviously. But it’s better than store-bought pastries, and you know exactly what’s in it. When I make it, I try to use fresh, high-quality ingredients, which makes it feel more wholesome.
Final Thoughts
So that’s my classic fruit dessert tart! I’ve probably talked your ear off at this point, but when you make a recipe this often, you have a lot to say about it. This tart has saved me more times than I can count. It’s my answer to “what’s for dessert” when I want something fancy but don’t have hours to spend in the kitchen. My family loves it, my friends ask for the recipe, and I’m happy because it’s reliable.
Make it yours! Try different fruits, different custard flavors, different patterns. The best recipes are the ones you adapt to your tastes. If you make this, drop a comment and let me know what you think! I love hearing how recipes turn out in your kitchen. And if something doesn’t work, tell me that too—I’m here to help troubleshoot.
Happy baking! And I hope your kitchen smells like vanilla and fresh berries soon.
Frequently Asked Questions
Can I use pre-made pie crust?
You can, but I don’t recommend it for this specific tart. Pre-made crusts are often too thick and not buttery enough, which can overpower the delicate custard. Plus, they don’t blind bake as well. Making the crust from scratch takes about 20 minutes of active time, and the difference in quality is huge. Trust me, it’s worth the extra 20 minutes.
Why did my custard turn out lumpy?
This usually happens if you didn’t temper the eggs properly, or if the heat was too high. Make sure you whisk the hot milk into the eggs slowly and steadily. Also, keep the heat on medium-low and whisk constantly while cooking. If you see lumps forming, remove it from the heat immediately and whisk vigorously to smooth them out. You can also strain the custard through a fine-mesh sieve to catch any small lumps.
Can I make this tart a day ahead?
Yes! In fact, it’s better made ahead. You can make the crust and bake it 2 days in advance. Store it in an airtight container. You can make the custard 1 day in advance. Store it in the fridge with plastic wrap on the surface. Assemble the tart the day you plan to serve it, and let it chill for 30 minutes before slicing.
Can I freeze the tart?
I don’t recommend freezing the assembled tart. The custard will separate and become grainy when thawed. You can freeze the unbaked crust for up to 3 months. Wrap it tightly in plastic wrap and foil. Thaw it in the fridge before baking. But for the best texture, make it fresh.
What kind of fruit is best for this tart?
Any fresh fruit works! Strawberries, blueberries, raspberries, blackberries, and kiwi are classics. You can also use sliced peaches, nectarines, or figs. Just make sure the fruit is fresh and firm. Soft, overripe fruit will get mushy on top of the custard.
Can I use vanilla bean paste instead of extract?
Absolutely. Vanilla bean paste is even better because it has real vanilla seeds in it. It gives the custard that beautiful speckled look and intense flavor. Use the same amount as the extract. If you can’t find paste, scraping a real vanilla bean is the next best thing.
How do I get a shiny glaze on the fruit?
The apricot jam glaze is the key. Heat it with a little water until it’s runny, strain it to remove seeds, and brush it lightly over the fruit. It adds a professional shine and helps preserve the fruit. You can also use orange marmalade or pear jam if you prefer a different flavor.
Pin This Recipe!
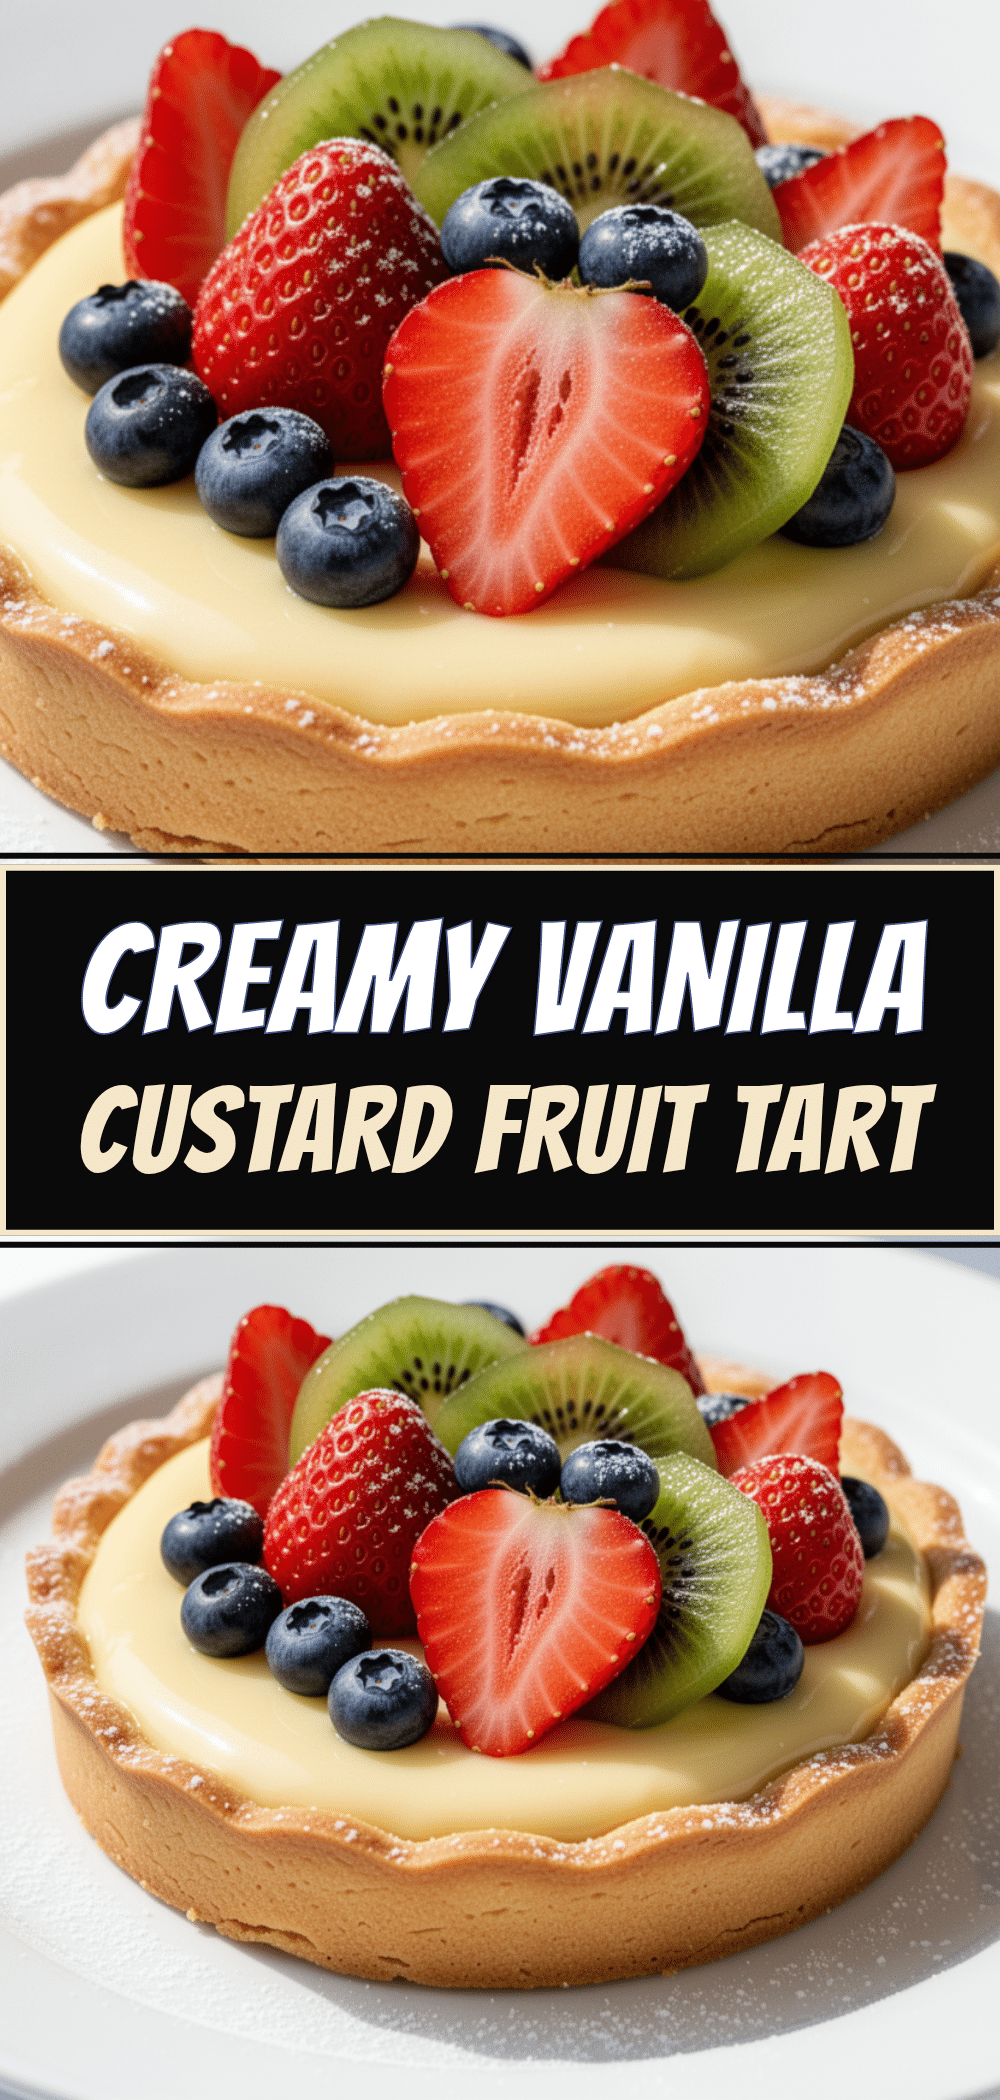
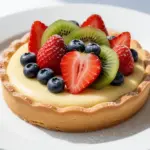
Classic Fruit Dessert Tart: Easy Elegant Vanilla Custard
- Total Time: 1 hour 5 minutes
- Yield: 8 servings 1x
Description
An elegant yet foolproof fruit tart featuring a buttery, blind-baked shortbread crust and a silky, homemade vanilla custard filling, topped with fresh seasonal berries and a glossy apricot glaze.
Ingredients
- 1 ¼ cups (150g) all-purpose flour
- ½ cup (115g) unsalted butter, cold and cubed
- 2 tablespoons (25g) granulated sugar
- ¼ teaspoon salt
- 1 large egg yolk
- 1–2 tablespoons ice water
- 2 cups (480ml) whole milk
- ½ cup (120ml) heavy cream
- ½ cup (100g) granulated sugar
- 3 tablespoons (24g) cornstarch
- 2 large egg yolks
- 1 teaspoon vanilla extract (or seeds from 1 vanilla bean)
- 2 tablespoons unsalted butter, cold
- 2 cups fresh berries (strawberries, blueberries, raspberries, blackberries)
- 2 tablespoons apricot jam
- 1 teaspoon water (for glaze)
Instructions
- In a medium bowl, whisk together flour, sugar, and salt. Cut in cold cubed butter using a pastry blender or forks until the mixture resembles coarse crumbs with pea-sized butter pieces.
- Add egg yolk and 1 tablespoon of ice water. Mix gently until dough just comes together. Form into a disk, wrap in plastic wrap, and refrigerate for at least 30 minutes.
- Preheat oven to 375°F (190°C). Roll dough into a 12-inch circle and transfer to a 9-inch tart pan with a removable bottom. Trim excess dough and prick the bottom with a fork.
- Line crust with parchment paper and fill with pie weights or dried beans. Blind bake for 15 minutes, remove weights, and bake for another 5-7 minutes until lightly golden. Cool completely on a wire rack.
- In a medium saucepan, combine milk, heavy cream, and half the sugar. Heat over medium until just simmering, then remove from heat.
- In a separate bowl, whisk egg yolks and remaining sugar until pale. Whisk in cornstarch until smooth. Temper eggs by slowly whisking in about 1 cup of hot milk mixture.
- Pour egg mixture back into the saucepan. Return to medium-low heat and whisk constantly until custard thickens and coats the back of a spoon (170-175°F).
- Remove from heat and whisk in vanilla and 2 tablespoons of cold butter until glossy. Place plastic wrap directly on the surface and refrigerate for at least 1 hour until cold.
- Spoon cold custard into the cooled crust and spread evenly.
- Arrange fresh berries on top of the custard.
- Heat apricot jam with 1 teaspoon of water until runny. Strain through a fine-mesh sieve and brush lightly over the fruit.
- Refrigerate tart for at least 30 minutes before serving to allow custard to set.
Notes
Keep all ingredients for the crust cold to ensure a flaky texture. Do not over-knead the dough. Temper the eggs slowly to prevent curdling. The tart is best served chilled and can be made a day in advance. Do not freeze the assembled tart as the custard may separate upon thawing.
- Prep Time: 45 minutes
- Cook Time: 20 minutes
- Category: Dessert
- Cuisine: French
Nutrition
- Serving Size: 1 slice
- Calories: 320
- Sugar: 28
- Sodium: 120
- Fat: 15
- Saturated Fat: 8
- Carbohydrates: 42
- Fiber: 2
- Protein: 6
Keywords: fruit tart, vanilla custard, blind baked crust, berry tart, elegant dessert, make-ahead dessert, homemade custard, shortbread crust