It was 7:45 AM on a Tuesday in September, and I was vibrating with the kind of exhaustion that only a sleep-deprived parent can truly appreciate. My eight-year-old was hunting for his left shoe, my six-year-old was crying because her backpack zipper was “broken” (it wasn’t), and I was staring at the kitchen counter like it owed me money. The fridge was open. The pantry was open. The clock was ticking. And all I could think was: Is toast enough? Is cereal enough? Please let cereal be enough.
We had just started the new school year, and the chaos had settled into a new, frantic rhythm. Mornings used to be leisurely. Now, they were a race against the bus. I realized I was spending way too much time standing over the stove scrambling eggs or flipping pancakes, and my kids were eating their breakfasts standing up in the hallway while I chased them with sippy cups of water. It was unsustainable. It was messy. And frankly, it was making me miserable.
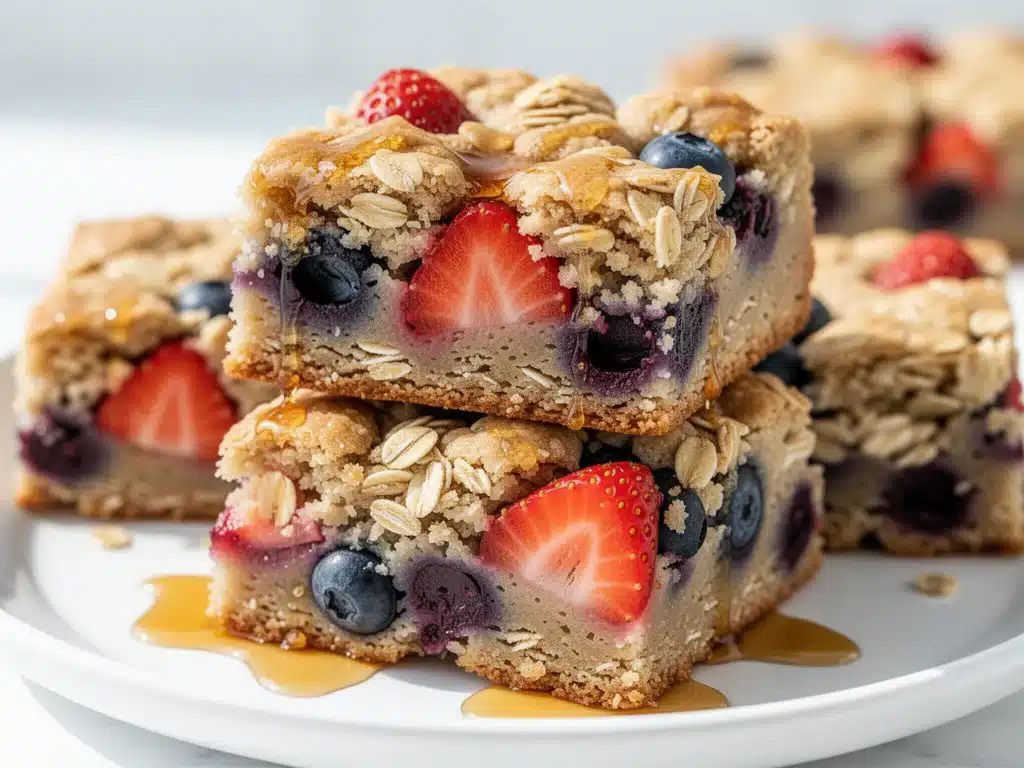
That was the moment I decided I needed a solution. Something grab-and-go. Something that didn’t require a plate. Something that felt like a treat but actually had some nutritional value so my kids wouldn’t crash by 10 AM. Enter the Back to School Breakfast Dessert Oat Bars. These weren’t just any oat bars. These were specifically designed for the morning rush—made the night before, stored in the fridge, and ready to be shoved into a lunchbox or grabbed on the way out the door.
I’ve tested this recipe dozens of times over the last three school years. I’ve tweaked the sweetness, swapped out the add-ins, and even tried making them with different flours when my pantry ran low. And here’s the truth: these bars have saved our mornings. They are soft, chewy, packed with fiber, and sweet enough that my kids think they’re getting away with something. But here’s the best part—they’re actually good for them. If you’re drowning in the morning chaos like I was, you need this recipe. It’s simple, it’s forgiving, and it works.
Why You’ll Love This Breakfast Dessert Oat Bars Recipe
There are about ten reasons I keep making these oat bars, but let’s be real about the ones that actually matter for your sanity and your family’s health.
- Zero Morning Stress — Seriously, if you can mix ingredients in a bowl, you can make these. The magic happens the night before. You mix it up, pop it in the fridge, and sleep in. Or at least, you sleep while your breakfast is being made.
- Grab-and-Go Convenience — These bars hold their shape. They don’t crumble into dust in your lunchbox. They don’t get soggy. I’ve thrown them in backpacks next to heavy textbooks, and they come out perfect the next morning. It’s like edible Tupperware.
- Packed with Nutrients — We’re talking oats for fiber, fruit for natural sweetness, and nuts or seeds for healthy fats. This isn’t just a cookie disguised as breakfast. It’s a balanced meal in bar form. My kids get energy that lasts until snack time.
- Customizable for Picky Eaters — Hate nuts? Skip them. Love chocolate chips? Add them. This recipe is a blank canvas. I make one batch with blueberries for my daughter and one with peanut butter chips for my son. Everyone gets what they want.
- Meal Prep Friendly — I make these on Sunday night, and they last all week in the fridge. Sometimes I even freeze half the batch. It’s the ultimate “set it and forget it” breakfast strategy.
- Feels Like a Treat — Because let’s be honest, breakfast doesn’t have to be boring. These taste like dessert but fuel like breakfast. My kids ask for them on purpose. That’s a win in my book.
This is my go-to when I need dinner to just work. No complicated techniques, no weird ingredients, just reliable, delicious food that makes everyone happy. And it works for breakfast, too.
Ingredients You’ll Need
Here’s the best part: you probably have most of this already. I’m not asking you to go to the store for anything obscure. This is pantry-friendly cooking at its finest.
For the Base
Old-fashioned rolled oats (2 cups / 160g) — Do not use instant oats. They turn to mush. Do not use steel-cut. They won’t soften. Old-fashioned is the sweet spot—chewy but tender. I use Quaker because it’s consistent, but any brand works.
Whole wheat flour (1 cup / 120g) — This adds structure and protein. You can swap this for all-purpose flour if you want lighter bars, or gluten-free 1-to-1 baking flour if needed. I prefer whole wheat for the extra fiber boost.
Baking powder (1 teaspoon) — Just a little bit helps them rise slightly so they aren’t dense bricks. Standard stuff from your spice rack.
Salt (½ teaspoon) — Essential for balancing the sweetness. Don’t skip it. It makes the flavors pop.
Milk (½ cup / 120ml) — Dairy or non-dairy works. I use almond milk usually because it’s light, but cow’s milk makes them richer. Coconut milk adds a nice tropical note.
Egg (1 large) — This binds everything together. If you’re avoiding eggs, you can use a flax egg (1 tbsp ground flax + 3 tbsp water), but the texture will be slightly different. I haven’t tested it extensively, so use at your own risk.
Vanilla extract (1 teaspoon) — Pure vanilla, please. Artificial tastes weird in baked goods. It adds that warm, cozy flavor.
For the Sweetness & Fat
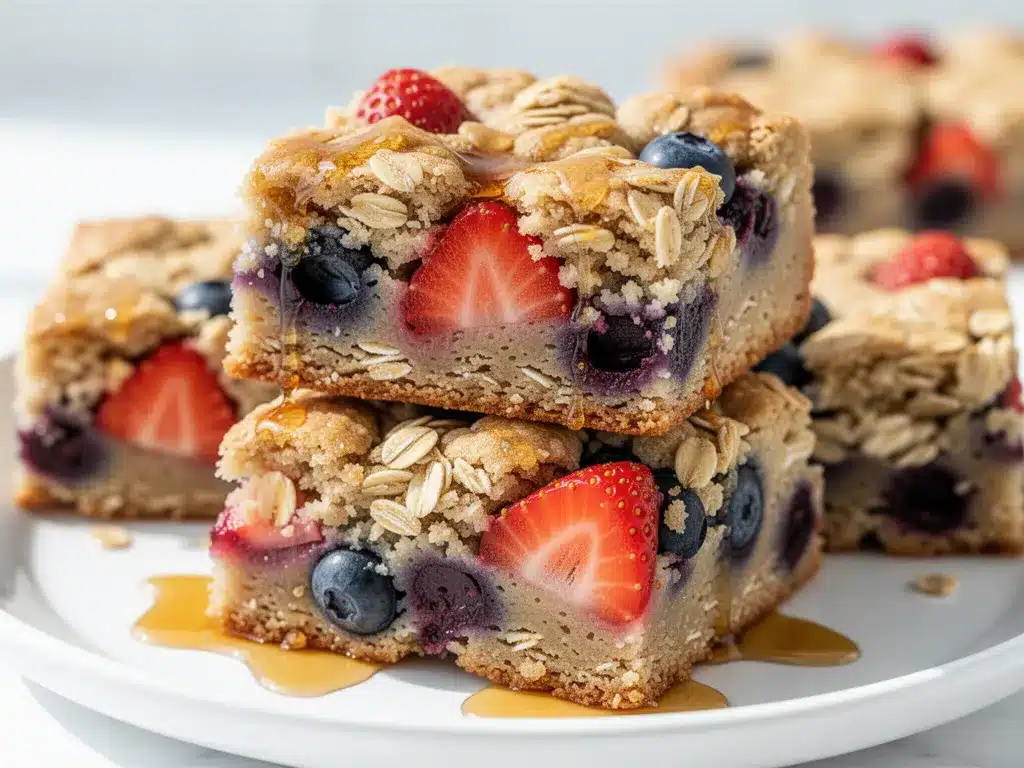
Maple syrup (¼ cup / 60ml) — This is my sweetener of choice. It has a deeper flavor than sugar and keeps the bars moist. You can use honey if you prefer, but maple is more kid-friendly.
Butter (2 tablespoons, melted) — Adds richness and helps hold the bars together. Coconut oil works too if you’re dairy-free, but it changes the flavor slightly. I stick to butter for the best taste.
Brown sugar (¼ cup / 50g) — Optional, but I recommend it. It adds a caramel-like depth that maple syrup alone doesn’t have. If you’re watching sugar, you can skip it and just use more maple syrup.
For the Mix-Ins (The Fun Part)
Chopped nuts (½ cup / 60g) — Walnuts, pecans, or almonds. Toasting them first makes a huge difference. I toast mine in a dry pan for 2 minutes before adding. If your kids are allergic, skip this or use pumpkin seeds.
Dried fruit (½ cup / 70g) — Raisins, cranberries, chopped dates, or apricots. I love cranberries because they add a tart contrast to the sweet oats. Chopped dates are great for natural sweetness.
Dark chocolate chips (¼ cup / 40g) — Because why not? It’s breakfast. I use semi-sweet chips so it’s not too sweet. My kids go crazy for these. Add them if you want to feel like a good parent.
Cinnamon (1 teaspoon) — The classic oat flavor. You can also add nutmeg or ginger for a spice cake vibe.
Optional: Chia seeds (1 tablespoon) — Adds omega-3s and helps bind the bars. I add them because I’m trying to be healthy, but they’re subtle enough that no one notices.
Equipment Needed
You don’t need fancy equipment for this. Here’s what I actually use.
9×9 inch baking pan — I use a glass Pyrex pan because it bakes evenly and I can see the bottom browning. Metal works too, but glass is easier to clean. You can use an 8×8 if you want thicker bars, but they’ll be denser.
Large mixing bowl — Any big bowl works. I use a plastic one because it’s light and easy to scrub.
Measuring cups and spoons — Standard stuff. Dollar store versions work fine.
Pastry brush or spatula — For spreading the batter evenly. A spatula is easier to control.
Wire cooling rack — Optional but nice. I usually just let them cool in the pan on the counter.
Airtight container or ziplock bags — For storage. I use ziplock bags for individual bars so I can grab one at a time.
How to Make It: Step-by-Step
Alright, let’s make this! I’m walking you through exactly how I do it, including the little tricks I’ve picked up. This takes about 10 minutes of active time, and then the fridge does the rest.
Step 1: Prep Your Pan and Oven (2 minutes)
Preheat your oven to 350°F (175°C). Grease your 9×9 inch baking pan with butter or cooking spray. I line it with parchment paper if I want easy removal, but greasing is usually enough. Set it aside.
Step 2: Mix the Dry Ingredients (3 minutes)
In your large bowl, whisk together the oats, whole wheat flour, baking powder, salt, and cinnamon. Make sure there are no big lumps of flour. If you’re using chopped nuts or dried fruit, add them here. This ensures they’re evenly distributed.
Step 3: Mix the Wet Ingredients (2 minutes)
In a separate small bowl or measuring cup, whisk the milk, egg, melted butter, maple syrup, vanilla, and brown sugar (if using). Whisk until it’s smooth and combined. The butter should be melted but not hot.
Step 4: Combine Everything (2 minutes)
Pour the wet mixture over the dry ingredients. Stir gently with a spatula until everything is coated. Don’t overmix. You want it to look shaggy and wet. If it looks too dry, add a splash more milk. If it’s too soupy, add a handful more oats.
Step 5: Add Chocolate Chips (Optional)
If you’re adding chocolate chips, fold them in now. Be gentle so you don’t crush them.
Step 6: Bake (20-25 minutes)
Pour the batter into the prepared pan. Spread it out evenly with a spatula. Press down firmly with the back of the spatula. This is key—it makes the bars dense and chewy rather than crumbly. Bake for 20-25 minutes, until the edges are golden brown and the center is set. A toothpick inserted in the center should come out clean or with a few moist crumbs.
Step 7: Cool and Store (1 hour + overnight)
Let the bars cool in the pan for 10 minutes. Then transfer to a wire rack to cool completely. This step is important because they firm up as they cool. Once cool, cut into squares. Cover and refrigerate overnight. This chilling step is what makes them grab-and-go friendly. They set up nicely in the fridge.
Expert Tips & Tricks
Here’s everything I’ve learned from making this dozens of times. These tips will save you from my mistakes.
Press Down Firmly
I can’t stress this enough. If you don’t press the batter down firmly, your bars will fall apart. They need to be compact. Use the bottom of a measuring cup to press them down even more if you want.
Chill Before Cutting
If you try to cut them warm, they’ll be messy. The fridge is your friend. Let them chill for at least 4 hours, preferably overnight. This makes them slice cleanly and hold their shape.
Toast Your Nuts
Toasting nuts in a dry pan for 2-3 minutes before adding them releases their oils and adds incredible flavor. It’s a small step that makes a big difference. Don’t skip it if you have the time.
Control the Sweetness
Taste your dried fruit. If it’s very sweet (like dried mango), reduce the maple syrup. If it’s tart (like cranberries), you might want to add a bit more sweetener. Adjust based on what you’re using.
Don’t Overbake
Oat bars continue to cook as they cool. If they look slightly soft in the center when you take them out, that’s perfect. Overbaking makes them dry and hard.
Variations & Substitutions
Once you’ve nailed the basic version, here’s how you can mix it up. I’ve tried all of these.
Protein-Packed Version
Add 1 scoop of vanilla protein powder and an extra ¼ cup of milk. This makes them more filling and great for post-workout breakfasts. My husband loves these for his pre-school run.
Chocolate Chip Cookie Dough
Skip the nuts and dried fruit. Add ½ cup chocolate chips and ¼ cup chopped walnuts. It tastes like a cookie. My kids think they’re getting away with murder.
Peanut Butter Banana
Swirl 2 tablespoons of peanut butter into the batter before baking. Add sliced bananas on top before baking. It’s rich and satisfying.
Apple Cinnamon
Replace dried fruit with 1 cup of finely chopped fresh apples. Toss the apples in a little flour first so they don’t sink. Add extra cinnamon. Tastes like apple pie.
Dairy-Free
Use coconut oil instead of butter and almond milk instead of cow’s milk. Use maple syrup instead of honey. Everything else stays the same. My lactose-intolerant friend requests this version.
Gluten-Free
Use certified gluten-free oats and gluten-free flour. Make sure your baking powder is GF too. Everything else is naturally GF. I’ve used Bob’s Red Mill GF flour and it works great.
Serving & Storage
How to Serve:
I usually serve these straight from the fridge. They’re cold and refreshing, which is nice in the morning. But you can also microwave them for 30 seconds if you prefer warm bars. I serve them with a glass of milk or a smoothie for a complete breakfast.
Side Dishes:
- Fresh fruit salad
- Yogurt with granola
- Hard-boiled eggs
- A glass of juice
Storage Instructions:
Refrigerator: Store in an airtight container for up to 5 days. They get firmer in the fridge, which is good for grab-and-go.
Freezer: These freeze beautifully. Wrap individual bars in plastic wrap and store in a ziplock bag for up to 3 months. Thaw in the fridge overnight or microwave for 30 seconds.
Room Temperature: I don’t recommend leaving them out for more than 2 hours, especially if they have fruit in them. The fridge is safer.
Pro Tip: If leftovers are drying out, wrap them in a damp paper towel and microwave for 10 seconds. Brings back that soft texture.
Nutrition Information
I’m not a nutritionist, but here’s the breakdown if you’re tracking. This is per bar (makes 12 bars).
| Nutrient | Amount |
|---|---|
| Calories | 180 |
| Protein | 5g |
| Carbs | 28g |
| Fiber | 3g |
| Sugar | 12g |
| Fat | 7g |
| Saturated Fat | 3g |
| Sodium | 150mg |
What’s Good:
- Decent fiber from oats
- Healthy fats from nuts
- Whole grain carbs for sustained energy
What to Know:
- Higher in sugar if you use lots of dried fruit or chocolate
- Contains gluten and dairy (unless modified)
- Can be made vegan and gluten-free
My Take:
Look, this is comfort food with oats and fruit. It’s not a diet recipe. But it’s way better than a pop-tart, costs less, and I know exactly what’s in it. When I want to make it lighter, I reduce the sugar and add more nuts. But usually? I just eat a reasonable portion and enjoy it.
Final Thoughts
So that’s my go-to Back to School Breakfast Dessert Oat Bars! I’ve probably talked your ear off at this point, but when you make a recipe this often, you have a lot to say about it.
This has saved our mornings more times than I can count. It’s my answer to “what’s for breakfast” when I’m tired, don’t want to cook, and still want something that tastes really good. My kids are happy, my husband’s happy, and I’m happy because I’m not stressed about cooking.
Make it yours! Try different add-ins, swap in your favorite fruits, adjust the sweetness. The best recipes are the ones you adapt to your family’s tastes. If you make this, drop a comment and let me know what you think! I love hearing how recipes turn out in your kitchen. And if something doesn’t work, tell me that too—I’m here to help troubleshoot.
Happy cooking! And I hope your mornings are half as smooth as mine are now.
Frequently Asked Questions
Can I use instant oats instead of old-fashioned?
You can, but the texture will be different. Instant oats are thinner and will make the bars softer and more cake-like. If you use them, reduce the milk by 1-2 tablespoons because instant oats absorb liquid faster. I prefer old-fashioned for that chewy texture, but instant works in a pinch.
Why did my bars fall apart?
Usually, this means you didn’t press the batter down firmly enough, or you didn’t chill them long enough. Make sure to press the batter into the pan with the back of a spoon or measuring cup. Also, let them cool completely in the pan, then refrigerate for at least 4 hours. Warm bars are fragile.
Can I make these ahead for the week?
Absolutely! That’s the whole point. I make them on Sunday night, and they last all week in the fridge. You can also freeze them. Just wrap individual bars in plastic wrap and store in a ziplock bag. Thaw in the fridge overnight or microwave for 30 seconds.
Can I use honey instead of maple syrup?
Yes, honey works great. It has a stronger flavor, so use slightly less if you’re sensitive to that taste. The texture will be similar. I use maple syrup because it’s less sweet and has a nice depth, but honey is a perfect substitute.
How do I store these for school lunches?
Keep them in the fridge until it’s time to pack lunch. Then put them in a small airtight container or ziplock bag. They’ll stay fresh and cool until lunchtime. If it’s very hot outside, you might want to include an ice pack in the lunchbox.
Can I add protein powder?
Yes! I often add a scoop of vanilla protein powder. Just make sure to add an extra ¼ cup of milk because protein powder absorbs liquid. The bars will be denser and more filling. Great for active kids.
What if I don’t have a 9×9 pan?
You can use an 8×8 pan, but the bars will be thicker. You’ll need to bake them for 5-10 minutes longer. Or you can use a 9×13 pan, but the bars will be thin. Adjust baking time accordingly. The key is to watch for golden edges.
Pin This Recipe!
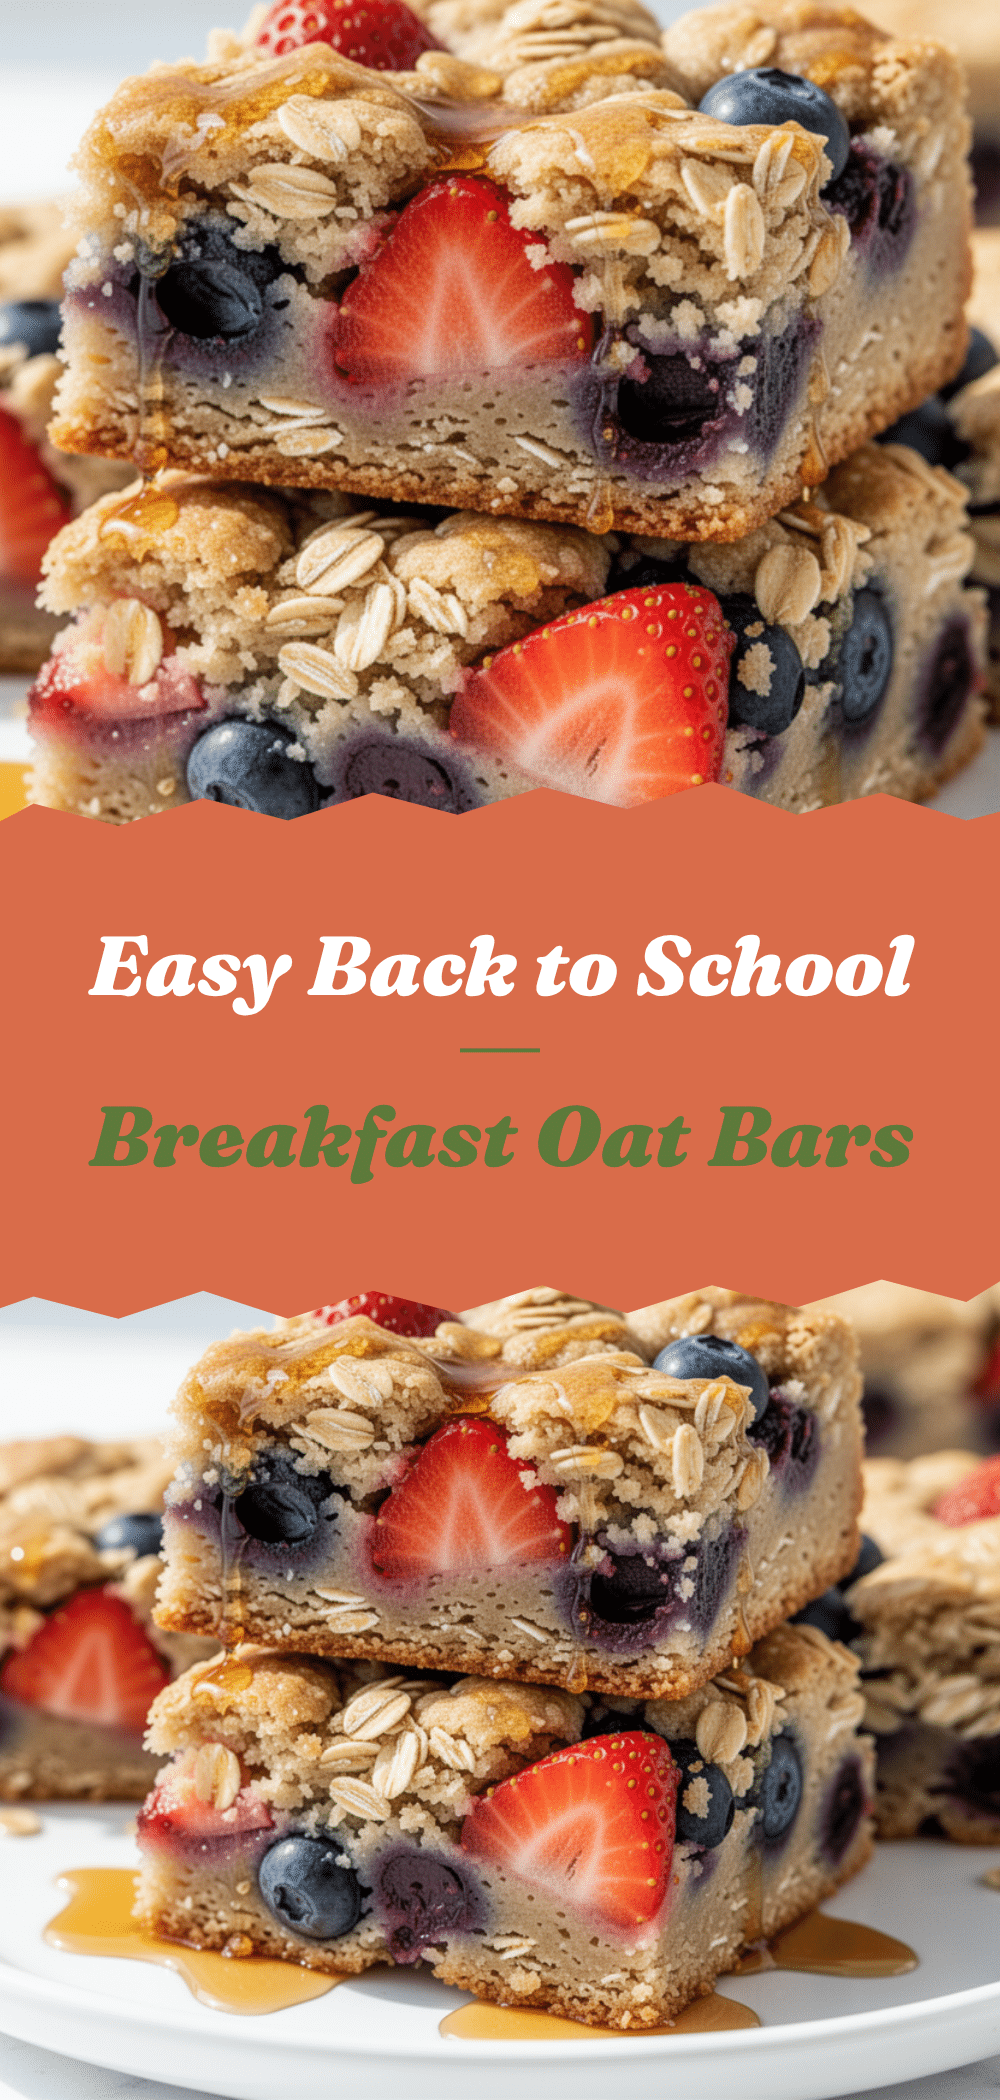
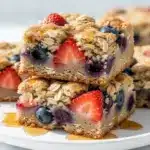
Back to School Breakfast Dessert Oat Bars
- Total Time: 35 minutes
- Yield: 12 servings 1x
Description
Soft, chewy, and packed with fiber, these grab-and-go oat bars are designed for busy mornings. Made the night before and stored in the fridge, they offer a nutritious yet treat-like breakfast that kids love.
Ingredients
- 2 cups old-fashioned rolled oats
- 1 cup whole wheat flour
- 1 teaspoon baking powder
- 1/2 teaspoon salt
- 1/2 cup milk (dairy or non-dairy)
- 1 large egg
- 1 teaspoon vanilla extract
- 1/4 cup maple syrup
- 2 tablespoons butter, melted
- 1/4 cup brown sugar (optional)
- 1 teaspoon cinnamon
- 1/2 cup chopped nuts (walnuts, pecans, or almonds)
- 1/2 cup dried fruit (raisins, cranberries, dates, or apricots)
- 1/4 cup dark chocolate chips (optional)
- 1 tablespoon chia seeds (optional)
Instructions
- Preheat oven to 350°F (175°C). Grease a 9×9 inch baking pan with butter or cooking spray, optionally lining with parchment paper.
- In a large bowl, whisk together the oats, whole wheat flour, baking powder, salt, and cinnamon. If using nuts or dried fruit, add them here to ensure even distribution.
- In a separate small bowl, whisk together the milk, egg, melted butter, maple syrup, vanilla extract, and brown sugar until smooth.
- Pour the wet mixture over the dry ingredients and stir gently with a spatula until coated. The mixture should look shaggy and wet; add a splash of milk if too dry or more oats if too soupy.
- Fold in chocolate chips if using.
- Pour the batter into the prepared pan and spread evenly. Press down firmly with the back of a spatula to make the bars dense and chewy.
- Bake for 20-25 minutes until the edges are golden brown and the center is set. A toothpick inserted in the center should come out clean or with moist crumbs.
- Let the bars cool in the pan for 10 minutes, then transfer to a wire rack to cool completely.
- Cut into squares, cover, and refrigerate overnight to set before serving.
- Store in an airtight container in the fridge for up to 5 days or freeze for up to 3 months.
Notes
Press the batter down firmly to prevent crumbling. Chill bars overnight for best texture and ease of cutting. Toast nuts for enhanced flavor. Can be made gluten-free by using GF oats and flour. Can be made dairy-free by using coconut oil and almond milk.
- Prep Time: 10 minutes
- Cook Time: 25 minutes
- Category: Breakfast
- Cuisine: American
Nutrition
- Serving Size: 1 bar
- Calories: 180
- Sugar: 12
- Sodium: 150
- Fat: 7
- Saturated Fat: 3
- Carbohydrates: 28
- Fiber: 3
- Protein: 5
Keywords: breakfast bars, oat bars, grab and go breakfast, school breakfast, meal prep, healthy breakfast, kid-friendly recipes, overnight oats