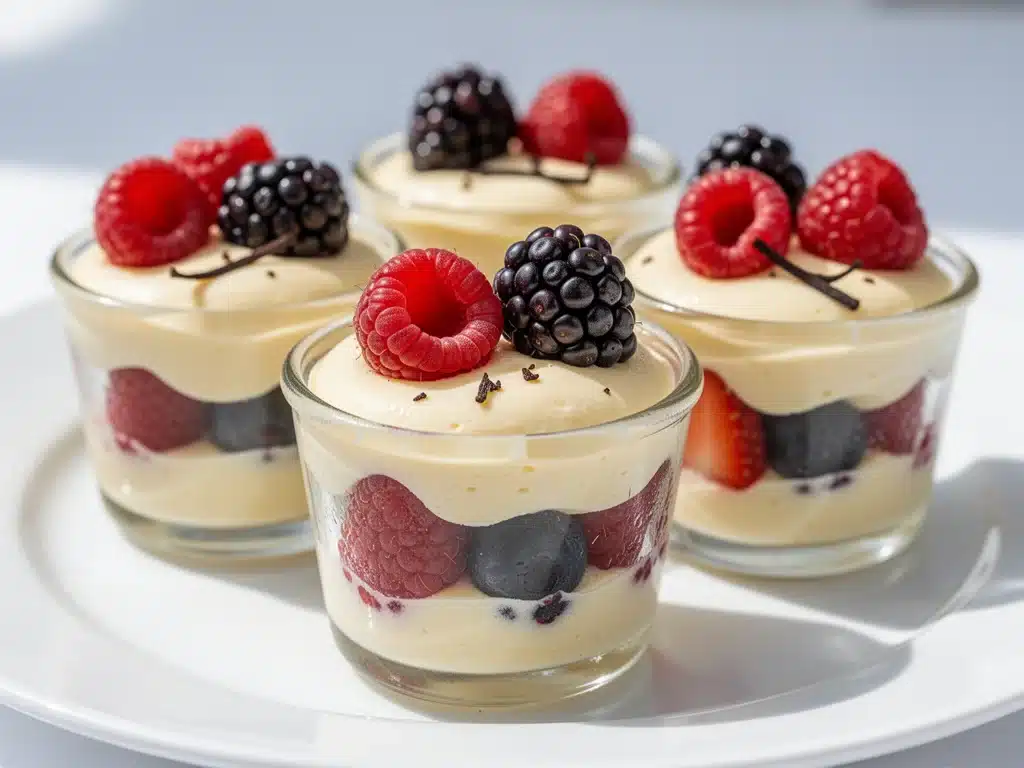
I still remember the exact panic I felt standing in my kitchen at 4:00 PM on a Saturday. The potluck was at 6:00 PM. The guest list had ballooned to twelve people. And the only thing I had in the house was a bag of frozen mixed berries, a tub of heavy cream, a box of vanilla wafers, and a jar of honey. No oven. No fancy gadgets. Just a desperate need to not show up empty-handed.
I’ve been there. You know the drill. You’re staring into the fridge, hoping a miracle will happen, while your friends are already halfway to your house. But instead of ordering takeout or showing up with store-bought cookies (please don’t judge me, I’ve done it), I threw together what I’m now calling my “emergency hero” dessert. I chopped the berries, whipped the cream, layered it in little cups, and popped them in the freezer for twenty minutes.
When I pulled them out, they looked like tiny works of art. Creamy, fruity, and elegant. People thought I’d spent hours making them. I didn’t. It took me fifteen minutes of active work. That’s when I knew: these Mini Dessert Cups weren’t just a life-saver for that one chaotic Saturday. They were a permanent fixture in my recipe rotation.
Now, whenever I need a quick treat, a last-minute gift for a neighbor, or just something sweet to have on hand for late-night cravings, I make these. They’re the ultimate 5-ingredient easy berry cream treat because they rely on pantry staples and minimal effort. I’ve made them for holiday parties, summer picnics, and just because. The best part? They’re customizable. Love strawberries? Use strawberries. Got blueberries expiring in the crisper? Use those. This recipe is your blank canvas, and it’s delicious every single time.
I’ve tested this method so many times that I can do it with one hand tied behind my back (metaphorically, please don’t actually do that while holding a knife). Whether you’re a beginner baker who’s intimidated by piping bags or a seasoned pro looking for a quick bite, these cups will become your new best friend. Let’s get into why this simple combo works so well and how you can make them happen.
Why You’ll Love This Recipe
There are about ten reasons I keep coming back to these mini dessert cups, but let’s be real—you don’t need a degree in pastry arts to understand why they’re awesome. Here’s the breakdown:
Zero Baking Required — Seriously. If you can open a can and spoon stuff into a cup, you can make this. No preheating the oven, no waiting for cookies to cool, no washing a million baking sheets. This is the ultimate no-bake dessert for anyone who hates the heat.
Five Ingredients, Maximum Flavor — I’m not exaggerating when I say five. Cream, berries, cookies, honey, and maybe a tiny pinch of salt. That’s it. Simple ingredients, but when you combine them right, the flavor profile is complex and satisfying. It’s sweet, tangy, and creamy all at once.
Looks Fancy, Actually Cheap — These look like something you’d order at a high-end café for $8. But the cost per cup is less than fifty cents. I use frozen berries (which are cheaper and often fresher than out-of-season fresh ones) and standard vanilla wafers. It’s budget-friendly luxury.
Perfect for Meal Prep — I make a batch on Sunday night, and I have dessert covered for the entire week. They keep in the fridge for up to three days without getting soggy (if you layer them right, which I’ll show you). It’s my secret weapon for avoiding the “what’s for dessert?” panic on weeknights.
Individual Portions — I love that these are single-serving. No fighting over the last slice of cake. No awkward cutting. Just grab a cup and go. They’re perfect for kids’ lunchboxes, office snacks, or just when you want a controlled treat without the guilt of eating half the pan.
This is my go-to when I need something sweet that feels special but requires zero stress. It’s reliable, delicious, and always gets compliments. Plus, it’s a great way to introduce picky eaters to berries—if they see cream and cookies, they’ll eat anything.
Ingredients You’ll Need
Here’s the best part: you probably have most of this already in your kitchen. I’m not asking you to drive to the store for obscure items. This is a true pantry-challenge recipe. Let’s look at what you need and why each piece matters.
Heavy Cream (1 cup / 240ml) — This is the base of the cream layer. You want full-fat heavy cream (also called heavy whipping cream). It whips up stable and rich. Light cream or half-and-half won’t hold the shape as well and will taste thinner. Don’t skimp here; the fat carries the flavor.
Mixed Berries (1 cup / 150g, thawed) — I use a bag of frozen mixed berries (strawberries, blueberries, raspberries). They’re cheaper, available year-round, and actually thaw perfectly for this use. If you have fresh berries, chop them small. The key is to drain them well so the cream doesn’t get watery.
Vanilla Wafers (12-15 cookies) — I use standard Nabisco-style vanilla wafers. They’re sweet, crisp, and sturdy enough to hold the cream without disintegrating immediately. Graham crackers work too, but they’re less sweet, so you might need to add a bit more honey. Digestive biscuits are a European option that’s buttery and delicious.
Honey (2 tablespoons) — This is the sweetener for the cream. I prefer honey over powdered sugar because it dissolves instantly and adds a lovely floral note. Maple syrup works too, but it changes the flavor profile slightly. Use good quality honey if you can.
Salt (a pinch) — This is the secret ingredient. A tiny pinch of salt cuts through the sweetness and makes the berry flavor pop. I can’t stress this enough. It’s not optional if you want professional-level taste.
Optional: Lemon Zest — If you’re feeling fancy, add the zest of half a lemon. It brightens up the heavy cream and makes it taste lighter. I do this when I’m serving these to adults who want something less cloying.
Substitutions: Can’t find vanilla wafers? Use crushed shortbread cookies or even crushed graham crackers. No honey? Use powdered sugar, but you’ll need to sift it in so there are no lumps. Dairy-free? Use coconut cream (the hard part from a can of full-fat coconut milk) and maple syrup. It’s surprisingly good!
Equipment Needed
You don’t need a fancy kitchen for this. In fact, having less equipment might just make it faster. Here’s what I actually use:
Mixing Bowls — Two medium bowls. One for the cream, one for the berries. I like stainless steel because they don’t tip over easily when I’m whipping.
Hand Mixer or Whisk — A hand mixer makes quick work of the cream, but a whisk works if you have strong arms. I usually just use the whisk attachment on my stand mixer, but a handheld one is fine for this volume.
Ramekins or Small Cups — This is where the magic happens. I use 4-ounce ramekins for a perfect portion size. You can also use mason jar lids, small glass dessert cups, or even large ice cream cones if you want to get creative. The shape doesn’t matter as much as the size.
Strainer or Sieve — Crucial for draining the berries. If you skip this step, your cups will be soupy. I lay a paper towel over the strainer to catch the extra liquid.
Spoon — For layering. A regular teaspoon works fine. No need for a piping bag unless you’re feeling artistic.
Freezer — Obviously. But make sure you have space. These need at least 30 minutes to set, preferably an hour.
Knife and Cutting Board — Only if you’re chopping fresh berries. If using frozen, you can just thaw and drain them whole.
I keep a stack of small glass cups in my cabinet specifically for desserts like this. They look pretty in the fridge and are easy to clean. If you don’t have ramekins, clean yogurt cups work too—just wash them well first. Don’t be shy about reusing containers; it’s eco-friendly and practical.
How to Make It: Step-by-Step
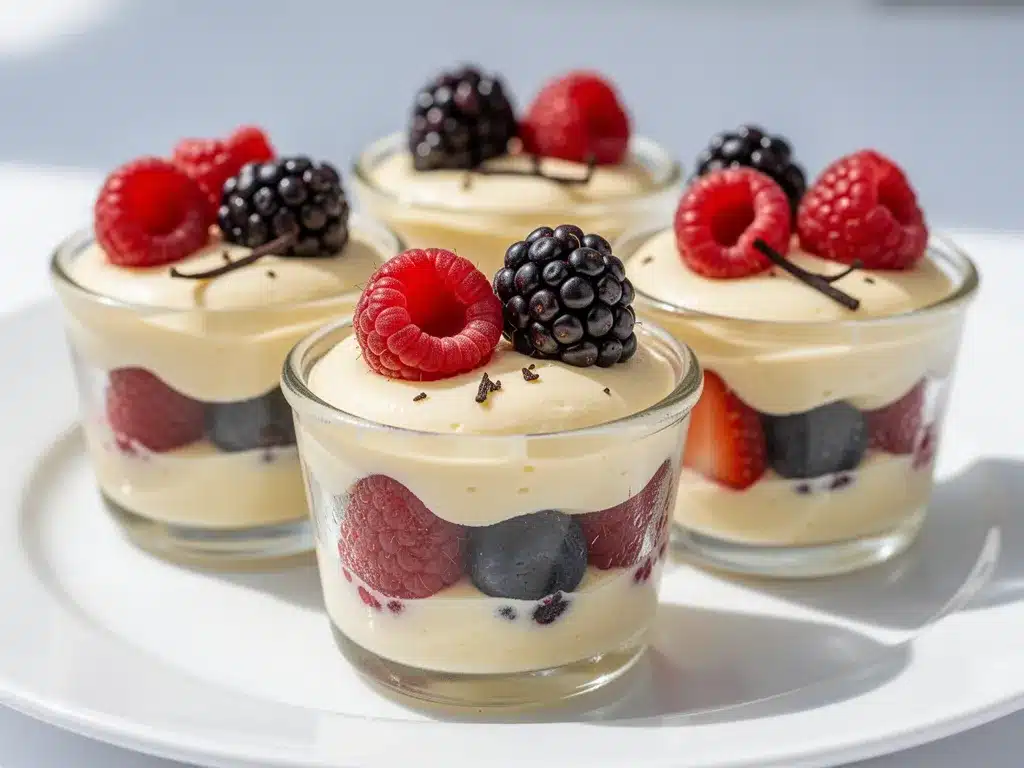
Alright, let’s make these! I’m walking you through exactly how I do it, including the little tricks I’ve picked up over the years. This is going to be easy, I promise.
Step 1: Prep the Berries (5 minutes)
Start by draining your berries. If they’re frozen, let them thaw in a strainer set over a bowl. Once thawed, gently press them with a spoon to get rid of excess liquid. You want the berries juicy but not swimming in juice. Chop larger strawberries into small pieces. Set aside. This step is critical—if you skip it, your cream layer will be watery and sad.
Step 2: Whip the Cream (3 minutes)
In a medium bowl, pour the cold heavy cream. Add the honey and the pinch of salt. If you’re using lemon zest, add it now. Using a hand mixer or whisk, beat the cream until soft peaks form. This means when you lift the beaters, the cream holds a shape that droops slightly. Don’t overbeat! If you beat it until stiff peaks, it’ll be grainy and hard to spread. Soft peaks are perfect for layering. Taste it—it should be lightly sweetened. Adjust honey if needed.
Step 3: Prepare the Cups
Take your ramekins or small cups. Break your vanilla wafers in half or leave them whole, depending on how thick you want the base. I usually break them in half to create a nice even layer. Place 2-3 pieces of wafer at the bottom of each cup. Press down gently with the back of a spoon to compact them. This creates a stable foundation.
Step 4: Layer the Cream
Spoon a generous layer of the whipped cream over the wafers. You want about 2-3 tablespoons per cup. Use the back of the spoon to smooth it out, but don’t worry about making it perfect—it’s rustic and charming. The cream should cover the cookies completely.
Step 5: Add the Berries
Top the cream with the drained berries. Sprinkle them evenly across the top. You can push them in slightly so they stick to the cream, or leave them sitting on top. I like a mix of both for visual appeal. If you have extra juice from the berries, drizzle a tiny bit over the top for extra flavor, but not too much or it’ll make the wafers soggy.
Step 6: Chill
Place the cups in the freezer for at least 30 minutes, or the fridge for an hour. This sets the cream and makes the wafers slightly softer, creating that perfect texture contrast. If you’re serving immediately, they’ll still be good, but chilling is better.
Step 7: Serve
Remove from the fridge/freezer. Garnish with a fresh berry or a tiny mint leaf if you want to impress. Serve with a small spoon. Eat immediately or store in the fridge for up to 3 days.
Total time is about 15 minutes active, plus chilling time. It’s that simple.
Expert Tips & Tricks
Here’s everything I’ve learned from making these dozens of times. These tips will save you from my mistakes.
Keep Everything Cold
If you want the cream to whip up quickly and stay stable, make sure your bowl and beaters are cold. I throw my mixing bowl in the freezer for 10 minutes before starting. Cold cream whips faster and holds its shape better. Warm cream = soup.
Don’t Skip the Drain
I know it’s tempting to just dump the berries in. But the liquid from thawed berries is sugar water. If you don’t drain it, it will seep into the wafers and make them mushy before you even eat them. Pat them dry with a paper towel if they’re still wet.
Soft Peaks Are Key
Over-whipped cream is a common mistake. Once cream goes from soft peaks to stiff peaks, it’s only a few seconds away from turning into butter. Stop as soon as it holds a loose shape. You’re spreading it, not piping it.
Layering Technique
For a more dramatic effect, you can do two layers of cream and berries. Wafer, cream, berries, wafer, cream, berries. It looks beautiful and gives you more texture in every bite. But the single layer is easier and just as delicious.
Customize the Cookie
I’ve made these with ginger snaps (great for fall), chocolate wafers (for chocolate lovers), and even almond biscotti (for a nuttier flavor). The base cookie changes the vibe entirely. Try different ones to keep it interesting.
Make-Ahead Strategy
You can assemble these up to 24 hours in advance. Store them in the fridge in an airtight container. They actually get better as the wafers soften slightly. Just add the fresh berry garnish right before serving.
Variations & Substitutions
Once you’ve nailed the basic version, here’s how you can mix it up. I’ve tried all of these, and they’re all winners.
Chocolate Berry Cups
Add 1 tablespoon of cocoa powder to the whipped cream. It turns it into a chocolate cream layer. Pair it with chocolate wafers for a double-chocolate experience. My kids go crazy for this version.
Tropical Twist
Swap berries for diced mango and pineapple. Use coconut cream instead of dairy cream. Top with toasted coconut flakes. It’s like a mini piña colada in a cup. Perfect for summer.
Apple Pie Style
Use chopped cooked apples instead of berries. Add a dash of cinnamon to the cream. Use graham crackers as the base. It’s like deconstructed apple pie. Warm the apples slightly before layering for a cozy feel.
Protein Boost
If you’re looking for a snack that’s a bit more filling, use Greek yogurt mixed with honey instead of heavy cream. It’s tangier and lighter. The texture is different, but it’s a great option for a post-workout treat. I pair this with high-protein cottage cheese egg bake ideas when I’m trying to balance my meals, though this dessert is definitely a treat!
Gluten-Free Version
Use gluten-free vanilla wafers or crushed gluten-free graham crackers. Most standard wafers contain wheat, so check the label. The rest of the recipe is naturally gluten-free.
Vegan Option
Use full-fat coconut cream (chilled overnight, scoop the solid part) and maple syrup. Use vegan cookies. The texture is slightly denser but still creamy and delicious.
Serving & Storage
How to Serve:
I usually serve these straight from the fridge. They’re cool and refreshing. For a dinner party, I arrange them on a platter with a few fresh berries scattered around. They look elegant and easy to grab. Pair them with creamy iced matcha latte for a sophisticated afternoon tea vibe.
Side Dishes:
These are complete desserts on their own. But if you want to expand the menu, they go well with coffee or tea. I also serve them alongside savory dishes like gluten-free crispy baked chicken tenders for a balanced meal where the dessert is ready while everyone eats.
Storage Instructions:
Store in an airtight container in the fridge for up to 3 days. They will not freeze well long-term because the cream can separate upon thawing. If you must freeze, do so for only 1-2 hours before serving. Do not store for days in the freezer.
Reheating:
Do not reheat. These are best served cold or at room temperature. Heating them will melt the cream and make the cookies soggy.
Meal Prep:
I make a batch on Sunday and keep them in the fridge. They’re perfect for grab-and-go breakfasts (if you’re okay with sweet breakfasts) or afternoon snacks. Just make sure the container is sealed tight so they don’t absorb fridge odors.
Nutrition Information
I’m not a nutritionist, but here’s the breakdown if you’re tracking. Keep in mind that these are treats, so enjoy them mindfully.
Per Cup (based on 6 cups):
Calories: 280
Protein: 4g
Carbs: 24g
Fiber: 2g
Sugar: 18g
Fat: 18g
Saturated Fat: 11g
Cholesterol: 45mg
Sodium: 40mg
What’s Good:
The berries provide antioxidants and fiber. The cream provides satiety, so you feel full faster. It’s a small portion, so it’s easier to control intake than a large slice of cake.
What to Know:
Higher in sugar and saturated fat due to the cream and honey. If you’re watching your intake, consider using half-and-half or Greek yogurt instead of heavy cream. The calorie count is moderate for a dessert, but it adds up if you eat multiple cups.
My Take:
Look, this is a sweet treat. It’s not a health food. But it’s better than processed candy bars, and you know exactly what’s in it. When I want to make it lighter, I use the Greek yogurt version. But usually? I just enjoy one cup and savor it.
Final Thoughts
So that’s my go-to mini dessert cups! I’ve probably talked your ear off at this point, but when you make a recipe this often, you have a lot to say about it. This has saved me from awkward potluck moments more times than I can count. It’s my answer to “I need something sweet now” when I don’t want to bake or order delivery.
My kids are happy, my guests are impressed, and I’m happy because I’m not stressed about cooking. It’s simple, it’s reliable, and it’s delicious. Make it yours! Try different berries, swap the cookies, add a splash of liqueur for adults. The best recipes are the ones you adapt to your tastes.
If you make this, drop a comment and let me know what you think! I love hearing how recipes turn out in your kitchen. And if something doesn’t work, tell me that too—I’m here to help troubleshoot. Happy cooking! And I hope your kitchen smells as good as mine does right now.
Frequently Asked Questions
Q: Can I use fresh berries instead of frozen?
A: Yes! Fresh berries work great. Just chop them small and pat them dry with a paper towel to remove excess moisture. You won’t need to thaw them, obviously, but the draining step is still important to prevent soggy wafers.
Q: Why did my cream turn out runny?
A: This usually happens if the cream wasn’t cold enough or if you overbeat it. Make sure your bowl and beaters are chilled. Also, stop whipping as soon as you see soft peaks. If it’s already runny, you can try whipping it again for a few seconds, but be careful not to turn it into butter.
Q: Can I make these ahead of time?
A: Yes, up to 24 hours in advance. Store them in the fridge in an airtight container. The wafers will soften slightly, which many people prefer. Just add fresh garnishes right before serving.
Q: What kind of cookies work best?
A: Vanilla wafers are classic, but graham crackers, digestive biscuits, shortbread, or even ladyfingers work well. Avoid cookies that are too delicate, like angel food cake crumbs, as they’ll disintegrate too quickly.
Q: Can I freeze these?
A: You can freeze them for 1-2 hours to set them quickly, but long-term freezing isn’t recommended. The cream can separate and become grainy when thawed. It’s best to keep them in the fridge.
Q: How do I store leftovers?
A: Store in an airtight container in the fridge for up to 3 days. They may lose some crispness in the wafers, but they’ll still be delicious. Do not leave them at room temperature for more than 2 hours.
Q: Can I make this recipe dairy-free?
A: Yes! Use full-fat coconut cream (chilled) and maple syrup. Use dairy-free cookies. The texture will be slightly denser, but it’s still creamy and tasty. I’ve made this for lactose-intolerant friends, and they loved it.
Pin This Recipe!
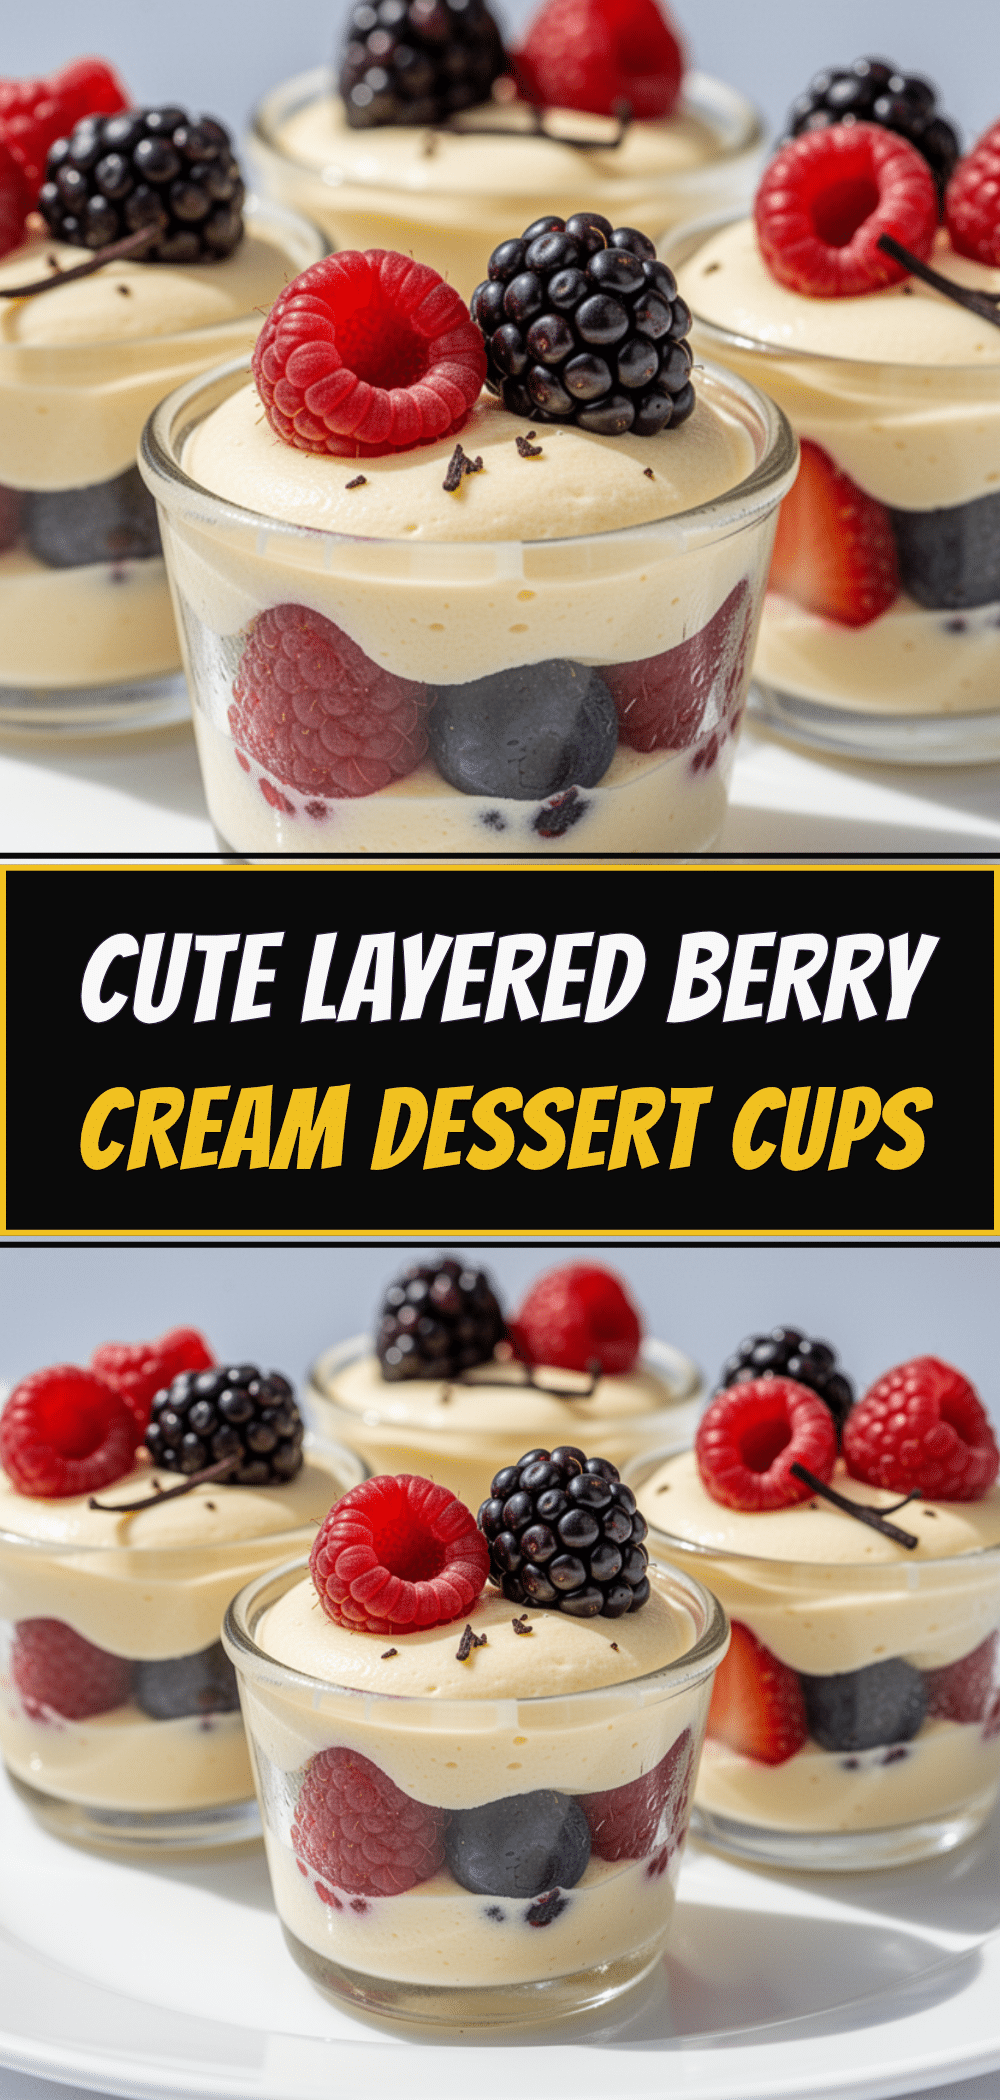
Mini Dessert Cups: 5-Ingredient Easy Berry Cream Treat
- Total Time: 45 minutes
- Yield: 6 servings 1x
Description
A quick, no-bake dessert made with heavy cream, mixed berries, vanilla wafers, and honey. These elegant mini cups are perfect for last-minute gatherings, meal prep, or a sweet treat.
Ingredients
- 1 cup heavy cream (cold)
- 1 cup mixed berries (frozen or fresh, thawed and drained)
- 12–15 vanilla wafers
- 2 tablespoons honey
- 1 pinch salt
- Optional: Zest of half a lemon
Instructions
- Drain the berries thoroughly in a strainer to remove excess liquid. If using frozen berries, let them thaw first. Chop larger berries into small pieces and pat dry with a paper towel if necessary.
- In a medium bowl, combine the cold heavy cream, honey, salt, and lemon zest (if using).
- Whip the cream using a hand mixer or whisk until soft peaks form. Be careful not to overbeat.
- Break vanilla wafers in half or leave whole. Place 2-3 pieces at the bottom of each ramekin or small cup and press down gently to create a base.
- Spoon a generous layer of whipped cream (about 2-3 tablespoons) over the wafers in each cup, smoothing it out.
- Top the cream with the drained berries, arranging them evenly.
- Place the cups in the freezer for at least 30 minutes or the refrigerator for 1 hour to set.
- Serve immediately or store in the refrigerator for up to 3 days.
Notes
Ensure the cream and bowl are cold for best whipping results. Drain berries well to prevent soggy wafers. These can be made up to 24 hours in advance. For a lighter version, substitute heavy cream with Greek yogurt.
- Prep Time: 15 minutes
- Cook Time: 0 minutes
- Category: Dessert
- Cuisine: American
Nutrition
- Serving Size: 1 cup
- Calories: 280
- Sugar: 18
- Sodium: 40
- Fat: 18
- Saturated Fat: 11
- Carbohydrates: 24
- Fiber: 2
- Protein: 4
Keywords: no-bake dessert, berry cream, mini dessert cups, easy recipe, 5-ingredient dessert, meal prep dessert, gluten-free option, vegan option