It’s 7:15 AM on a Tuesday in September. The house is still dark, but the clock is ticking. My oldest is digging through the backpack he hasn’t touched since June, looking for a math worksheet that definitely isn’t there. My youngest is trying to put on one shoe, then the other, then suddenly decides neither shoe is an option. And me? I’m standing in front of the open fridge, blinking at a carton of milk and a jar of pickles, wondering if I can survive on coffee and sheer willpower until noon.
This is the chaos of back-to-school mornings. It’s loud, it’s rushed, and it is absolutely not the time to be making anything complicated.
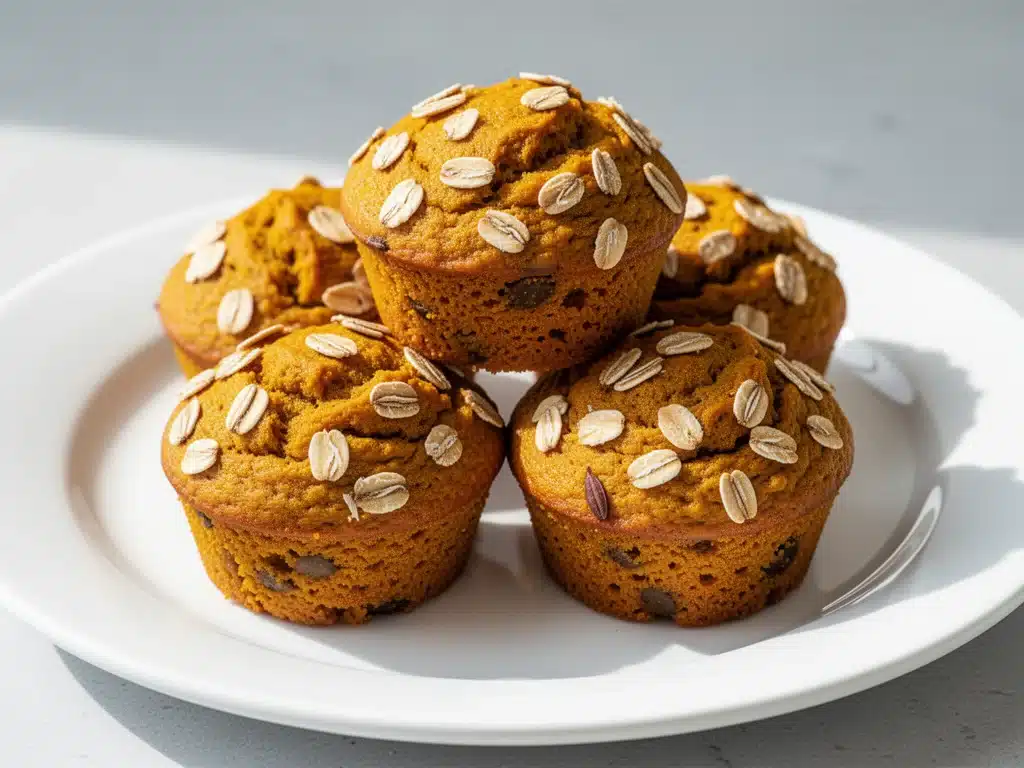
Three years ago, I was surviving on granola bars that tasted like sawdust and sugar. I felt guilty every time I handed one to my kids, knowing they’d be hungry an hour later. Then I discovered the magic of back to school pumpkin oat muffins. I stumbled upon this recipe during a particularly stressful Sunday prep session, half-asleep and desperate for a solution that was actually healthy. I threw together a batch, expecting mediocrity. What I got was moist, spiced, naturally sweetened perfection that my kids actually asked for.
These aren’t just muffins. They’re a lifesaver. They’re the reason I don’t have to stop at the drive-thru on busy mornings. They’re the reason I can grab a coffee, kiss my sleepy kids good morning, and actually feel good about what they’re eating in the car. I’ve made these over 50 times since that first Sunday. I’ve tweaked the spices, tested different flours, and even convinced my picky eater husband to eat one before noon. Now, they are the undisputed champions of our weekly meal prep. If you’re drowning in morning chaos and need a healthy grab-and-go breakfast that actually tastes like a treat, you need this recipe in your life.
Why You’ll Love This Recipe
There are a million muffin recipes out there, but this one has earned its spot in our rotation for very specific reasons. It’s not just about the pumpkin; it’s about the balance of practicality and nutrition. Here’s why these back to school pumpkin oat muffins are my go-to when the school year starts:
Actually Healthy — These aren’t covered in a thick layer of icing or loaded with refined sugar. I use rolled oats for fiber, pumpkin puree for moisture (and vitamins), and just a touch of maple syrup. They’re dense enough to keep my kids full until lunch, which is a miracle in itself.
Grab-and-Go Friendly — Let’s be real: if it doesn’t fit in a small bag and survive a 45-minute car ride without falling apart, it’s useless for school mornings. These muffins hold together beautifully. I pack them in reusable containers, and they come out looking almost as good as when I baked them. No crumbs everywhere.
Meal Prep Heaven — I make a double batch every Sunday. They stay fresh in the fridge for up to five days or in the freezer for up to three months. I’ve pulled frozen ones out at 6:30 AM, microwaved them for 30 seconds, and handed them to my kids while they’re still putting on their backpacks. It’s breakfast solved.
No Fancy Equipment — You don’t need a stand mixer. You don’t need a food processor. You just need a couple of bowls and a muffin tin. I make these in the same bowl I use for scrambled eggs. It’s one less thing to wash, which is a huge win for tired parents.
Customizable — Got a nut allergy? Skip the walnuts. Love chocolate? Stir in a handful of dark chocolate chips. These muffins are a blank canvas for whatever your family loves. I’ve made them with raisins, dried cranberries, and even a little shredded coconut. They always turn out great.
This recipe has saved our mornings more times than I can count. It’s reliable, it’s nutritious, and it tastes like autumn in every bite. No stress, no fuss, just delicious, healthy food that helps you get out the door on time.
Ingredients You’ll Need
One of the best parts about these back to school pumpkin oat muffins is that the ingredient list is short, recognizable, and mostly things you probably already have in your pantry. I’m not asking you to hunt down exotic superfoods. I’m asking for simple, wholesome ingredients that come together to create something special.
For the Muffin Base
Old-fashioned rolled oats (2 cups / 160g) — Don’t use instant oats; they’ll turn to mush. I buy the store brand because it saves money and works perfectly. If you want a finer texture, you can pulse them in a blender for a minute to make oat flour, but whole oats give a nice chew.
Pumpkin puree (1 cup / 245g) — Make sure it’s 100% pure pumpkin, not pumpkin pie filling. Pie filling has sugar and spices added, which will mess up the balance. I use Libby’s or the store brand. Canned is fine, but if you have a roasted pumpkin from Halloween, that works too.
Whole wheat flour (1 cup / 125g) — I use whole wheat for the extra fiber, which helps keep blood sugar stable. If you prefer white flour, you can use all-purpose, but the texture will be slightly lighter. I’ve tried spelt flour too, and it works well if you want a nuttier flavor.
Large eggs (2 large) — Room temperature eggs mix better, but cold eggs work fine if you’re in a rush. They provide structure and protein. Don’t skip them; they’re what holds the oats and pumpkin together.
Neutral oil (1/3 cup / 80ml) — I use canola or vegetable oil because it’s mild and keeps the muffins moist. You can substitute with melted coconut oil if you prefer, but avoid olive oil—it has too strong a flavor for sweet muffins.
Maple syrup (1/3 cup / 110ml) — Real maple syrup adds a rich, caramel-like sweetness. I avoid white sugar here because it makes the muffins dry. If you don’t have maple syrup, honey works, but the flavor will be different. Agave is another option, though it’s less traditional.
For the Flavor
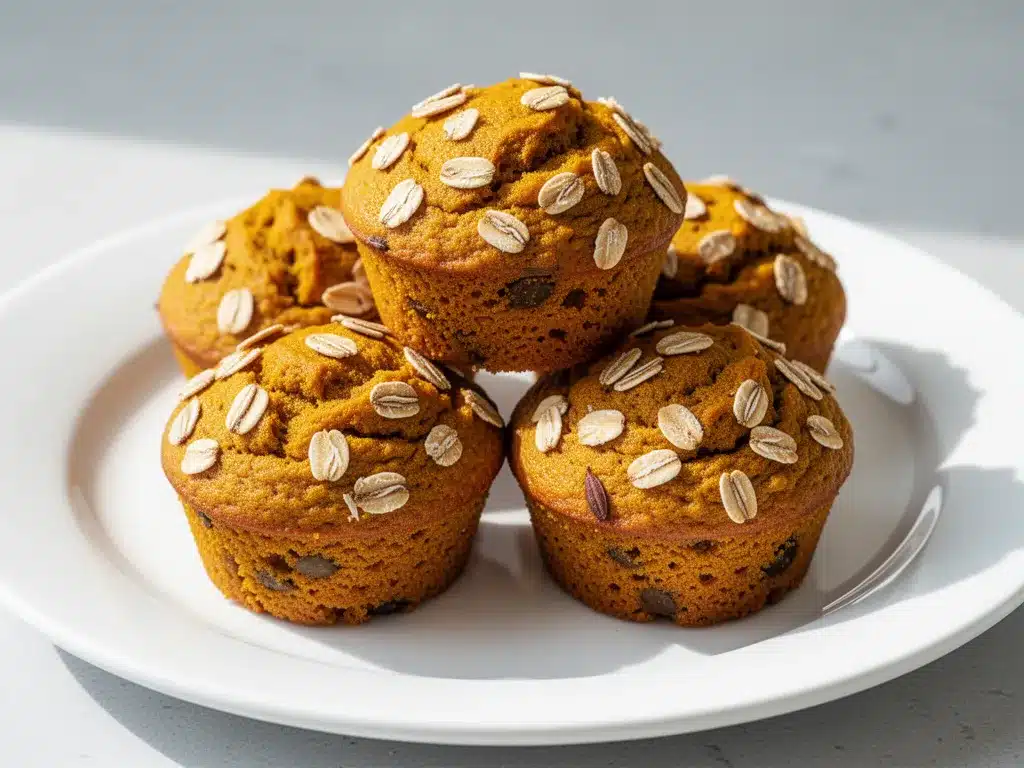
Ground cinnamon (2 teaspoons) — This is the star spice. I use Ceylon cinnamon if I can find it, but regular cassia is fine. Don’t skimp; you want that warm, cozy pumpkin spice flavor.
Ground ginger (1/2 teaspoon) — Adds a little zing. It’s subtle but makes the flavor profile more interesting than just cinnamon.
Ground nutmeg (1/4 teaspoon) — A pinch is enough. Nutmeg pairs beautifully with pumpkin. If you don’t have it, you can skip it, but it adds depth.
Baking powder (1 teaspoon) — Helps them rise. Make sure it’s not expired! I keep a new tin on hand because old baking powder is the #1 reason muffins turn out flat.
Baking soda (1/2 teaspoon) — Reacts with the acidity in the pumpkin and maple syrup to create lift.
Salt (1/2 teaspoon) — Essential for balancing the sweetness. It makes the spices pop.
For the Mix-ins (Optional)
Walnuts or pecans (1/2 cup / 60g) — Chopped. I love the crunch, but you can leave them out for nut-free school zones. Toasting them first brings out more flavor.
Dark chocolate chips (1/2 cup / 85g) — For when the kids ask for “just a little bit of sugar.” I use 60% dark chocolate to keep it from being too sweet.
Raisins or cranberries (1/2 cup / 75g) — A classic addition. I sometimes mix both for variety.
Chia seeds (2 tablespoons) — I add these for extra omega-3s and fiber. They’re tiny and disappear into the batter, so the kids don’t even notice.
Equipment Needed
You don’t need a fancy kitchen to make these back to school pumpkin oat muffins. In fact, keeping it simple is part of the appeal. Here’s what I actually use:
Muffin tin — I use a standard 12-cup tin. Non-stick is helpful for easy removal, but you’ll be using liners anyway. If you’re making half a batch, a 6-cup tin works fine.
Muffin liners — Paper or silicone. I prefer paper for easy cleanup, especially when packing them for school. Silicone is eco-friendly but can be tricky to get muffins out of if they stick.
Large mixing bowl — Something big enough to hold all the wet and dry ingredients without spilling. I use a 4-quart bowl.
Whisk — For mixing the wet ingredients. A fork works in a pinch, but a whisk is faster.
Spatula — A rubber or silicone spatula is essential for folding the dry ingredients into the wet without overmixing. Overmixing makes tough muffins.
Measuring cups and spoons — Standard stuff. I use the metal measuring spoons for accuracy.
Blender or food processor — Optional. If you want oat flour, you’ll need this. If you’re using whole oats, you don’t need it.
Cooling rack — Not strictly necessary, but it helps the muffins cool evenly so they don’t get soggy on the bottom. I sometimes just leave them in the tin for 10 minutes if I’m in a hurry.
Airtight container — For storing leftovers. Glass is best, but plastic works too. You’ll need this for the fridge or freezer.
How to Make It: Step-by-Step
Alright, let’s make these back to school pumpkin oat muffins! I’m going to walk you through exactly how I do it, including the little tricks that keep them moist and flavorful. It’s simple, but there are a few key steps to get right.
Step 1: Prep Your Oats (2 minutes)
If you want a smoother, cake-like texture, pulse your rolled oats in a blender or food processor until they resemble coarse flour. I usually do this for my youngest who doesn’t like the chew of whole oats. If you prefer a heartier muffin, leave them whole. Just remember to measure them before or after processing—volume changes, so stick to one method.
Step 2: Mix the Wet Ingredients (3 minutes)
In your large bowl, whisk together the eggs, pumpkin puree, oil, and maple syrup. Mix until everything is fully combined and smooth. This should take about a minute. The mixture will look a bit thick and orange. That’s normal. Make sure there are no streaks of unmixed egg or syrup.
Step 3: Combine Dry Ingredients (2 minutes)
Add the oats (or oat flour), whole wheat flour, baking powder, baking soda, cinnamon, ginger, nutmeg, and salt to the wet mixture. Don’t stir yet. Just dump it all in. This ensures you get an even distribution of spices and leavening agents.
Step 4: Fold Everything Together (2 minutes)
Using your spatula, gently fold the dry ingredients into the wet. Stop as soon as you no longer see streaks of flour. The batter will be thick and chunky. Do not overmix! Overmixing develops gluten, which leads to tough muffins. A few lumps are fine. If you’re adding mix-ins like nuts or chocolate chips, fold them in now.
Step 5: Fill the Muffin Tin (2 minutes)
Line your muffin tin with liners. I use a large ice cream scoop or a 1/4 cup measuring cup to portion the batter. This ensures all muffins are the same size and bake evenly. Fill each liner about 2/3 full. If you want taller, bakery-style muffins, fill them 3/4 full, but watch for overflow.
Step 6: Bake (20-22 minutes)
Preheat your oven to 350°F (175°C). Place the tin in the center of the oven and bake for 20-22 minutes. The muffins are done when a toothpick inserted into the center comes out clean or with just a few moist crumbs. They should spring back when you touch them lightly. Don’t overbake, or they’ll be dry.
Step 7: Cool and Store (10 minutes)
Let the muffins cool in the tin for 5 minutes, then transfer them to a wire rack to cool completely. This prevents sogginess. Once cool, store them in an airtight container. They’re ready to pack for school the next morning!
Expert Tips & Tricks
After making these dozens of times, I’ve learned a few things that can save you from common mistakes. Here’s everything I wish I knew when I started:
Don’t Skimp on the Pumpkin — The pumpkin puree is what keeps these muffins moist. If you reduce it, the muffins will be dry. Use the full cup. If you have leftover pumpkin puree, freeze it in tablespoon-sized portions for future baking.
Check Your Baking Powder — I’ve had flat muffins before because my baking powder was old. Always check the expiration date. If it’s been open for more than six months, replace it. It’s cheap insurance for fluffy muffins.
Room Temperature Ingredients — While not critical, room temperature eggs and oil mix more evenly into the batter. If you’re rushing, just microwave the eggs for 10 seconds to take the chill off.
Freezing for Later — These freeze beautifully. Let them cool completely, then wrap them individually in plastic wrap and put them in a freezer bag. They last up to three months. Grab one in the morning and microwave for 30 seconds. It’s like fresh-baked.
Adjust Sweetness — If you’re using unsweetened applesauce instead of some of the oil, you might want to add a little more maple syrup. Taste the batter (it’s safe to eat raw if you’re using cooked oats) to check sweetness before baking.
Make Mini Muffins — For smaller portions or lunchbox snacks, fill mini muffin liners and bake for 12-15 minutes. They’re perfect for toddler appetites or adding to school lunchboxes.
Variations & Substitutions
Once you’ve mastered the basic recipe, here are some ways to mix it up. I’ve tested all of these, and they work great:
Gluten-Free Version — Use gluten-free rolled oats and gluten-free all-purpose flour. Make sure your oats are certified GF if you’re sensitive. The texture is nearly identical.
Dairy-Free — This recipe is naturally dairy-free if you use oil instead of butter. Maple syrup is also dairy-free. Just double-check your chocolate chips if you add them.
Egg-Free — Replace each egg with a “flax egg” (1 tablespoon ground flaxseed mixed with 3 tablespoons water, let sit for 5 minutes). The muffins will be slightly denser but still delicious.
Lower Sugar — Reduce the maple syrup to 1/4 cup and add a ripe mashed banana for natural sweetness. The banana adds moisture and fiber too.
Protein Boost — Stir in 1/4 cup of protein powder (vanilla or unflavored) and add an extra 2 tablespoons of milk or water to balance the dryness. I use whey or plant-based protein.
Spice It Up — Add a pinch of cardamom or allspice for a more complex flavor. Or add a little grated orange zest for brightness.
Apple Cinnamon — Swap the pumpkin for mashed applesauce and add chopped apples. Same spices, different fruit. Great for fall.
Serving & Storage
How to Serve: I usually serve these warm, straight from the microwave. They’re perfect with a glass of milk or a cup of coffee. For a fancy touch, top with a dollop of Greek yogurt or a drizzle of almond butter.
Storage: Store in an airtight container at room temperature for up to 3 days, in the fridge for up to 5 days, or in the freezer for up to 3 months. For the best texture, reheat frozen muffins from frozen in the microwave for 30-45 seconds.
Packing for School: I pack these in small reusable containers or ziplock bags. They hold up well in backpacks. Just make sure they’re completely cool before packing to avoid condensation.
Nutrition Information
I’m not a nutritionist, but here’s the breakdown if you’re tracking. These are estimates based on a batch of 12 muffins.
Per Muffin (without mix-ins):
- Calories: 180
- Protein: 5g
- Carbs: 32g
- Fiber: 4g
- Sugar: 12g (natural from maple syrup and pumpkin)
- Fat: 5g
These muffins are a great source of fiber and complex carbohydrates. They’re not diet food, but they’re much healthier than typical bakery muffins. Adding nuts or seeds will increase the healthy fats and protein.
Final Thoughts
So there you have it—my back to school pumpkin oat muffins. I’ve talked about them a lot, but that’s because they’ve become such a huge part of our morning routine. They’re the reason I don’t stress about breakfast anymore. They’re reliable, they’re healthy, and my kids actually eat them.
Make them your own. Add your favorite mix-ins, adjust the spices, or try a different flour. The best recipes are the ones you adapt to your family. And if you make these, I’d love to hear how they turn out. Drop a comment and let me know if your kids devoured them like mine did.
Happy baking! And good luck with the school year. You’ve got this.
Frequently Asked Questions
Can I use instant oats instead of rolled oats?
I don’t recommend it. Instant oats are thinner and will make the muffins gummy. If you must, you can use them, but the texture will be different. Rolled oats give that nice chewiness. If you want a smoother texture, pulse the rolled oats in a blender first.
Can I freeze these muffins?
Yes! They freeze beautifully. Let them cool completely, then wrap them individually in plastic wrap and place them in a freezer-safe bag. They’ll last up to three months. Reheat in the microwave for 30-45 seconds.
Why are my muffins dry?
This usually happens if you overbake them or use too much flour. Make sure you’re not packing the flour into the measuring cup—spoon it in and level it off. Also, check your oven temperature; it might be running hot. Use an oven thermometer to verify.
Can I make these nut-free?
Absolutely. Just skip the walnuts or pecans. The base recipe is naturally nut-free. Just make sure your oats and other ingredients are processed in a nut-free facility if you have a severe allergy.
Can I use pumpkin pie filling?
No. Pumpkin pie filling has sugar, spices, and thickeners added. It will make the muffins too sweet and alter the texture. Use 100% pure pumpkin puree for the best results.
How do I store leftovers?
Store in an airtight container at room temperature for up to 3 days. For longer storage, keep them in the fridge for up to 5 days or freeze them for up to 3 months.
Can I double this recipe?
Yes, you can double it. Just use a larger mixing bowl and fill two muffin tins. The baking time might increase by 1-2 minutes, so keep an eye on them.
Pin This Recipe!
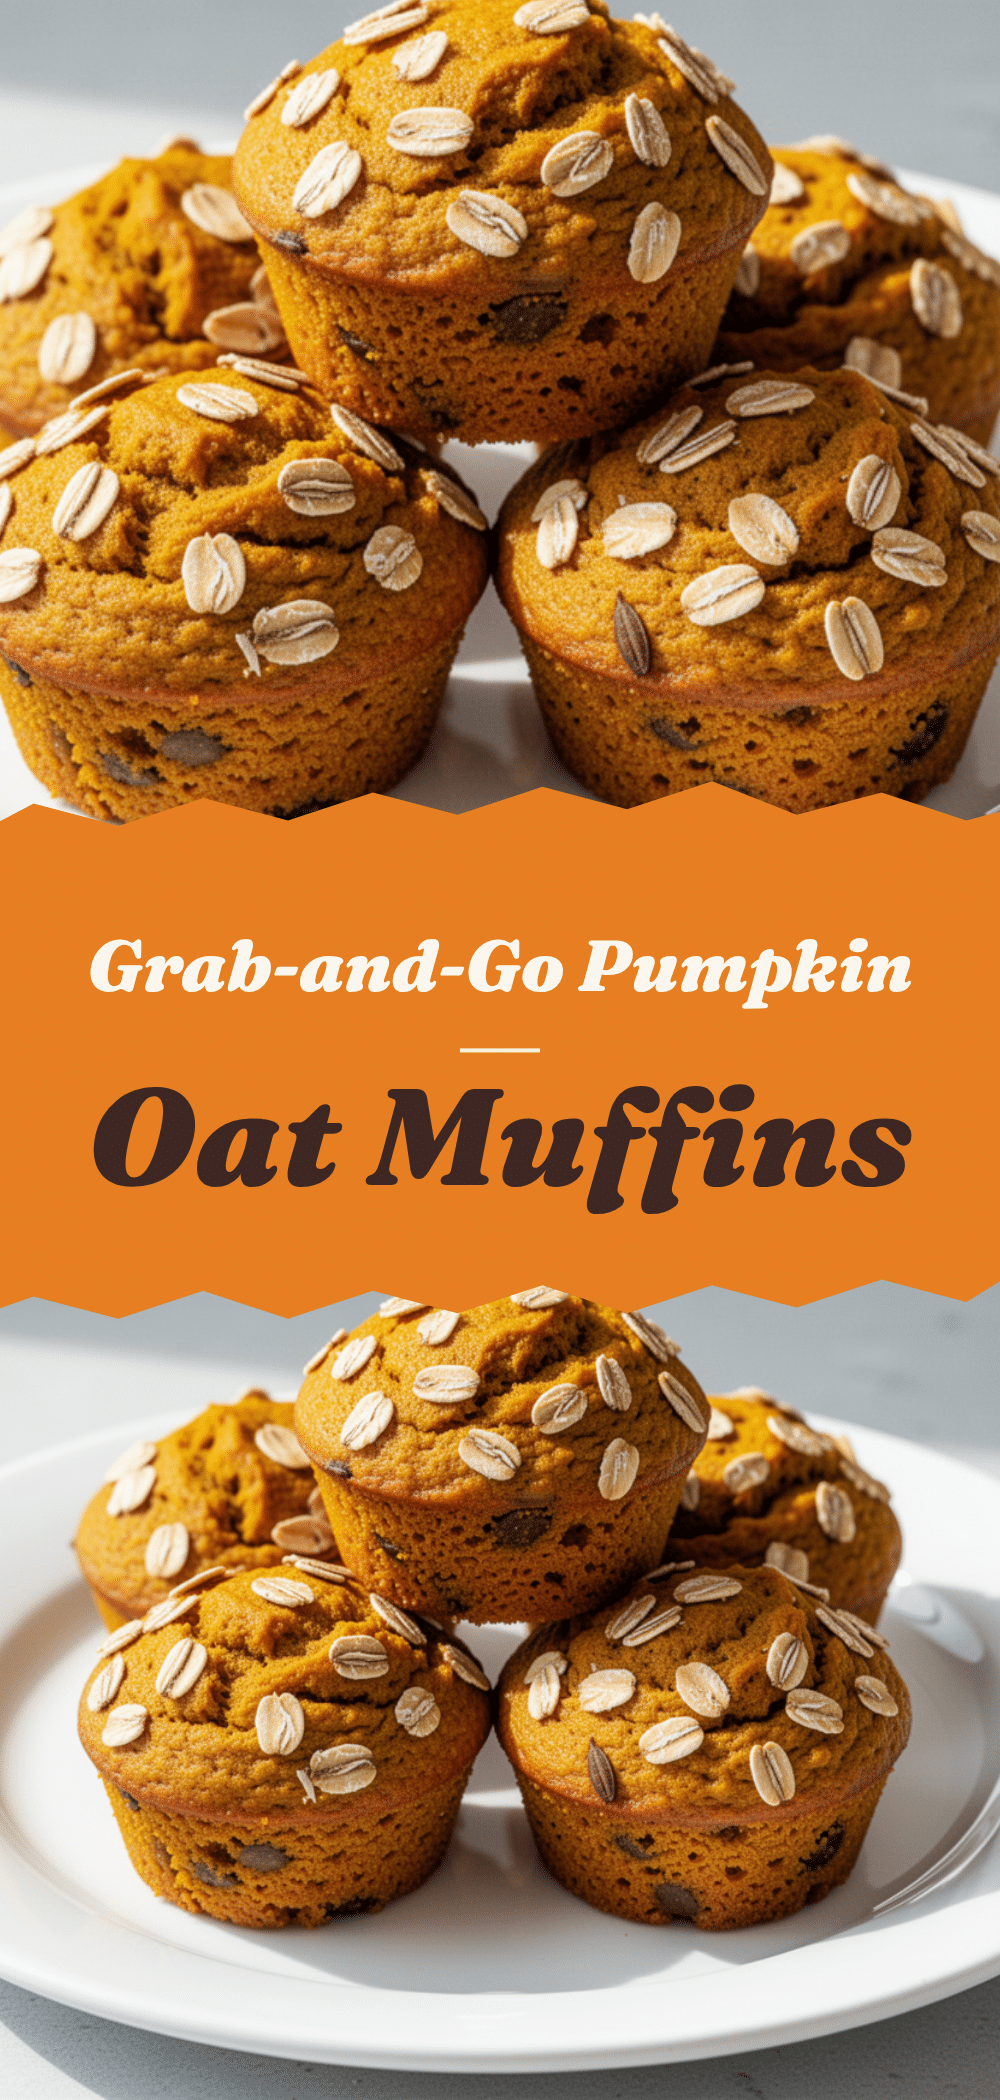
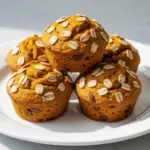
Best Pumpkin Oat Muffins: Easy Back to School Breakfast
- Total Time: 30-35 minutes
- Yield: 12 servings 1x
Description
Moist, spiced, and naturally sweetened pumpkin oat muffins that are perfect for busy back-to-school mornings. These grab-and-go breakfasts are healthy, customizable, and easy to meal prep.
Ingredients
- 2 cups old-fashioned rolled oats
- 1 cup pumpkin puree (100% pure, not pie filling)
- 1 cup whole wheat flour
- 2 large eggs
- 1/3 cup neutral oil (canola or vegetable)
- 1/3 cup maple syrup
- 2 teaspoons ground cinnamon
- 1/2 teaspoon ground ginger
- 1/4 teaspoon ground nutmeg
- 1 teaspoon baking powder
- 1/2 teaspoon baking soda
- 1/2 teaspoon salt
- Optional mix-ins: 1/2 cup walnuts or pecans, 1/2 cup dark chocolate chips, 1/2 cup raisins or cranberries, 2 tablespoons chia seeds
Instructions
- Preheat oven to 350°F (175°C).
- If desired for a smoother texture, pulse rolled oats in a blender until they resemble coarse flour. Otherwise, leave whole.
- In a large mixing bowl, whisk together eggs, pumpkin puree, oil, and maple syrup until smooth.
- Add oats (or oat flour), whole wheat flour, baking powder, baking soda, cinnamon, ginger, nutmeg, and salt to the wet ingredients.
- Gently fold the dry ingredients into the wet mixture using a spatula until just combined. Do not overmix. Fold in optional mix-ins if using.
- Line a 12-cup muffin tin with liners. Portion batter into each cup, filling about 2/3 full.
- Bake for 20-22 minutes, or until a toothpick inserted into the center comes out clean.
- Let muffins cool in the tin for 5 minutes, then transfer to a wire rack to cool completely.
- Store in an airtight container.
Notes
Do not use instant oats as they will make the muffins gummy. Ensure baking powder is fresh for proper rising. Room temperature ingredients mix more evenly. These freeze well for up to three months.
- Prep Time: 10 minutes
- Cook Time: 20-22 minutes
- Category: Breakfast
- Cuisine: American
Nutrition
- Serving Size: 1 muffin
- Calories: 180
- Sugar: 12
- Sodium: 200
- Fat: 5
- Saturated Fat: 0.5
- Carbohydrates: 32
- Fiber: 4
- Protein: 5
Keywords: pumpkin oat muffins, back to school breakfast, healthy muffins, grab and go breakfast, meal prep muffins, gluten-free options, dairy-free