I have a confession to make: I used to be terrified of pastries. Specifically, the kind that require laminating dough—making those hundreds of thin, flaky layers that define a proper croissant or a high-end danish. I remember trying to make croissants for my mother-in-law’s birthday five years ago. I ended up with dense, greasy bricks that we ate for breakfast, lunch, and dinner just to get rid of them. She was polite, but I could see the pity in her eyes. That was the day I swore off laminated doughs forever.
Fast forward to last Sunday. I woke up craving something sweet but substantial for a brunch with friends. I didn’t want to drive to the bakery, and I definitely didn’t want to spend six hours folding butter into dough. I wanted that buttery, flaky, sweet sensation without the technical headache. So, I did what any desperate home cook does: I hacked the system.
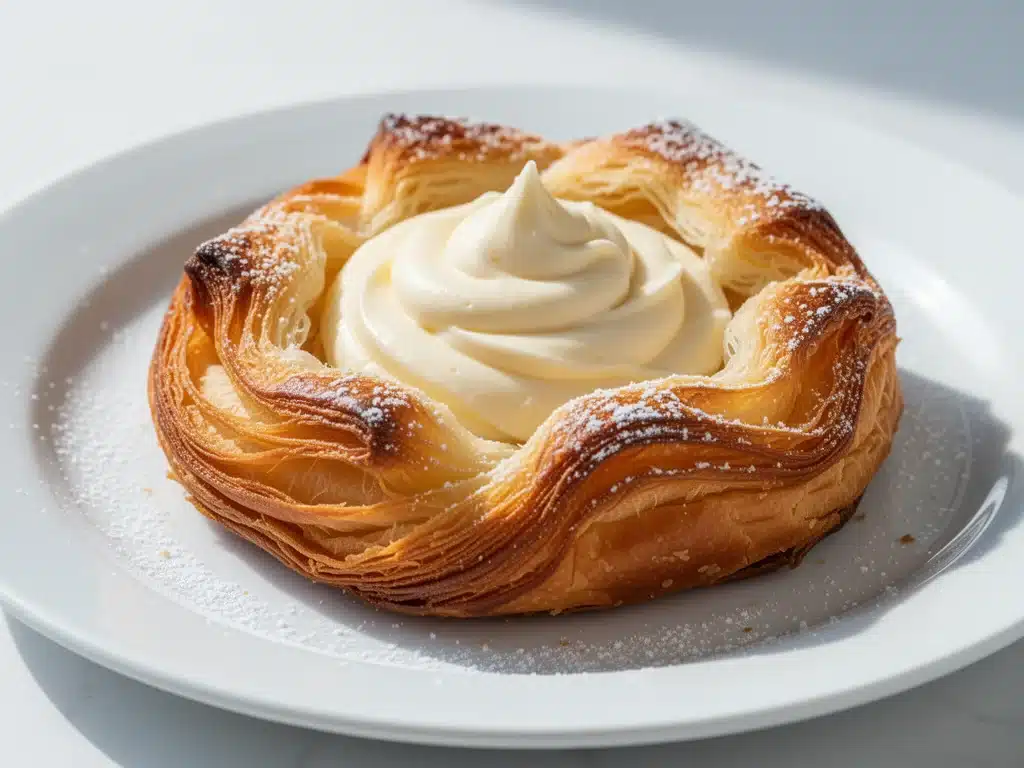
I grabbed a package of refrigerated puff pastry sheets—the kind you find in the freezer aisle—and decided to make easy cream cheese danish right in my kitchen. It took twenty minutes of active time. The house smelled like heaven within thirty minutes. My friends showed up, took one bite, and asked if I’d been hiding a secret bakery in the garage. No one suspected the shortcut. No one knew I cheated.
And honestly? I’m not even sorry. These pastries are golden, flaky, and filled with a tangy, sweet cream cheese mixture that melts in your mouth. They’re the perfect balance of indulgence and ease. Whether you’re hosting a bridal shower, a lazy Sunday family breakfast, or just need to treat yourself, this recipe is your new best friend. It’s foolproof, it’s fast, and it tastes like you spent all morning in the kitchen (even though you didn’t).
Why You’ll Love This Easy Brunch Pastry
Let’s be real. Most brunch recipes are either too complicated (read: require a stand mixer and three cups of flour) or too boring (read: cereal). This cream cheese danish hits that sweet spot. It’s sophisticated enough to serve to guests but simple enough to make when you’re running on four hours of sleep. Here’s why this recipe has earned a permanent spot in my weekly rotation:
- Zero Lamination Required — Seriously. Using store-bought puff pastry means you get those buttery, flaky layers without the elbow grease. I’ve tested this with three different brands, and they all work beautifully. No rolling pins, no chilling for hours.
- 30 Minutes or Less — From oven to table in half an hour. The dough bakes fast, and the filling comes together in two minutes. This is the ultimate “I forgot to plan brunch” savior.
- Make-Ahead Friendly — You can assemble these the night before and bake them in the morning. They reheat beautifully, too. I often make a double batch on Saturday so I have breakfast sorted for Sunday.
- Customizable Filling — While the classic cream cheese filling is divine, you can add fruit, nuts, or spices. I love adding a swirl of raspberry jam for a pop of color and tartness.
- Gluten-Free Option Available — If you have gluten-free friends coming over, just swap in a gluten-free puff pastry sheet. The texture holds up surprisingly well.
This isn’t just a pastry; it’s a confidence booster. You’ll feel like a pro baker, but you’ll actually have time to sit down and eat your creation. That’s the kind of brunch win I’m talking about.
Ingredients You’ll Need
Here’s the best part: you probably have most of this already. The beauty of this cream cheese danish recipe is its simplicity. You don’t need exotic spices or hard-to-find ingredients. Just good quality basics.
For the Pastry Base
Refrigerated Puff Pastry Sheets (2 sheets, thawed) — This is the star. Look for brands like Pepperidge Farm or Trader Joe’s. Make sure they are thawed according to package directions (usually in the fridge for a few hours) before you start. If they’re too frozen, they’ll crack. If they’re too warm, the butter will melt out too early.
1 Large Egg — For the egg wash. This gives the pastry that gorgeous, golden-brown shine. Don’t skip it!
Coarse Sugar (for sprinkling) — I like turbinado sugar or just regular granulated sugar. It adds a nice crunch and sparkle on top.
For the Cream Cheese Filling
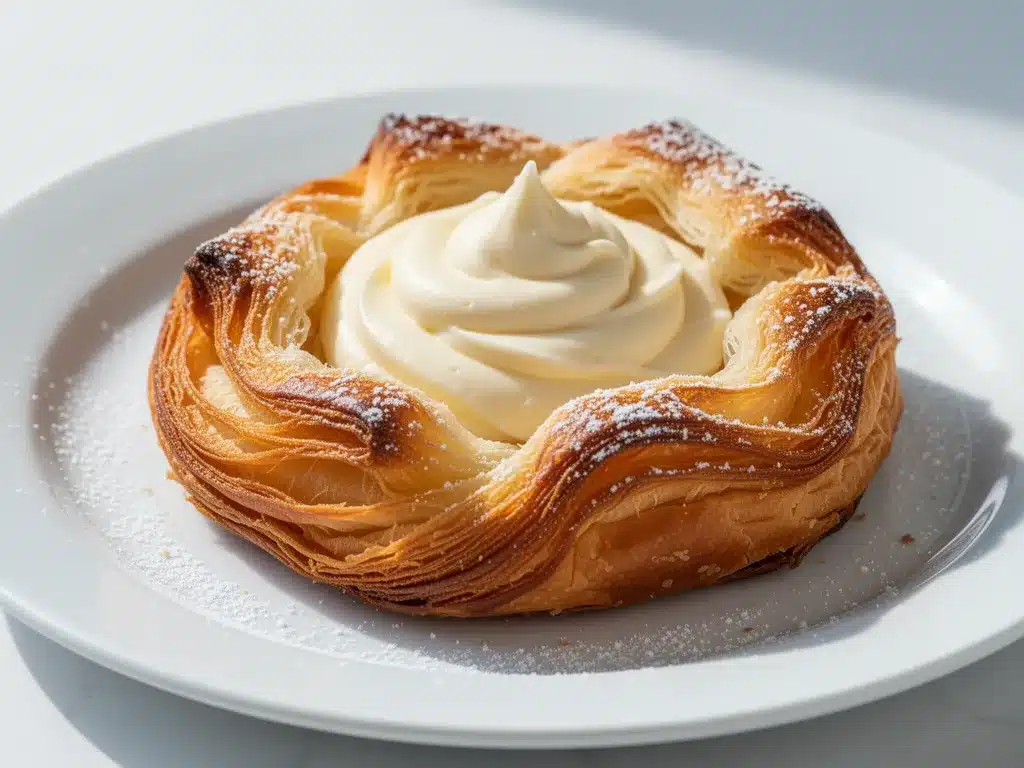
Full-Fat Cream Cheese (8 ounces, softened) — This is non-negotiable. Light cream cheese has too much water and won’t set properly. Let it sit on the counter for 15 minutes so it’s easy to whip.
Granulated Sugar (¼ cup) — Just enough sweetness to balance the tang. You can reduce to 3 tablespoons if you prefer a less sweet pastry.
Vanilla Extract (1 teaspoon) — Pure vanilla makes a huge difference. If you don’t have it, a pinch of almond extract works well too.
Egg Yolk (1 large) — Adding an egg yolk to the filling helps it set into a custard-like texture rather than staying loose. It adds richness and stability.
Optional Add-Ins
Raspberry Jam (2 tablespoons) — A teaspoon dolloped on top of the cream cheese before folding adds a beautiful marbled effect.
Cinnamon (½ teaspoon) — Mix this into the sugar for sprinkling on top for a cozy, warm flavor.
Chopped Pecans or Walnuts — Sprinkle these over the filling for extra crunch and nuttiness.
Equipment Needed
You don’t need fancy gadgets for this. Here’s what I actually use:
- Rolling Pin — Just to roll out the pastry sheets slightly. A wooden one works fine.
- Baking Sheet — Line it with parchment paper or a silicone mat. Puff pastry can be sticky and messy.
- Bowl — Medium-sized, for mixing the filling.
- Fork — To whisk the egg wash and mix the filling.
- Pastry Brush — Optional, but helpful for an even egg wash. A clean makeup brush works in a pinch.
- Knife — Sharp knife for scoring the pastry. Don’t cut all the way through!
Pro Tip: Keep a bowl of cold water nearby. If the pastry tears (and it might), a little water helps seal the edges.
How to Make It: Step-by-Step
Alright, let’s make this! I’m walking you through exactly how I do it, including the little tricks I’ve picked up to ensure perfect flakiness every time.
Step 1: Prep the Dough (10 minutes)
Take your puff pastry sheets out of the fridge and let them thaw according to the package instructions. Usually, this takes about 30-40 minutes. Once thawed, lay them on a lightly floured surface. Roll each sheet out gently into a rectangle, about 10×12 inches. If the dough cracks, don’t panic—just press it back together with your fingers.
Step 2: Cut the Pastries (5 minutes)
Cut each rectangle into four squares. You should have eight squares total. Place them on your prepared baking sheet, leaving about an inch of space between each one. They will expand significantly as they bake.
Step 3: Make the Filling (3 minutes)
In a medium bowl, beat the softened cream cheese, sugar, egg yolk, and vanilla extract until smooth and creamy. If you’re adding jam or nuts, fold them in now. The mixture should be thick enough to hold its shape but soft enough to spread easily.
Step 4: Assemble the Danishes (5 minutes)
Using a spoon, dollop about 2 tablespoons of the cream cheese mixture onto the center of each pastry square. Use the back of the spoon to spread it out, leaving a 1-inch border around the edges. If you’re using jam, add a small dollop on top of the cream cheese.
Step 5: Fold and Score (5 minutes)
This is the fun part. Take one corner of the square and fold it over to the center, on top of the filling. Repeat with the opposite corner. Do the same with the other two corners, so you have a diamond shape with the filling in the middle. Press the edges gently to seal. Use a knife to lightly score the folded pastry (don’t cut through to the filling) to create a decorative pattern.
Step 6: Egg Wash and Bake (20-25 minutes)
Whisk the remaining egg white with a teaspoon of water. Brush the tops of the pastries generously with the egg wash. Sprinkle with coarse sugar and cinnamon if using. Bake in a preheated 400°F (200°C) oven for 20-25 minutes, or until the pastry is puffed, golden brown, and flaky.
Step 7: Cool and Serve
Let them cool on the baking sheet for 5 minutes. They’ll firm up slightly as they cool. Serve warm with a dusting of powdered sugar and a cup of coffee. They’re best eaten the day they’re baked, but they keep well for leftovers.
Expert Tips & Tricks
Here’s everything I’ve learned from making this dozens of times. These tips will save you from my mistakes.
- Keep It Cold — If the pastry starts to get warm and sticky while you’re working, pop it in the fridge for 10 minutes. Cold butter creates steam, which creates flaky layers. Warm butter just makes greasy pastry.
- Don’t Overfill — It’s tempting to load them up, but if you put too much filling, it will leak out and burn. Stick to 2 tablespoons per square.
- Score, Don’t Cut — When you fold the corners, press them down firmly. If you score the top, it helps the pastry expand evenly without bursting.
- Egg Wash is Key — For that professional golden color, make sure you cover the entire surface. Missed spots will look pale and undercooked.
- Double Batch — This recipe doubles easily. Just make sure your baking sheets aren’t overcrowded. Airflow is important for even baking.
Variations & Substitutions
Once you’ve nailed the basic version, here’s how you can mix it up. I’ve tried all of these.
Fruit-Filled
Instead of cream cheese, use a mixture of ricotta and lemon zest. Top with fresh blueberries or sliced strawberries before folding. The tartness pairs perfectly with the buttery crust.
Nutty Crunch
Add ½ cup of chopped pecans or walnuts to the cream cheese filling. Toast the nuts first for extra flavor. This adds a wonderful texture contrast.
Chocolate Dream
Add 2 tablespoons of cocoa powder to the cream cheese filling. Top with chocolate chips after folding. It’s like a dessert version of the classic.
Gluten-Free
Use gluten-free puff pastry sheets. They tend to be more fragile, so handle them gently. The taste is nearly identical to regular pastry.
Dairy-Free
Replace cream cheese with a vegan cream cheese alternative (like Kite Hill or Miyoko’s). Use a flax egg for the wash. It’s not quite the same, but still delicious.
Serving & Storage
How to Serve: I usually serve these warm, straight from the oven. They look rustic and inviting. Top with powdered sugar, fresh berries, or a drizzle of honey.
Side Dishes: These pair beautifully with a simple green salad, bacon, or high-protein cottage cheese egg bake for a balanced brunch spread. A pot of fresh coffee or creamy iced matcha latte is the perfect drink pairing.
Storage: Store leftovers in an airtight container at room temperature for up to 2 days. They will lose some flakiness but are still good. Reheat in the oven at 350°F for 5-10 minutes to crisp them back up.
Freezing: You can freeze the assembled, unbaked pastries. Place them on a baking sheet and freeze until solid, then transfer to a freezer bag. Bake directly from frozen, adding 5-10 minutes to the baking time. Do not freeze baked danishes; they become soggy.
Nutrition Information
I’m not a nutritionist, but here’s the breakdown if you’re tracking. Keep in mind that values vary based on the brand of puff pastry and exact measurements.
| Per Serving (1 Danish) | Amount |
|---|---|
| Calories | 280 |
| Fat | 18g |
| Saturated Fat | 8g |
| Carbs | 22g |
| Fiber | 1g |
| Sugar | 8g |
| Protein | 6g |
| Sodium | 220mg |
My Take: This is definitely a treat. It’s high in fat and carbs, but it’s also satisfying. A little goes a long way. Pair it with protein-rich sides like high-protein baked salmon bowls or fruit to balance the meal.
Final Thoughts
So that’s my go-to cream cheese danish! I’ve probably talked your ear off at this point, but when you make a recipe this often, you have a lot to say about it. This has saved brunches more times than I can count. It’s my answer to “what’s for breakfast” when I want to feel fancy but don’t have time.
Make it yours! Try different fruits, nuts, or spices. The best recipes are the ones you adapt to your family’s tastes. If you make this, drop a comment and let me know what you think! I love hearing how recipes turn out in your kitchen. And if something doesn’t work, tell me that too—I’m here to help troubleshoot.
Happy cooking! And I hope your kitchen smells half as good as mine does right now.
Frequently Asked Questions
Can I make these ahead of time?
Yes! You can assemble them the night before, cover them tightly with plastic wrap, and refrigerate. Bake them straight from the fridge in the morning, adding 2-3 minutes to the baking time. This is my favorite method for busy weekends.
Why did my puff pastry deflate?
This usually happens if the oven wasn’t hot enough or if the pastry was too warm when it went in. Make sure your oven is fully preheated to 400°F. Also, handle the dough gently—don’t press down too hard on the folds before baking.
Can I use frozen puff pastry?
Absolutely. Just make sure to thaw it completely according to the package directions. If you try to roll it out while still frozen, it will shatter. Thawing in the fridge overnight is the safest bet.
What if I don’t have puff pastry?
You can use phyllo dough as a substitute, but the texture will be thinner and crispier rather than flaky and puffy. Layer 2-3 sheets of phyllo, brush with butter, and fill. It’s delicious but different.
How do I reheat leftovers?
Avoid the microwave—it makes the pastry soggy. Reheat in a 350°F oven for 5-10 minutes until warm and crispy again. This restores the flaky texture.
Can I freeze baked danishes?
I don’t recommend it. The cream cheese filling can become grainy, and the pastry loses its crunch. It’s best to freeze them unbaked and bake fresh.
What’s the best cream cheese to use?
Full-fat, block-style cream cheese. Avoid the tub versions, which have higher water content and can make the filling runny. Brands like Philadelphia or store-brand blocks work perfectly.
Pin This Recipe!
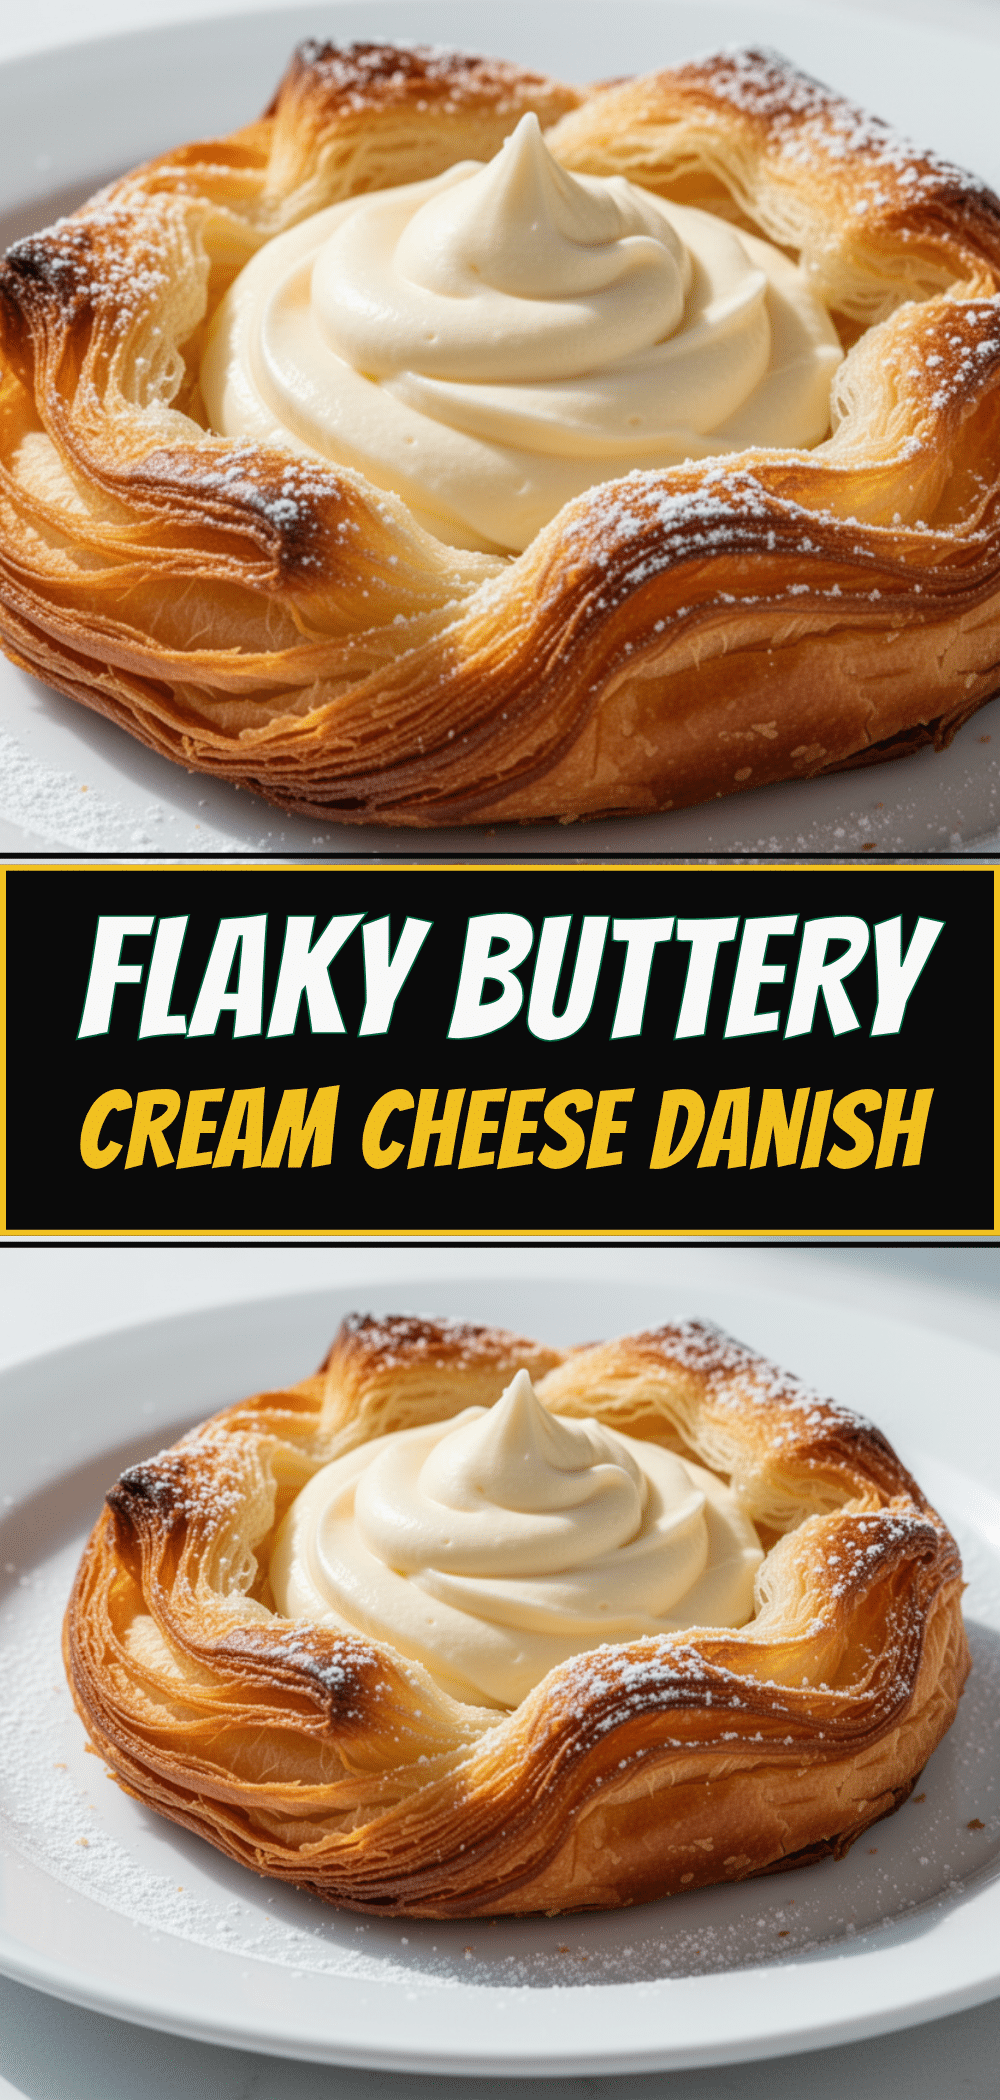

Cream Cheese Danish: 3 Easy Brunch Pastries
- Total Time: 45 minutes
- Yield: 8 servings 1x
Description
These easy cream cheese danishes use store-bought puff pastry for a foolproof, flaky, and delicious brunch treat that takes less than 30 minutes to make.
Ingredients
- 2 sheets refrigerated puff pastry, thawed
- 1 large egg (for egg wash)
- Coarse sugar (for sprinkling)
- 8 ounces full-fat cream cheese, softened
- 1/4 cup granulated sugar
- 1 teaspoon vanilla extract
- 1 large egg yolk
- 2 tablespoons raspberry jam (optional)
- 1/2 teaspoon cinnamon (optional)
- Chopped pecans or walnuts (optional)
Instructions
- Preheat oven to 400°F (200°C). Line a baking sheet with parchment paper.
- Lay thawed puff pastry sheets on a lightly floured surface and roll gently into 10×12 inch rectangles.
- Cut each rectangle into four squares to make eight total squares. Place on the prepared baking sheet.
- In a medium bowl, beat cream cheese, granulated sugar, egg yolk, and vanilla extract until smooth and creamy.
- Dollop 2 tablespoons of the cream cheese mixture onto the center of each pastry square, spreading it out while leaving a 1-inch border.
- Fold the four corners of each square over to the center, on top of the filling, pressing edges gently to seal.
- Lightly score the folded pastry with a knife to create a decorative pattern.
- Whisk the remaining egg white with a teaspoon of water and brush generously over the pastries.
- Sprinkle with coarse sugar and cinnamon if using.
- Bake for 20-25 minutes until puffed and golden brown.
- Cool on the baking sheet for 5 minutes before serving.
Notes
Keep the pastry cold while working to ensure flakiness. Do not overfill the pastries to prevent leaking. For a gluten-free option, use gluten-free puff pastry sheets. These can be assembled the night before and baked in the morning.
- Prep Time: 20 minutes
- Cook Time: 25 minutes
- Category: Breakfast
- Cuisine: American
Nutrition
- Serving Size: 1 Danish
- Calories: 280
- Sugar: 8
- Sodium: 220
- Fat: 18
- Saturated Fat: 8
- Carbohydrates: 22
- Fiber: 1
- Protein: 6
Keywords: cream cheese danish, easy brunch, puff pastry recipe, quick pastries, make-ahead breakfast, gluten-free option