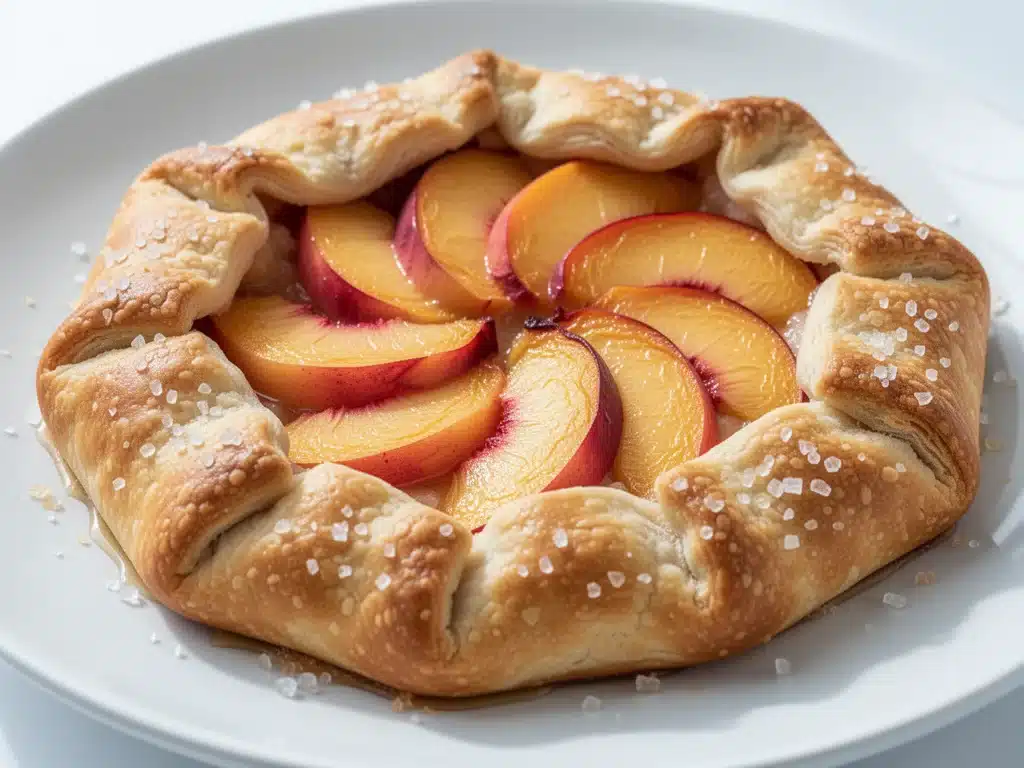
Last August, I stood in my neighbor’s backyard, holding a paper plate that was dripping with juice, and I realized I had just made the best thing I’d ever eaten. It wasn’t a perfectly round, professional-looking pie from a bakery. It was lopsided. The crust had torn in three places. Juice had bubbled over the edges and caramelized into little amber beads on the baking sheet. It looked like a mess. It tasted like summer itself.
That was the day I fell in love with the galette. Before that, I was intimidated by pie crusts. I thought you needed a rolling pin, a marble countertop, and a degree in pastry arts to make something that didn’t fall apart. But a galette? A galette is the anti-pie. It’s rustic, forgiving, and honestly? It’s way easier than making a traditional pie or even trying to tackle something like keto ultra-fudgy brownies which require precise temperature control. With a galette, you just dump the dough on the counter, pile on the fruit, fold the edges over, and bake. If it looks messy, good. That’s the point.
I’ve made this fresh peach galette recipe probably a dozen times since that afternoon in August. Some batches were better than others. I once used peaches that were too firm and the filling was watery. Another time, I overfilled it and the bottom crust got soggy. But after testing and tweaking, I’ve landed on the perfect balance. This recipe uses store-bought puff pastry for speed, but I’ll show you how to make it from scratch if you’re feeling fancy. It’s sweet, tart, buttery, and requires zero fancy equipment. Just a rolling pin, a baking sheet, and some really good peaches.
There’s something deeply satisfying about pulling a rustic, golden-brown galette out of the oven in the middle of July. The smell alone stops traffic. My kids argue over who gets the piece with the most caramelized edges. My husband says it’s better than the apple pie my mom makes (don’t tell her I said that). This fresh peach galette is the ultimate no-fuss summer dessert, and I’m going to walk you through exactly how to make it so it turns out perfect every single time.
Why You’ll Love This Recipe
Look, I’m not going to lie to you. Making dessert from scratch usually feels like a lot of work. You have to clean a million bowls, buy specific ingredients, and deal with a lot of sticky dough. But this fresh peach galette? It breaks all those rules. Here’s why it’s become my go-to when I want to impress guests without spending all day in the kitchen.
Stupid Simple Technique — Seriously, if you can fold a blanket, you can make this crust. There’s no blind baking, no lattice weaving, and no worrying about cracks. You just fold the pastry over the fruit. It’s foolproof. I’ve made this for friends who claim they “can’t cook,” and they ended up with a beautiful dessert while drinking wine on my porch.
Lightning Fast — If you use store-bought puff pastry, you’re looking at about 15 minutes of prep time. Even if you make the dough from scratch, it’s faster than most pie crusts because you don’t need to chill it for hours. I can have this in the oven in under 30 minutes on a Tuesday. That’s faster than ordering pizza.
Uses What’s In Season — This recipe shines when peaches are at their peak in summer. But it’s adaptable. I’ve made it with berries, apples, and even rhubarb. The structure of a galette allows you to throw in whatever fruit you have that’s ripe and ready to go. It’s the perfect way to use up those peaches before they go bad.
Looks Impressive, Tastes Humble — The rustic, free-form look makes it feel artisanal, like something you’d buy at a high-end farmer’s market bakery. But it’s just fruit, sugar, and pastry. It’s comforting and elegant at the same time. I’ve served this at dinner parties where people asked for the recipe within five minutes of the first bite.
Leftovers Actually Taste Good — Most desserts get worse the next day. This one? The flavors meld together. The peaches get softer, the crust gets even crispier. I deliberately make extra for breakfast, eaten cold with a dollop of yogurt. It’s like a fruit tart meets a pastry.
This fresh peach galette is my answer to “what’s for dessert?” when I want something homemade but don’t have the energy for a complicated project. It’s reliable, delicious, and makes you look like a pastry chef.
Ingredients You’ll Need
Here’s the best part: you probably have most of this already. The beauty of a galette is that the ingredient list is short and simple. You don’t need exotic spices or hard-to-find items. Just good quality basics. I’m particular about three things here: the peaches, the butter, and the egg wash. I’ll tell you exactly why.
For the Crust
Puff Pastry Dough (1 sheet, thawed) — I usually buy a box of frozen puff pastry from the grocery store. Brands like Pepperidge Farm or Dufour work great. If you want to make it from scratch, I have a recipe for that too, but this shortcut is a game-changer for weeknights. Make sure it’s thawed according to package directions—usually in the fridge overnight.
Granulated Sugar (2 tablespoons) — Sprinkled on top of the dough before baking. This creates that crunchy, caramelized crust that you love. Don’t skip this; it adds texture and visual appeal.
Heavy Cream (1 tablespoon) — Mixed with an egg yolk for the egg wash. This helps the crust brown beautifully. You can use milk if you’re out of cream, but heavy cream gives the best color.
Egg Yolk (1 large) — For the egg wash. Don’t use the white; it won’t brown the same way. Save the white for an omelet or meringue later.
For the Filling
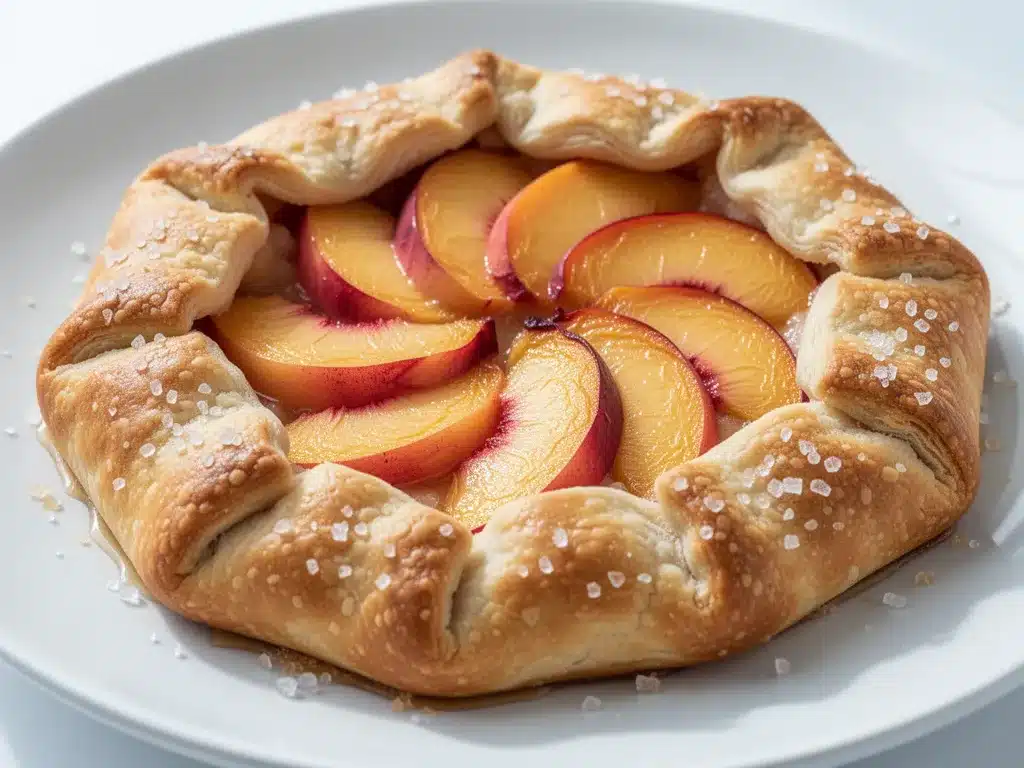
Ripe Peaches (4-5 medium, about 2 pounds) — This is the star. You want peaches that are ripe but still firm. If they’re too soft, they’ll turn into mush. Look for peaches that smell sweet at the stem end. Yellow peaches are sweeter; white peaches are more tart. I prefer a mix for balance.
Lemon Juice (1 tablespoon) — Freshly squeezed. This prevents the peaches from browning and adds a bright acidity that cuts through the sweetness. It’s crucial for flavor balance.
Granulated Sugar (3 tablespoons) — Tossed with the peaches. Adjust this based on how sweet your peaches are. If they’re super sweet, use 2 tablespoons. If they’re tart, use 4.
All-Purpose Flour (1 tablespoon) — Tossed with the peaches. This is the secret weapon. It absorbs the juices that the peaches release while baking, preventing a soggy bottom crust. Trust me on this.
Cinnamon (½ teaspoon) — Optional, but highly recommended. It adds warmth and depth. I use ground cinnamon, not the sticks.
Vanilla Extract (1 teaspoon) — Just a splash. It enhances the peach flavor without making it taste like vanilla pudding.
For Serving
Vanilla Ice Cream or Whipped Cream — Seriously, this dessert needs a cold contrast. I always serve it warm with a scoop of vanilla bean ice cream. The melting ice cream pooling on the plate is half the experience.
Extra Sugar (for sprinkling) — Some people like a dusting of powdered sugar on top after baking. It’s pretty, but not necessary.
Equipment Needed
You don’t need fancy equipment for this. Here’s what I actually use. Most of it is probably sitting in your kitchen right now.
Baking Sheet — I use a standard half-sheet pan (18×13 inches). A large one is important because you need room to fold the crust over without it touching the edges of the pan. If your pan is small, your galette will be cramped and messy.
Parchment Paper — Lining your baking sheet with parchment makes cleanup a breeze. It also prevents sticking. I never bake a galette directly on a metal pan; it’s too risky for burning.
Rolling Pin — Any rolling pin works. I use a wooden French-style rolling pin, but a standard cylinder is fine. You just need something to flatten the dough evenly.
Sharp Knife — For slicing the peaches. A paring knife or chef’s knife works. Make sure it’s sharp so you don’t crush the fruit.
Pastry Brush — For applying the egg wash. A silicone brush is easiest to clean. If you don’t have one, you can use your fingers, but be gentle.
Mixing Bowls — Two small bowls. One for tossing the peaches, one for the egg wash. You don’t need anything fancy.
Cooling Rack — Essential. You need to let the galette cool on a rack so air circulates underneath. If you let it cool on the hot pan, the bottom will get soggy from the steam.
Optional but nice:
Zester or Microplane — If you want to add orange zest to the peaches for a floral note. It’s a nice touch but not required.
Spatula — For transferring the galette to the pan if you pre-roll it on parchment.
How to Make It: Step-by-Step
Alright, let’s make this! I’m walking you through exactly how I do it, including the little tricks I’ve picked up over the years. This process is straightforward, but there are a few key moments where attention to detail matters.
Step 1: Prep Your Dough and Oven (5 minutes)
Preheat your oven to 400°F (200°C). Place a rack in the center of the oven. Line a large baking sheet with parchment paper. If you’re using store-bought puff pastry, take it out of the freezer and let it thaw according to the package instructions. Usually, this means leaving it on the counter for 30-40 minutes. Do not microwave it to speed this up; it will melt unevenly. While the dough thaws, place your baking sheet in the oven to warm up. This helps the crust puff up faster.
Step 2: Roll Out the Dough (5 minutes)
On a lightly floured surface, roll out the puff pastry dough into a large square or circle, about 12 inches in diameter. It doesn’t need to be perfect. If it tears, just patch it with a small piece of dough. The edges will be folded over anyway, so imperfections are hidden. Transfer the dough to your prepared baking sheet. If it sticks, you can roll it onto the parchment paper first, then slide the paper onto the pan.
Step 3: Prep the Peaches (10 minutes)
Wash and peel the peaches. I prefer peeled galettes because the skin can get tough, but you can leave the skin on if you don’t mind the texture. Slice the peaches into wedges, about ¼-inch thick. Remove the pits. In a large bowl, toss the peach slices with the lemon juice, 3 tablespoons of sugar, 1 tablespoon of flour, cinnamon, and vanilla. Let this mixture sit for 10 minutes. This draws out some of the juices and flavors the fruit.
Step 4: Assemble the Galette (5 minutes)
Remove the baking sheet from the oven. Spoon the peach mixture onto the center of the dough, leaving a 2-inch border all around. Don’t pile the peaches too high in the center; spread them out in a slightly oval shape. This helps the crust fold over evenly. If there’s a lot of liquid in the bowl, spoon it off before adding the fruit. You want the fruit, not the juice, on the dough.
Step 5: Fold the Crust (5 minutes)
This is the signature step. Gently fold the edges of the dough over the fruit, pleating as you go. You don’t need to seal the edges completely; in fact, leaving gaps lets the steam escape and prevents bursting. The fruit should be mostly exposed, with just the crust peeking out around the edges. If the dough gets too warm and sticky, pop it in the fridge for 5 minutes to firm up.
Step 6: Add the Egg Wash and Sugar (2 minutes)
Whisk the egg yolk and heavy cream together. Brush the folded edges of the crust generously with the egg wash. This is what gives it that professional golden-brown shine. Sprinkle the remaining 2 tablespoons of sugar evenly over the crust. It will caramelize in the oven.
Step 7: Bake (35-40 minutes)
Place the galette back in the oven. Bake at 400°F (200°C) for 35-40 minutes. You’ll know it’s done when the crust is deep golden brown and the peaches are bubbly and tender. If the edges are browning too fast, cover them with a strip of foil. Let it cool on a wire rack for at least 20 minutes before slicing. This allows the filling to set; if you cut it too soon, the juices will run out and make a mess.
Total Time: About 1 hour (15 minutes prep, 40 minutes bake, 20 minutes cool)
Expert Tips & Tricks
Here’s everything I’ve learned from making this dozens of times. These tips will save you from my mistakes.
Don’t Skip the Flour
I know it seems like a tiny amount, but the 1 tablespoon of flour tossed with the peaches is critical. It absorbs the natural juices that peaches release. Without it, you’ll end up with a puddle of syrup at the bottom of your galette and a soggy crust. It’s a small step that makes a huge difference.
Keep the Dough Cold
Warm butter is the enemy of flaky pastry. If your kitchen is hot, or if you’re working slowly, pop the assembled galette in the fridge for 10-15 minutes before baking. Cold dough goes into a hot oven and creates steam pockets, which makes the layers separate and puff up beautifully.
Use Ripe but Firm Peaches
This is the hardest part to judge. You want peaches that smell amazing and yield slightly to pressure, but they shouldn’t be mushy. If they’re too soft, they’ll disintegrate in the oven. If they’re too hard, they’ll be crunchy and tart. Look for peaches that are fragrant and have a deep orange or yellow color.
Brush the Edges Generously
Don’t be shy with the egg wash. The edges are the only part of the crust that will brown, so you want them to look rich and golden. If you skip this, the crust will look pale and doughy. The sugar on top will also caramelize better with the egg wash base.
Cool Completely Before Slicing
I know it’s tempting to dig in while it’s hot. Resist. The filling is liquid when it comes out of the oven. As it cools, the starches from the flour and fruit set, and the juices thicken. If you cut it hot, you’ll lose half your filling on the cutting board. Patience pays off.
Common Mistakes (and how to avoid them):
Mistake: Soggy Bottom
Fix: Make sure your baking sheet is preheated. Also, ensure you aren’t overfilling the galette. Keep the fruit pile low and wide, not high and narrow.
Mistake: Burnt Edges
Fix: Ovens vary. If you see the crust darkening too quickly, cover the edges with foil or a pie shield halfway through baking.
Variations & Substitutions
Once you’ve nailed the basic version, here’s how you can mix it up. I’ve tried all of these, and they all work.
Strawberry Rhubarb Galette
Swap half the peaches for chopped rhubarb. Add an extra tablespoon of sugar because rhubarb is very tart. The pink and red colors are stunning. This is a classic combination for a reason.
Apple Cinnamon Galette
Use thinly sliced apples (Granny Smith or Honeycrisp) instead of peaches. Add a pinch of nutmeg and cardamom. This feels more autumnal but works in spring too. I serve this with caramel sauce.
Berry Burst Galette
Use a mix of blueberries, raspberries, and blackberries. You don’t need to peel them. Add a teaspoon of cornstarch instead of flour. The berries will burst and create a beautiful jam-like filling. It’s messy but delicious.
Cherry Almond Galette
Use pitted cherries. Add 2 tablespoons of sliced almonds to the filling before baking. The almonds toast in the oven and add a nice crunch. Sprinkle with almond extract instead of vanilla.
Gluten-Free Option
Use a gluten-free puff pastry. Brands like Dufour and Pepperidge Farm make GF versions. The technique is exactly the same. Just be careful not to overwork the dough, as GF pastry can be more fragile.
Vegan Option
Use vegan puff pastry (check labels, some contain butter). Skip the egg wash and brush with coconut milk or almond milk. Sprinkle with raw sugar for crunch. It’s not quite the same richness, but it’s still tasty.
Different Proteins:
Not really applicable here, but you can add a scoop of almond butter or cream cheese to the center for extra richness. It’s like a dessert quiche.
Serving & Storage
How to serve this beauty, and how to keep it fresh.
How to Serve:
I usually serve this straight from the cooling rack, sliced into wedges. It looks rustic and stays warm. But here are other ways I’ve enjoyed it:
Side Dishes:
- Vanilla Ice Cream — Non-negotiable. The cold cream contrasts with the warm fruit.
- Whipped Cream — If you prefer lighter, add a dollop of freshly whipped cream with a hint of vanilla.
- Yogurt — Greek yogurt with a drizzle of honey is a great breakfast option.
- Cheese Board — Pair with brie or goat cheese for a sophisticated appetizer or dessert.
Toppings Bar:
When I have guests, I put out: extra powdered sugar, crushed pistachios, candied ginger, and fresh mint leaves. Everyone customizes their slice.
Wine Pairing:
I’m not a wine expert, but my wine-snob friend says a late-harvest Riesling or a Moscato d’Asti works great with this. The sweetness matches the fruit.
Storage Instructions:
Refrigerator:
Store in an airtight container for up to 3 days. The crust will soften a bit, but the flavor remains good. I actually prefer it the next day because the flavors meld.
Reheating:
Best method: Reheat in a 350°F oven for 10-15 minutes. This restores the crispness of the crust. Microwave it, and the crust will get chewy and tough. I learned this the hard way with a sad, soggy slice.
Freezing:
You can freeze the unbaked galette. Wrap it tightly in plastic wrap and foil. Bake from frozen, adding 10-15 minutes to the bake time. You can also freeze baked slices, but the texture will be softer. Thaw in the fridge and reheat in the oven.
Meal Prep:
Make the dough ahead and store it in the fridge for up to 2 days. Slice the peaches and toss with sugar the night before. Assemble and bake when you’re ready.
Pro tip: If leftovers are drying out, reheat with a cup of water in the oven to create steam. It helps keep the crust tender.
Nutrition Information
I’m not a nutritionist, but here’s the breakdown if you’re tracking. Keep in mind, this is a dessert, so it’s not exactly a health food. But it’s better than store-bought pie.
Per Serving (based on 8 servings):
- Calories: 280
- Protein: 3g
- Carbs: 38g
- Fiber: 2g
- Sugar: 22g
- Fat: 14g
- Saturated Fat: 8g
- Cholesterol: 35mg
- Sodium: 180mg
What’s Good:
- Real fruit provides vitamins and antioxidants.
- Smaller portion sizes than a whole pie.
- Can be made with less sugar if desired.
What to Know:
- High in sugar from the peaches and added sugar.
- Contains dairy and gluten.
- Calorie-dense due to the puff pastry.
My Take:
Look, this is a treat. Enjoy it. Don’t stress about the calories. Pair it with a cup of tea or coffee to make it feel more like a snack than a meal. When I want to make it lighter, I use half the sugar and add more berries. But usually? I just eat a slice and enjoy it.
Dietary Notes:
- Contains: gluten, dairy, eggs
- Can be made: gluten-free, vegan (with substitutions)
- Not suitable for: nut-free (if adding almonds)
Final Thoughts
So that’s my fresh peach galette! I’ve probably talked your ear off at this point, but when you make a recipe this often, you have a lot to say about it. This has saved my summer desserts more times than I can count. It’s my answer to “what’s for dessert?” when I want something homemade but don’t want to spend hours in the kitchen. My kids are happy, my friends are impressed, and I’m happy because I’m not stressed about cooking.
Make it yours! Try different fruits, add different spices, adjust the sugar. The best recipes are the ones you adapt to your family’s tastes. And don’t worry if it’s not perfect. The beauty of a galette is in its imperfections. It’s supposed to look rustic and homemade.
If you make this, drop a comment and let me know what you think! I love hearing how recipes turn out in your kitchen. And if something doesn’t work, tell me that too—I’m here to help troubleshoot. Happy baking! And I hope your kitchen smells half as good as mine does right now.
Frequently Asked Questions
Can I use frozen peaches instead of fresh?
You can, but you need to thaw and drain them first. Frozen peaches release a lot of water, which can make the galette soggy. Thaw them in a colander, press out the excess juice, and pat them dry with paper towels. You may need to add an extra tablespoon of flour to absorb the remaining moisture. Fresh peaches are always better for texture, but frozen works in a pinch.
Why did my galette leak juice everywhere?
This usually happens if the peaches were too juicy or if you didn’t use enough thickener. Make sure to toss the peaches with flour or cornstarch before assembling. Also, don’t overfill the center. Keep the fruit pile low and wide. If you see juice bubbling over, you can place a baking sheet on a lower rack to catch it, but it’s better to prevent it in the first place.
Can I make this ahead for a party?
Yes! You can assemble the galette up to 24 hours in advance. Cover it loosely with plastic wrap and refrigerate. Take it out 30 minutes before baking to take the chill off. Alternatively, you can bake it the day before and reheat it gently before serving. It actually tastes better the next day as the flavors meld.
Why is my crust soggy?
A soggy bottom usually means the crust wasn’t preheated or the filling was too wet. Make sure to preheat your baking sheet in the oven before adding the galette. Also, ensure you’re using the flour to thicken the fruit juices. If your oven runs hot, the bottom might not cook through, so consider placing the galette on a lower rack.
Can I use puff pastry from the freezer?
Yes, but you need to thaw it properly. Follow the package instructions, which usually means leaving it on the counter for 30-40 minutes. If you try to roll it while it’s still frozen, it will crack and break. If it’s too warm and sticky, pop it in the fridge for 10 minutes to firm up.
How do I store leftovers?
Store leftovers in an airtight container at room temperature for up to 2 days, or in the fridge for up to 3 days. Reheat in the oven at 350°F for 10 minutes to crisp up the crust. Don’t microwave it, or the crust will get chewy.
Can I double this recipe?
Absolutely! You can make two smaller galettes or one large one. If making two, use two baking sheets. If making one large one, use a larger dough sheet and pile the fruit in the center. Just keep an eye on the bake time; a larger galette might need a few extra minutes.
Pin This Recipe!
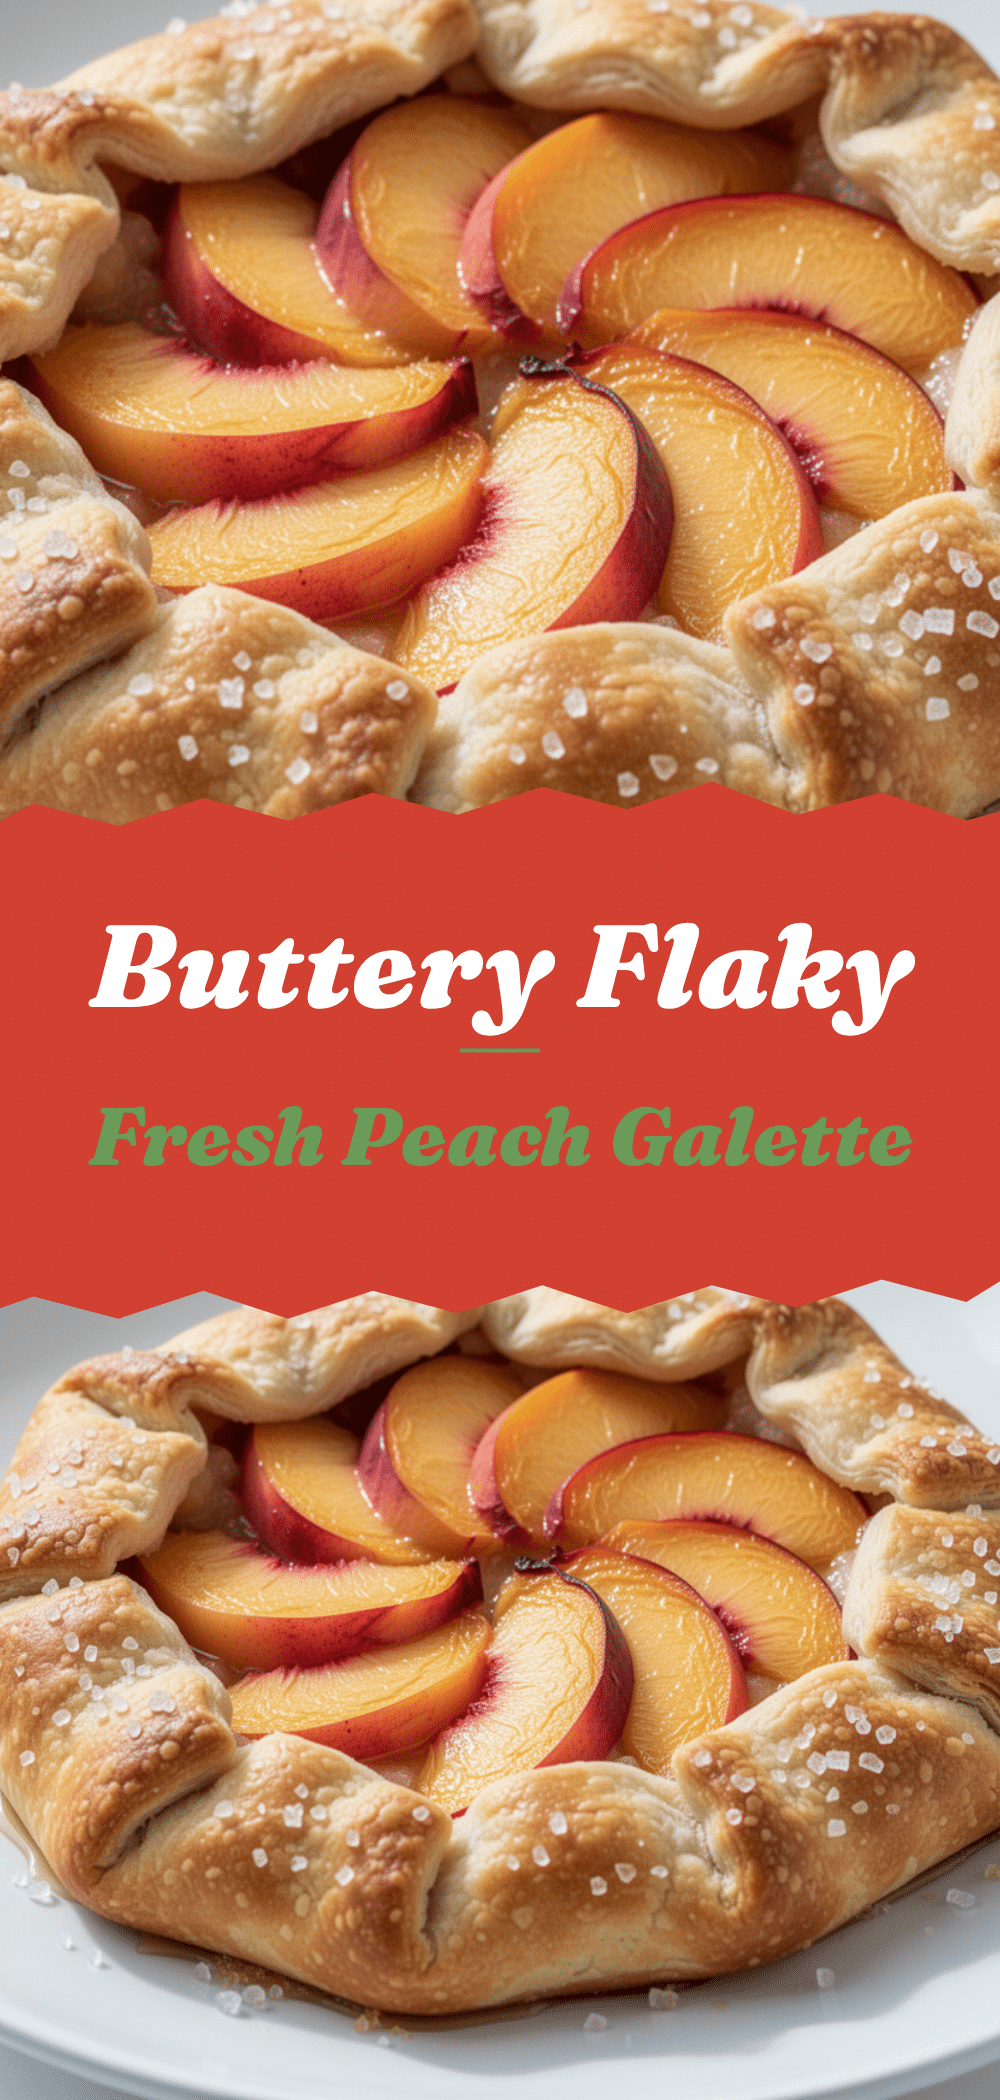

Fresh Peach Galette: 5-Step Easy Rustic Summer Dessert
- Total Time: 1 hour
- Yield: 8 servings 1x
Description
A rustic, forgiving, and easy-to-make summer dessert using store-bought puff pastry and fresh peaches. This free-form tart is simpler than traditional pie and delivers a sweet, tart, and buttery flavor with a caramelized crust.
Ingredients
- 1 sheet puff pastry dough (thawed)
- 4–5 medium ripe peaches (about 2 pounds), peeled and sliced into ¼-inch wedges
- 1 tablespoon lemon juice (freshly squeezed)
- 3 tablespoons granulated sugar (for filling)
- 1 tablespoon all-purpose flour
- ½ teaspoon ground cinnamon
- 1 teaspoon vanilla extract
- 1 large egg yolk
- 1 tablespoon heavy cream
- 2 tablespoons granulated sugar (for topping)
Instructions
- Preheat oven to 400°F (200°C). Place a rack in the center and line a large baking sheet with parchment paper.
- Roll out the thawed puff pastry dough into a 12-inch square or circle on a lightly floured surface. Transfer to the prepared baking sheet.
- In a large bowl, toss sliced peaches with lemon juice, 3 tablespoons sugar, flour, cinnamon, and vanilla. Let sit for 10 minutes.
- Spoon the peach mixture onto the center of the dough, leaving a 2-inch border. Spread in an oval shape.
- Gently fold the edges of the dough over the fruit, pleating as you go, leaving the center exposed.
- Whisk egg yolk and heavy cream together. Brush the folded crust edges with the egg wash and sprinkle with 2 tablespoons of sugar.
- Bake for 35-40 minutes until the crust is deep golden brown and peaches are bubbly.
- Cool on a wire rack for at least 20 minutes before slicing to allow filling to set.
Notes
Ensure peaches are ripe but firm to prevent mushiness. The flour in the filling absorbs juices to prevent a soggy bottom. Keep dough cold for flaky layers. Cool completely before slicing to prevent filling from running. Can be made gluten-free or vegan with specific substitutions.
- Prep Time: 15 minutes
- Cook Time: 40 minutes
- Category: Dessert
- Cuisine: American
Nutrition
- Serving Size: 1 slice (approx. 1/8
- Calories: 280
- Sugar: 22
- Sodium: 180
- Fat: 14
- Saturated Fat: 8
- Carbohydrates: 38
- Fiber: 2
- Protein: 3
Keywords: peach galette, rustic dessert, puff pastry recipe, summer dessert, easy pie alternative, fresh peaches, gluten-free option, vegan option