It was 7:30 AM on a Tuesday, and I was standing in my kitchen in pajamas, staring into the pantry like it owed me money. My usual routine had collapsed. The oatmeal was gone, the yogurt was suspicious, and the only thing left in the snack drawer was a bag of chips that had been there since last Thanksgiving. My husband was already out the door, and I had a meeting at 9:00 that I was definitely going to be late for because I couldn’t find my keys, let alone breakfast.
I remember thinking, “Is this really how I want to start my day? With processed crumbs and regret?”
I needed something fast. Something that didn’t require turning on the oven (my apartment is small, and the heat in July is no joke). Something that felt somewhat healthy but tasted like a cheat code. That was the day I finally made no-bake peanut butter oat bars. I didn’t have a fancy recipe. I just had oats, peanut butter, honey, and a desperate need for fuel.
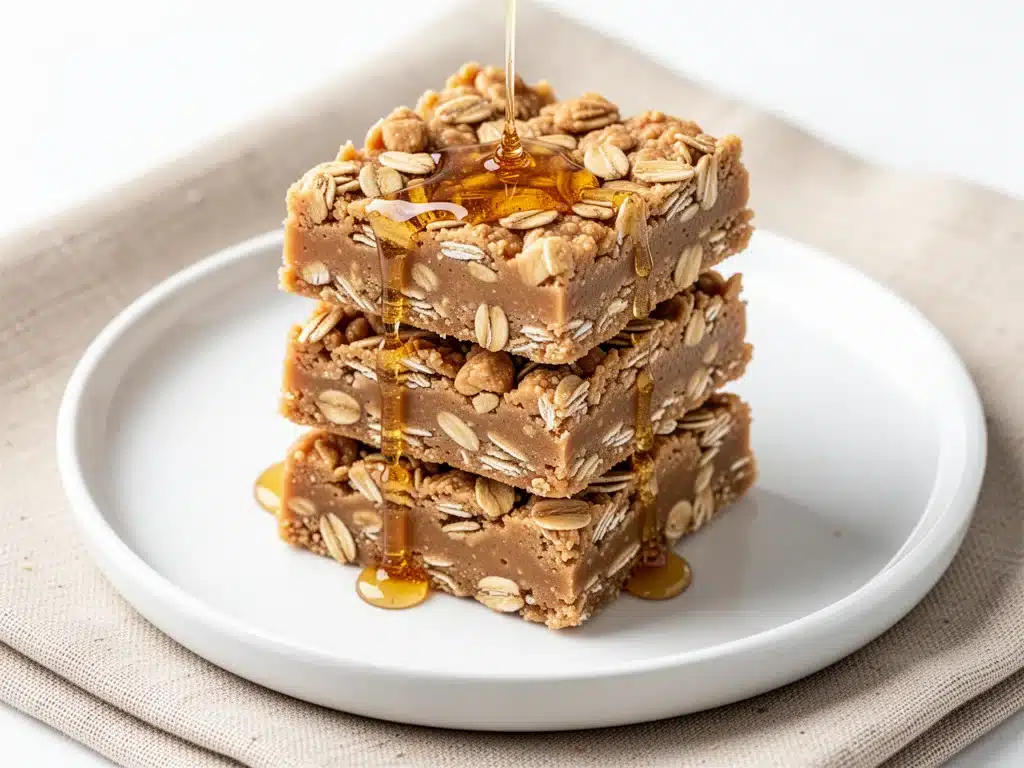
Five minutes later, I had a pan of chewy, chocolatey goodness chilling in the fridge. I cut a square, ate it while brushing my teeth, and realized I had just solved my entire morning problem. These bars became my lifeline. I’ve made them at least once a week for the last three years. They’re my go-to for lunchbox packing, post-workout recovery, and those 3 PM slumps when my brain is basically on autopilot.
Here’s the thing about these bars: they’re deceptively simple. You might think, “How hard can it be to mix oats and peanut butter?” But there’s an art to getting the ratio right. Too much honey, and they’re sticky nightmares. Too little, and they crumble into dust. I’ve tested this recipe until I’ve memorized the texture by touch alone. And I’m sharing that hard-won knowledge with you right now.
If you’re tired of buying overpriced granola bars that dissolve in your pocket, or if you’re looking for a quick healthy snack that actually keeps you full, these are it. No baking required. No mess. Just pure, creamy, chewy comfort.
Why You’ll Love This No-Bake Peanut Butter Oat Bars Recipe
Let’s be real for a second. Life is busy. We don’t always have time to preheat an oven, wait for it to cool down, or wash a mountain of dishes. This recipe is designed for real life. It’s for the days when you’re running late, the weekends when you’re meal-prepping for the week, and the moments when you just need a sweet treat that won’t wreck your diet.
Here’s why these no-bake peanut butter oat bars have earned a permanent spot in my rotation:
- Stupid Simple — Seriously, if you can stir, you can make this. There’s no kneading dough, no tempering chocolate, no waiting for proofs. You mix, you press, you chill. That’s it. I’ve made these while on a video call with my mom, and they came out perfect.
- Lightning Fast — From start to finish, including chill time, you’re looking at about 30 minutes. But active time? Five minutes. Maybe six if you’re being extra careful with the honey. I make these on Sunday mornings while the coffee brews.
- Pantry-Friendly — You probably have 90% of these ingredients already. Oats? Check. Peanut butter? Check. Honey? Check. You don’t need a trip to the grocery store for this one. It’s the ultimate “I forgot to shop” dinner saver.
- Meal Prep Hero — These bars keep for up to two weeks in the fridge. I make a double batch every Sunday, and I have ready-to-go snacks for the entire week. It’s saved me from buying lunch at least ten times.
- Customizable — Hate chocolate chips? Use raisins. Love nuts? Throw in some chopped almonds. Want it lower sugar? Swap honey for maple syrup. This recipe bends to your will. It’s not rigid; it’s flexible.
This is my answer to “what’s for a snack?” when I’m tired. No complicated techniques, no weird ingredients, just reliable, delicious food that makes everyone happy. Even my picky seven-year-old nephew asks for these whenever he visits.
Ingredients You’ll Need
Here’s the best part: this ingredient list is short. Like, “glance at it and say ‘oh, I have that'” short. But I’m particular about quality here. Since there are only five main ingredients, each one needs to do heavy lifting. Here’s exactly what you need and why it matters.
For the Base:
Rolled oats (3 cups / 270g) — Not instant oats, and definitely not steel-cut. You need old-fashioned rolled oats. They have the right texture—chewy but not hard. Instant oats turn to mush in these bars. Steel-cut won’t bind properly. I use Bob’s Red Mill because they’re consistently thick and chewy.
Quick oats (1 cup / 90g) — I mix quick oats with rolled oats for a softer texture. It helps bind the bars together so they don’t fall apart. If you don’t have quick oats, you can pulse rolled oats in a blender for 10 seconds, but it’s not strictly necessary.
Natural peanut butter (1 cup / 250g) — This is non-negotiable. I use natural peanut butter where the oil separates. You need to stir it well before measuring, or get the creamy kind that’s already mixed. Avoid peanut butter with added sugar or hydrogenated oils if you can. It changes the flavor and texture. Skippy is fine, but natural is better. I love Justin’s almond butter too if you want to switch it up.
Honey (½ cup / 150g) — Honey is the glue. It binds the oats and peanut butter together. Maple syrup works too, but the bars will be slightly softer and stickier. Agave nectar is another option, but honey has the best flavor. Don’t use corn syrup—it’s too sweet and lacks flavor.
Vanilla extract (1 teaspoon) — Just a splash. It rounds out the flavors and makes it taste less like “peanut butter and oats” and more like a dessert. Pure vanilla, not imitation. I know it’s a small amount, but it makes a difference.
For the Mix-ins:
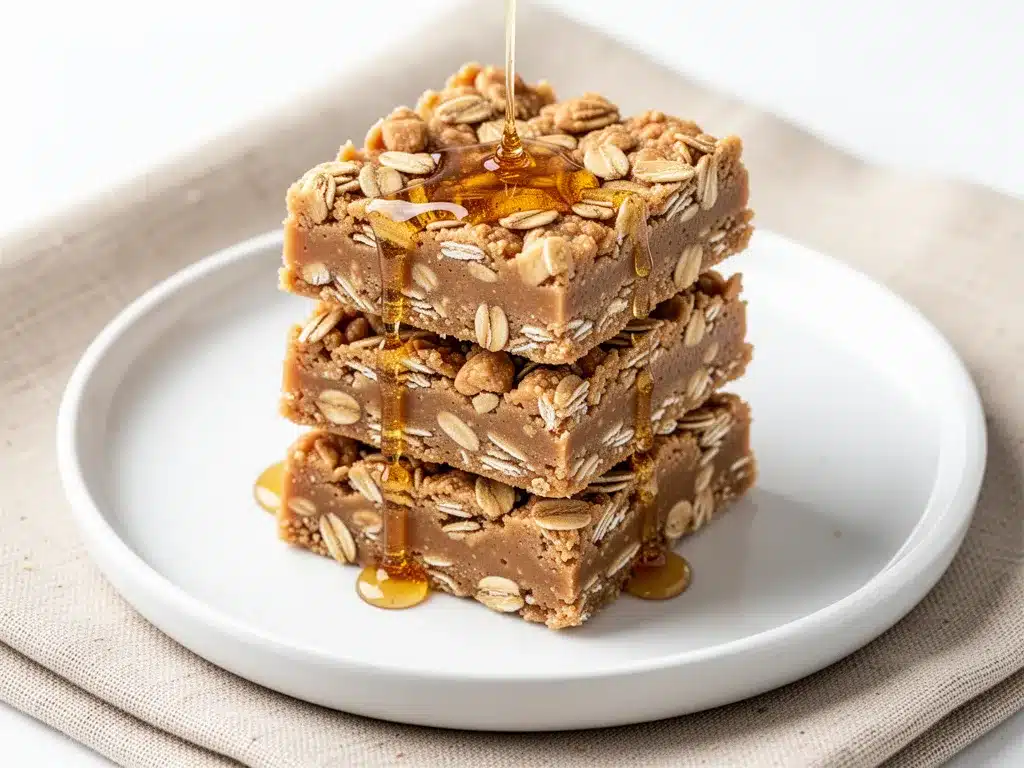
Dark chocolate chips (½ cup / 85g) — I use semi-sweet dark chocolate chips. They melt slightly when you press the bars, creating little pockets of goo. Milk chocolate works if you have kids, but dark chocolate balances the sweetness of the honey better. I like Ghirardelli.
Sea salt (½ teaspoon) — This is crucial. Salt enhances the peanut butter flavor and cuts the sweetness. Don’t skip it. I use flaky sea salt if I have it, but regular kosher salt works fine.
Optional Add-ins:
- Chopped nuts (½ cup) — Almonds, walnuts, or pecans add crunch. I love adding chopped almonds for extra texture.
- Chia seeds (2 tablespoons) — Adds omega-3s and helps bind the bars. You won’t taste them.
- Flaxseed meal (2 tablespoons) — Similar to chia, adds fiber and nutrients.
- Raisins or dried cranberries (½ cup) — For a fruity twist. I mix these with the chocolate chips sometimes.
- Protein powder (2-3 scoops) — If you want these to be a post-workout snack, add vanilla or chocolate protein powder. You might need a little extra honey to bind it.
Personal Tips:
- Brand recommendations: I always use Bob’s Red Mill oats. They’re consistent. For peanut butter, I keep a jar of Jif in the house for the kids and a jar of natural peanut butter for myself.
- Shopping shortcuts: If you’re in a rush, buy pre-chopped nuts. It’s worth the extra dollar.
- Substitutions: No honey? Use maple syrup. No peanut butter? Use almond butter or sunflower seed butter (great for nut-free schools).
- Storage: These bars keep for up to 2 weeks in the fridge. They also freeze well for up to 3 months. I keep a batch in the freezer for emergencies.
Equipment Needed
You don’t need fancy equipment for this. Here’s what I actually use. Keep it simple.
Large mixing bowl — I use a 5-quart stainless steel bowl. It needs to be big enough to hold all the oats and sticky mixture without spilling. A glass bowl works too, but I prefer metal for easy cleanup.
8×8 inch baking pan — This is the standard size. You can use a 9×9 pan, but the bars will be thinner and might be harder to cut. Or you can use a 9×13 pan if you want thinner bars, but the recipe might need to be doubled. I stick to 8×8 for the perfect thickness.
Parchment paper — Line your pan with parchment. This is non-negotiable. It makes removing the bars so much easier. Without it, you’ll be digging them out with a spoon, and they’ll stick. I always leave an overhang on the sides to use as handles.
Spatula — A silicone spatula is best for mixing the sticky honey and peanut butter. It scrapes the bowl clean. A wooden spoon works too, but silicone is easier to clean.
Measuring cups and spoons — Standard stuff. I use both dry and liquid measuring cups. For honey, I spray the cup with cooking spray first so it slides out easily.
Knife — For cutting the bars. A sharp chef’s knife works best. Or a pizza cutter if you want straight edges. I usually cut them into 12 squares.
Refrigerator — Yes, it’s an appliance, but it’s essential here. The bars need to chill to set. I don’t recommend skipping this step, or you’ll end up with a sticky mess.
Optional but nice:
- Blender or food processor — If you want to make your own quick oats from rolled oats.
- Microwave-safe bowl — If your peanut butter or honey is too cold and hard to mix, you can warm it briefly in the microwave. 15-20 seconds is enough.
How to Make It: Step-by-Step
Alright, let’s make this! I’m walking you through exactly how I do it, including the little tricks I’ve picked up over the years. It’s foolproof, but pay attention to the details.
Step 1: Prep Your Pan (2 minutes)
Line your 8×8 inch baking pan with parchment paper. Leave an overhang on the sides so you can lift the bars out later. I lightly spray the parchment with cooking spray to ensure nothing sticks. This step takes 30 seconds but saves you so much frustration later.
Step 2: Mix the Dry Ingredients (2 minutes)
In your large mixing bowl, combine the rolled oats, quick oats, and sea salt. Stir them together with a spoon. This ensures the salt is distributed evenly. If you’re adding mix-ins like nuts or chia seeds, add them now. Toss everything until it’s uniform.
Step 3: Warm the Wet Ingredients (1 minute)
In a small microwave-safe bowl or saucepan, combine the peanut butter and honey. If your peanut butter is cold and stiff, microwave it for 15-20 seconds. Same for the honey—it helps it pour more easily. Stir until the mixture is smooth and glossy. This step is crucial for even mixing. If the peanut butter is lumpy, it won’t coat the oats properly.
Step 4: Combine Everything (3 minutes)
Pour the warm peanut butter and honey mixture over the oats. Add the vanilla extract. Stir vigorously with your spatula. You need to coat every single oat. It will look messy at first, but keep stirring. The mixture should be thick, sticky, and cohesive. If it looks too dry, add a teaspoon more honey. If it’s too wet, add a sprinkle more oats.
Step 5: Press Into the Pan (3 minutes)
Transfer the mixture to your prepared pan. Use the back of a spoon or a flat-bottomed glass to press it down firmly. This is the most important step for texture. You want it packed tight. If it’s loose, the bars will crumble. Press until the surface is smooth and even. Don’t skip this—compactness is key.
Step 6: Add Toppings (1 minute)
If you’re adding chocolate chips or extra nuts, sprinkle them evenly over the top. Press them gently into the surface so they stick. I like to melt a few chocolate chips in the microwave and drizzle them over the top for a fancy finish, but it’s optional.
Step 7: Chill and Set (30 minutes)
Place the pan in the refrigerator. Let it chill for at least 30 minutes. This is when the bars set and firm up. If you’re in a hurry, you can put them in the freezer for 15 minutes, but the fridge is better for even setting. Do not skip this step, or you’ll regret it.
Step 8: Cut and Serve
Once the bars are firm, lift them out of the pan using the parchment paper. Place them on a cutting board. Use a sharp knife to cut into 12 squares. Wipe the knife between cuts for clean edges. Store them in an airtight container in the fridge.
Total Time: About 30 minutes (5 minutes active, 25 minutes chilling)
Built-in Troubleshooting:
- Mixture too sticky? Add more oats, one tablespoon at a time.
- Mixture too dry? Add more honey or peanut butter, one teaspoon at a time.
- Bars crumbling? You didn’t press them down enough, or they didn’t chill long enough. Next time, press harder and chill for 45 minutes.
Expert Tips & Tricks
Here’s everything I’ve learned from making these dozens of times. These tips will save you from my mistakes.
Use Natural Peanut Butter
I can’t stress this enough. Natural peanut butter has a better flavor and fewer additives. But it’s oily, so you need to stir it well before measuring. If you use creamy peanut butter with stabilizers, you might need a little less honey. I always taste the mixture before pressing it in. If it’s too sweet, add a pinch more salt.
Press Firmly
This is the #1 mistake people make. They press too lightly, and the bars fall apart. Pack it down like you’re trying to make a snowball. The denser it is, the better the texture. I use the bottom of a heavy glass to get it really flat and tight.
Don’t Skip the Chill Time
I know you want to eat them now. But if you cut them immediately, they’ll be a mess. The cold helps the peanut butter and honey solidify, giving the bars their structure. If you’re impatient, put them in the freezer for 15 minutes, but the fridge is best.
Room Temperature Ingredients
If your peanut butter or honey is too cold, it will be hard to mix. Warm them up slightly in the microwave. This makes the mixture more pliable and easier to press into the pan.
Common Mistakes (and how to avoid them):
- Mistake: Bars are too soft Fix: You didn’t chill them long enough, or you used too much honey. Next time, reduce the honey by 1-2 tablespoons.
- Mistake: Bars are too hard Fix: You used too many oats or didn’t add enough honey. Add a little more honey next time.
- Mistake: Sticky mess Fix: You didn’t line the pan with parchment, or you didn’t press them down firmly. Always use parchment.
Pro Tricks I’ve Learned:
- For Extra Crunch Toast the oats in the oven for 10 minutes before mixing. It adds a nutty flavor and extra crunch.
- For Better Binding Add a tablespoon of flaxseed meal or chia seeds. They absorb moisture and help hold the bars together.
- For Fancy Presentation Drizzle melted chocolate over the top. It looks professional and tastes amazing.
Variations & Substitutions
Once you’ve nailed the basic version, here’s how you can mix it up. I’ve tried all of these, and they’re all winners.
Chocolate Chip Cookie Dough
Add ½ cup of mini chocolate chips and ½ cup of chopped chocolate chunks. You can also add a teaspoon of cinnamon for a cookie-like flavor. This is my favorite variation.
Trail Mix
Add ½ cup of raisins, ½ cup of chopped almonds, and ¼ cup of coconut flakes. It’s like a bar version of your favorite trail mix. Great for hiking snacks.
Protein Power
Add 2-3 scoops of vanilla or chocolate protein powder. You might need a little extra honey to bind it. This is perfect for post-workout recovery. I make these after the gym and they keep me full for hours.
Nut-Free
Use sunflower seed butter instead of peanut butter. Add sunflower seeds and pumpkin seeds for crunch. Great for school lunches.
Lower Sugar
Use unsweetened almond butter and reduce the honey to ¼ cup. Add stevia or monk fruit sweetener if needed. It’s less sweet but still delicious.
Dietary Modifications:
- Gluten-Free Use certified gluten-free oats. Everything else is naturally gluten-free.
- Vegan Use maple syrup instead of honey and vegan chocolate chips.
- Low-Carb Use almond flour instead of oats and erythritol instead of honey. It’s a different texture but works.
Serving & Storage
How to Serve:
I usually serve these straight out of the fridge. They’re best cold. But here are other ways I’ve enjoyed them:
- With a glass of cold milk (classic combo)
- With a cup of coffee or tea (for a sweet treat)
- As part of a lunchbox (with an apple or banana)
- As a post-workout snack (with a protein shake)
Storage Instructions:
Refrigerator: Store in an airtight container for up to 2 weeks. Layer them with parchment paper to prevent sticking. They get firmer in the fridge, which is good.
Freezer: These bars freeze beautifully. Wrap them individually in plastic wrap, then place them in a freezer bag. They last up to 3 months. Thaw in the fridge for 30 minutes before eating.
Room Temperature: I don’t recommend storing them at room temperature for more than a day. The peanut butter can go rancid, and the honey can make them too sticky.
Pro tip: If they get too hard in the fridge, let them sit at room temperature for 10 minutes before eating. They’ll soften up slightly.
Nutrition Information
I’m not a nutritionist, but here’s the breakdown if you’re tracking. This is per bar (makes 12 bars).
- Calories: 180
- Protein: 6g
- Carbs: 22g
- Fiber: 3g
- Sugar: 12g
- Fat: 9g
- Saturated Fat: 2g
- Cholesterol: 0mg
- Sodium: 90mg
What’s Good:
- Decent protein from peanut butter and oats
- Fiber from oats helps with digestion
- Healthy fats from peanut butter keep you full
- No refined sugars (if you use natural honey)
What to Know:
- Higher in calories due to peanut butter and honey
- Contains peanuts (nut allergy warning)
- Contains gluten (unless using GF oats)
My Take:
Look, these are a snack, not a meal replacement. They’re calorie-dense because of the peanut butter. But they’re also nutritious. I use them as a mid-afternoon snack, not as a substitute for lunch. When I want to make it lighter, I reduce the honey and add more oats. But usually? I just enjoy a couple of bars and move on with my day.
Final Thoughts
So that’s my go-to no-bake peanut butter oat bars! I’ve probably talked your ear off at this point, but when you make a recipe this often, you have a lot to say about it.
This has saved me from buying overpriced granola bars more times than I can count. It’s my answer to “what’s for a snack?” when I’m tired, don’t want to cook, and still want something that tastes really good. My kids are happy, my husband’s happy, and I’m happy because I’m not stressed about finding something quick.
Make it yours! Try different mix-ins, swap in your favorite nuts, adjust the honey (though less is more in my opinion). The best recipes are the ones you adapt to your family’s tastes.
If you make this, drop a comment and let me know what you think! I love hearing how recipes turn out in your kitchen. And if something doesn’t work, tell me that too—I’m here to help troubleshoot.
Happy snacking! And I hope your kitchen smells half as good as mine does right now.
Frequently Asked Questions
Can I use almond butter instead of peanut butter?
Absolutely! Almond butter works great, but it’s thicker and drier. You might need a little more honey to bind it. Sunflower seed butter is another good option, especially for nut-free schools. Just taste the mixture before pressing it in to ensure it’s sweet enough.
Why did my bars crumble?
This usually means you didn’t press them down firmly enough, or you didn’t use enough honey. Pack the mixture down tightly, and if it’s too dry, add a little more honey or peanut butter. Also, make sure they chilled long enough. If they’re still crumbly after chilling, they need more binder.
Can I make these ahead for a party?
Yes! These bars are perfect for make-ahead snacks. Make them 2-3 days before the party and store them in the fridge. They actually taste better after a day or two because the flavors meld together. Just bring them out 15 minutes before serving so they’re not rock hard.
How do I store these bars?
Store them in an airtight container in the fridge for up to 2 weeks. You can also freeze them for up to 3 months. Wrap them individually in plastic wrap for easy freezing. Don’t store them at room temperature for more than a day.
Can I use quick oats instead of rolled oats?
You can, but the texture will be softer and less chewy. I recommend using a mix of rolled and quick oats for the best texture. If you only have quick oats, you can add a little more peanut butter to help bind them.
Are these bars gluten-free?
Only if you use certified gluten-free oats. Oats are naturally gluten-free, but they’re often processed in facilities that handle wheat. Check the label to be sure. Everything else in the recipe is naturally gluten-free.
Can I reduce the sugar?
Yes, you can reduce the honey to ¼ cup, but the bars will be less sweet and might be harder to bind. You can also use a sugar-free sweetener, but it might change the texture. I recommend starting with ⅓ cup of honey and adjusting to taste.
Pin This Recipe!
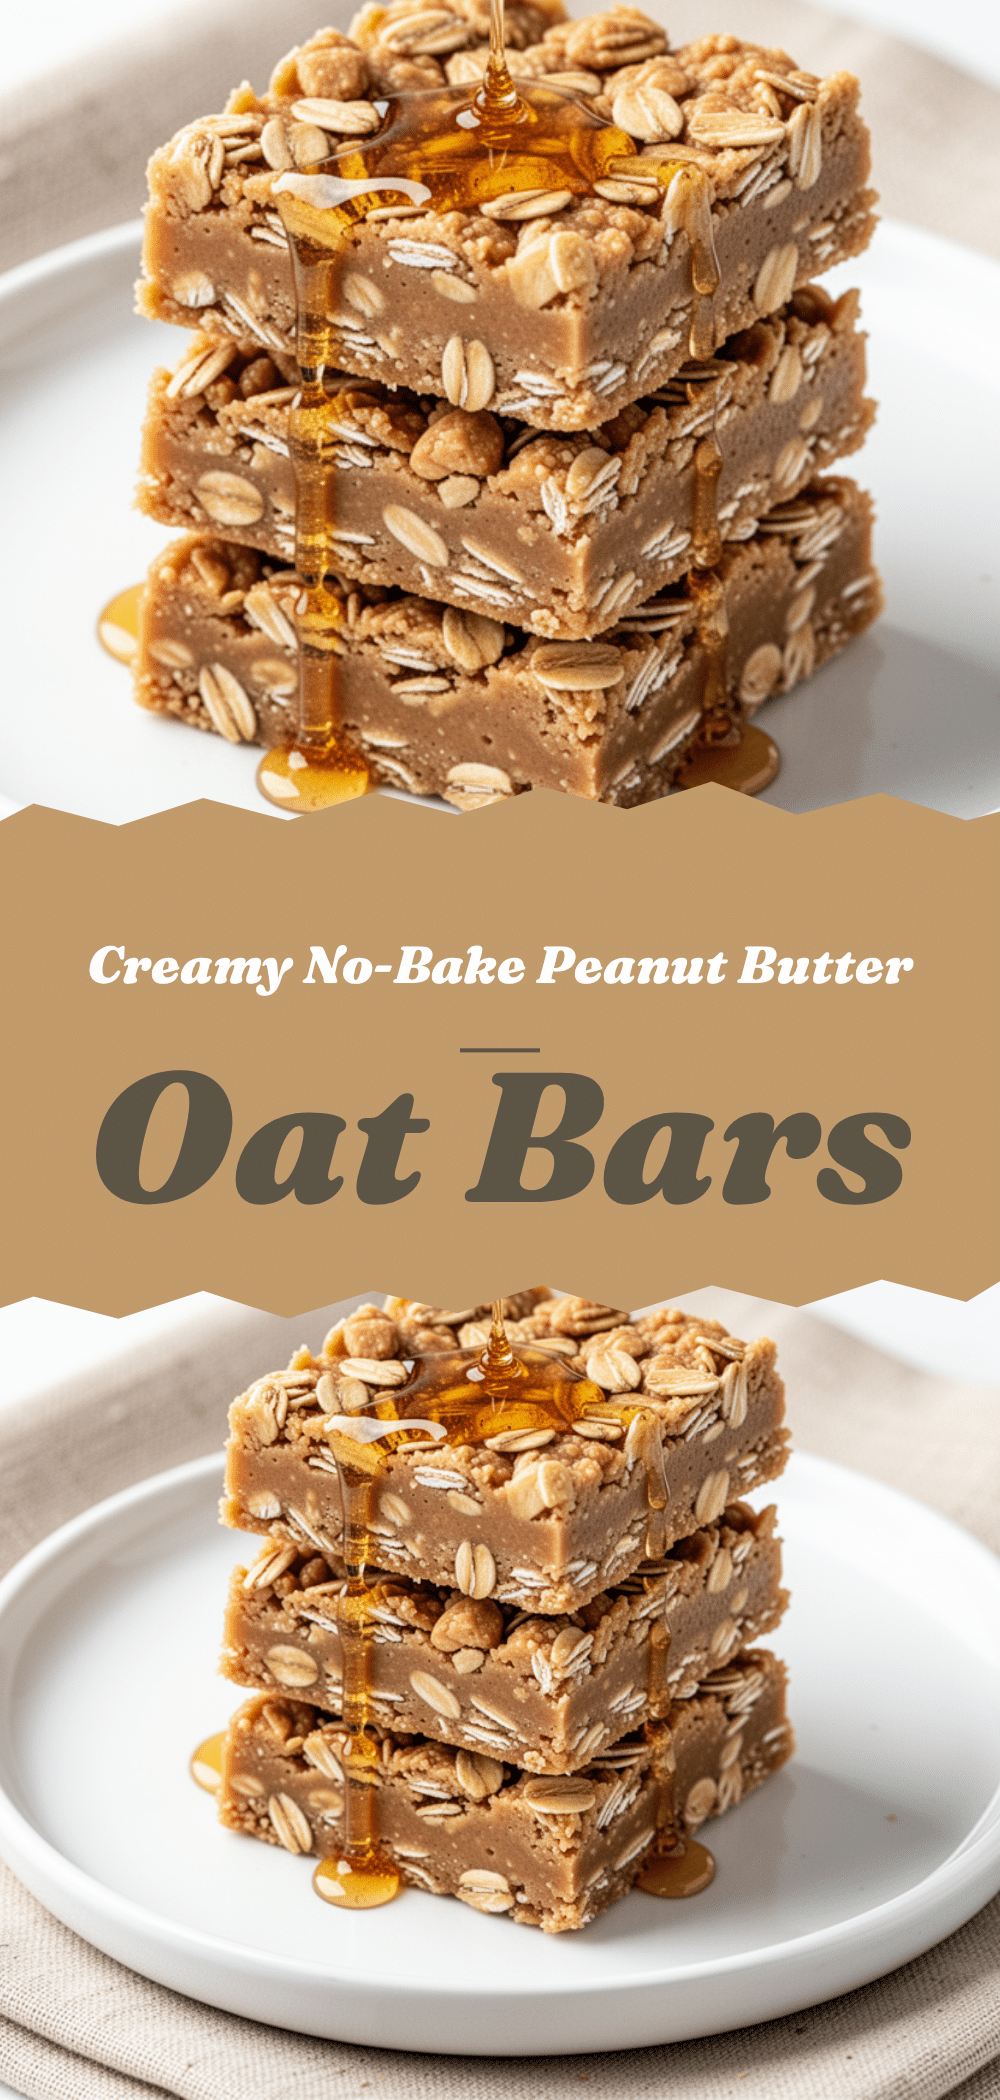
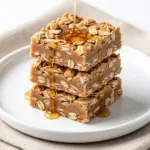
No-Bake Peanut Butter Oat Bars
- Total Time: 30 minutes
- Yield: 12 servings 1x
Description
A quick, healthy, and customizable no-bake snack made with oats, peanut butter, and honey. Perfect for meal prep, lunchboxes, or a quick energy boost.
Ingredients
- 3 cups rolled oats
- 1 cup quick oats
- 1 cup natural peanut butter
- 1/2 cup honey
- 1 teaspoon vanilla extract
- 1/2 cup dark chocolate chips
- 1/2 teaspoon sea salt
- Optional: 1/2 cup chopped nuts, 2 tablespoons chia seeds, 2 tablespoons flaxseed meal, 1/2 cup raisins or dried cranberries, 2-3 scoops protein powder
Instructions
- Line an 8×8 inch baking pan with parchment paper, leaving an overhang on the sides for easy removal.
- In a large mixing bowl, combine the rolled oats, quick oats, and sea salt. Stir to distribute the salt evenly.
- In a microwave-safe bowl or saucepan, combine the peanut butter and honey. Microwave for 15-20 seconds if cold to soften, then stir until smooth and glossy.
- Pour the warm peanut butter and honey mixture over the oats. Add the vanilla extract and stir vigorously until every oat is coated and the mixture is cohesive.
- Transfer the mixture to the prepared pan. Press down firmly and evenly using the back of a spoon or a flat-bottomed glass to ensure the bars hold together.
- Sprinkle chocolate chips or other optional mix-ins over the top and press them gently into the surface.
- Refrigerate for at least 30 minutes to allow the bars to set and firm up.
- Lift the bars out of the pan using the parchment paper overhang. Cut into 12 squares using a sharp knife.
- Store in an airtight container in the refrigerator for up to 2 weeks or freeze for up to 3 months.
Notes
Use natural peanut butter for best flavor and texture. Press the mixture firmly into the pan to prevent crumbling. Do not skip the chilling step. If the mixture is too sticky, add more oats; if too dry, add more honey. Toasting oats before mixing adds extra crunch.
- Prep Time: 5 minutes
- Cook Time: 0 minutes
- Category: Snack
- Cuisine: American
Nutrition
- Serving Size: 1 bar
- Calories: 180
- Sugar: 12
- Sodium: 90
- Fat: 9
- Saturated Fat: 2
- Carbohydrates: 22
- Fiber: 3
- Protein: 6
Keywords: no-bake, peanut butter, oat bars, healthy snack, meal prep, gluten-free option, vegan option, quick recipe, pantry friendly